6th
August
2010
Hours: 3.5 | Posted in Canopy & Frame |
3rd
August
2010
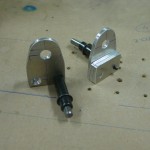
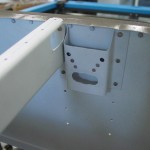
Still working on the canopy frame: today’s session involved fabricating the mounts for the lift struts. The forward mount is made from a thick block of aluminum which is drilled and tapped, and affixed to the canopy frame with screws. The aft mounts were fabricated but not installed yet; they will eventually be screwed to the canopy decks. I plan to fabricate a “nutplate plate” for fastening those blocks (as many others do), rather than fuss with washers and nuts in the tight space up behind the decks.
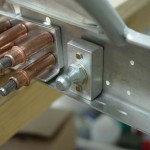
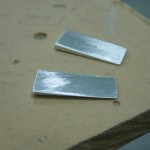
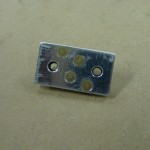
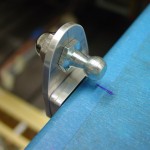
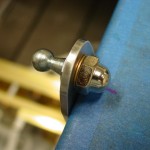
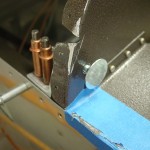
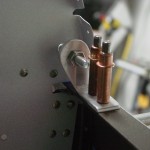
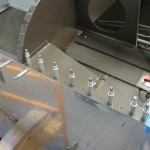
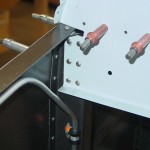
I also fabricated and installed the forward canopy stops, a modification that is gaining popularity. I found the bolts at Menards, they were called “elevator bolts” — their large diameter flat head should provide a nice bearing surface for the canopy frame to push against. The theory here is that by providing a hard point for the canopy to stop on, you eliminate some of the fit problems caused by the pressure of the lift struts pushing the frame forward in the down position. It consists of an angle, a bolt, and 2 nuts per side, a pretty simple mod which should be worth it, if it helps even a bit.
Hours: 4.2 | Posted in Canopy & Frame |
1st
August
2010
Nothing much accomplished today…cut a piece of hinge and messed around with ways to mount the flap position sensor I picked up at OSH. I will need some adel clamps to fashion a pivot point on the flap actuator to attach the sensor arm. Thought about the canopy, and electrical systems…
Hours: 1.0 | Posted in Cabin & Interior |
31st
July
2010
Back from Oshkosh, it’s been a little rough getting back into the shop. Talked with lots of vendors at the show, but didn’t find the deals I was hoping for, though I got most of the information I was seeking, and made some connections. I expected to be highly motivated when we got back, but strangely the opposite happened.
Regardless, I cleaned up the disaster of a shop today, and went back to work on the canopy frame. Fit the rear bow to the rollbar, fit the side weldments along with the spacers to allow the Sikaflex bead, and drilled the splice plates. Then, the whole works is removed for deburring and riveting; I think this is also the point to install the stiffener kit and the struts (neither are mentioned in the manual). I’m using the Flyvans.com guys log as a guide for the canopy work, since I will be gluing the canopy as they did–there are many logs of the gluing method for sliders, but not many for the tipup.
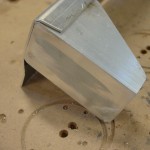
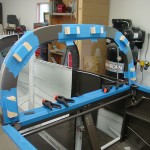
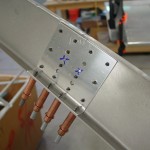
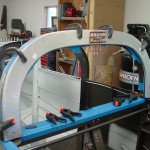
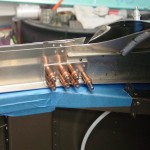
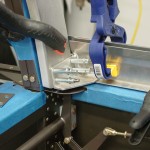
The main differences so far are that the roll bar and rear bow were built slightly narrower than plans (which meant also that the brackets were inboard, which required the fabrication of a spacer to sit outboard of the brackets, rather than filing the aft end of the bracket), and the forward splice plate of the canopy side rails, where the side rails are offset inboard by .125″ using a spacer. This is to allow for the required .125″ bead width of the glue. To make up for the inboard offset, a corresponding .125″ spacer must be installed between the side rails and the canopy skirts…I ordered a pair of the .063″ strips that are used in building the roll bar, as they’re just the right width for the job. Cutting each in half and doubling it up gives a nice .125″ spacer for the skirts, and it seems to be working well so far.
In the odd jobs category, installed the last three nutplates on the roll bar brace, having received my supply shipment from Van’s.
Hours: 5.5 | Posted in Canopy & Frame |
18th
July
2010
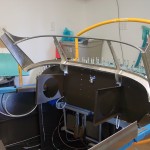
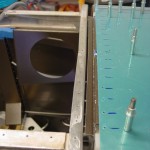
More work on fitting the canopy frame, which began by drilling holes in the splice plate, fabricating spacers for the goosenecks, and getting the frame positioned correctly to match the fuselage width. That done, the holes were deburred and the forward portion of the frame riveted: the bows, splice plate, spacers, and goosenecks. The whole business was then fit to the fuselage again and tweaked for fit. The holes for pivot bolts were marked with a long 1/4″ bit by peeling up the edges of the forward top skin, then the assembly removed to drill the pivot points. Bushings were pressed in with the hand squeezer…both sides turned out well, with good edge distance.
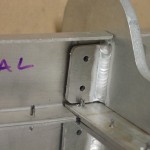
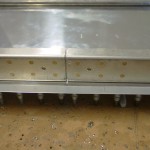
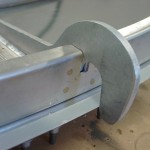
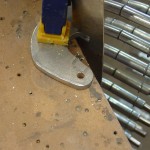
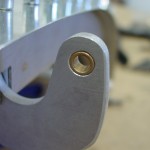
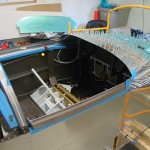
That done, it was back to the fuselage again for another round of fitting. The seal support angle needed to be trimmed to allow the canopy frame to move, and the front of the canopy skin filed down to widen the gap enough that the skin doesn’t catch the front skin and kink the edge. After another couple of on-off cycles, I think I have the front fitting decently; supposedly this all changes when the struts are fit, but I see no mention of that in the manual, so I will have to see when that’s best done. I do plan to add the canopy stop bolts that have become popular, to provide a positive forward stop to counteract the “thrust” of the struts when in the closed position
I will follow the lead of Chad Jensen and the Flyvans.com guys, filling the gaps at the outboard three holes with washers, so I put stacks of 960-10′s in there for now.
Hours: 6.1 | Posted in Canopy & Frame |
17th
July
2010
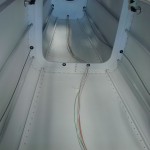
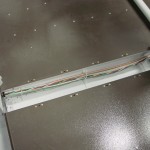
Installed various tie-wrap bases for the tailcone wiring runs, and pulled the aft nav/strobe, pitch trim, pitch servo, VOR and transponder antenna cables into the tailcone. Installed standoffs for the static line in the tailcone and secured the line, checking for clearance with the harness anchor bracket. Installed the ELT mounting bracket.
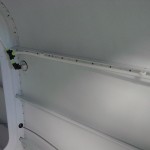
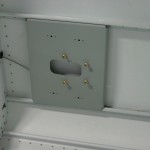
Worked on fitting the canopy frame by clecoing the skin to the forward frame weldment and fitting to the fuselage. After several on-off cycles and adjustments, it was fitting pretty well, so the splice plate was drilled to the forward bows. Removed the skin and cleaned out the chips, then re-clecoed and checked the fit on the fuselage. Fits the same, with the usual slight gaps at the left & right front sides, that require spacers under the front skin. An initial check of where the hinge holes will fall shows that the holes are almost dead center in the hinge goosenecks…I’m pleased with that, though I do need to fabricate spacers to go between the goosenecks and the forward bows (that distance is set by the holes in the skin, and mine has a gap…no biggie, it looks like a piece of .063 and .040 will fill it nicely.
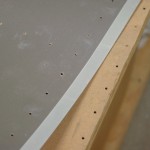
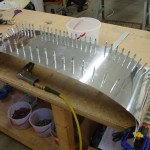
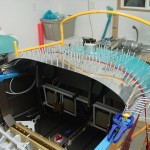
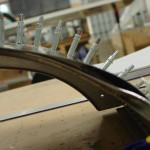
The issue at the moment with the canopy frame is that, for the outboard three holes of each side’s aft tube, the skin does not sit down to the tube…there’s quite a gap. I’ll have to read up on what others have done here, whether make spacers, omit these holes, or what. Also trying to figure out when the canopy stiffener kit should be fit, as there is no mention of it that I can find in the manual.
Hours: 7.6 | Posted in Canopy & Frame, Electrical |
16th
July
2010
Another session of disparate small tasks. Perhaps the less focused building sessions are what causes the feeling of being overwhelmed that builders seem to get in the end stages; there’s a hint of that here. I’m trying to wrap up some odds and ends around the fuselage before diving into the canopy work.
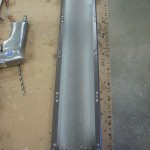
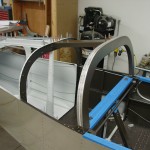
- Finished drilling the roll bar brace for the cover plate, and drilled it for nutplates. I didn’t have enough #6 nutplates to do all the holes, so I left a few easily accessible ones without; they’ll be easy to stick in later, when my shipment from Van’s arrives next week.
- Primed and painted the cover plate…wow, is the spray-can primer I picked up easy to use, it will come in handy for one-off bits from here to the end.
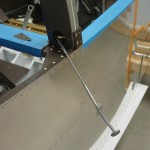
- Riveted and bolted the roll bar to the fuselage. Clecoed the structure aft of the baggage bulkhead solidly together before bolting this on, to set the correct location fore/aft. It’s difficult to get any large tools in there, and fitting the washers and nuts is a trick, too–the tool that I called the “grabber” growing up (I’m sure it has a real name…) came in very handy here, to hold the washers and nuts in the right place.
- Applied UHMW tape to the inside of the canopy latch angles, riveted them to the side skin, and assembled the rest of the latch mechanism.
- Put a strip of UHMW tape across the top of the flap motor housing, where the canopy latch tube rubs slightly.
- Mixed up a small batch of proseal and stuck the NACA vents to the side skins. (Forgot to put the screens on the fuel vents while I had it mixed up…darn!)
- Made an antenna drill template, and drilled for the Com1, Com2, and Transponder antennas. Very handy that they all use the same mount spacing (though beware, the Com antennas are longer fore/aft than the transponder). These are from DeltaPop, and though I can’t yet comment on their performance, they’re reasonably priced and quite attractive. Other users report good things, including the folks at NavWorx, who recommended the ADS-B antenna for use with their boxes (I have that antenna too, and will be prewiring for the NavWorx transceiver…). There is also an APRS antenna in the works, I believe.
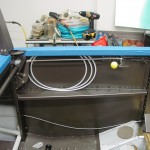
- Drilled a hole for a wee rubber grommet in the aft bulkhead, to feed wiring to the rudder for nav/strobe lights. I ordered a 100-pack of 1/8″ ID grommets from McMaster Carr, because that’s the smallest pack they sell; I’m set for life now. I discovered later that SteinAir sells a kit with an assortment of different sizes… I also ordered a bunch of different tie-wrap bases including the regular square-base type and some other useful-looking ones like thru-hole mounts; having the different kinds on hand will come in handy for the electrical installation.
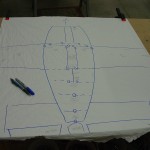
- Spread out a big piece of paper and drew a crude representation of an airplane on it, and looked at laying out the various wire runs through the fuselage. I want to get the pieces aft of the baggage bulkhead in place, so I can close up the aft fuselage.
Hours: 4.3 | Posted in Cabin & Interior |
14th
July
2010
A conglomeration of cabin tasks tonight:
- Riveted the forward canopy decks to the longerons and subpanel.
- Installed the spar upright cap strips with blind rivets.
- Installed the canopy hinge blocks.
- Riveted the parking brake valve bracket to the firewall, and bolted on the valve.
- Attached the brake lines to the valve and torqued.
- Laid out, cut and drilled a removable cover plate for the bottom of the roll bar brace.
- Cleco-clamped my finger and decided to call it a night.
Hours: 3.4 | Posted in Cabin & Interior |
13th
July
2010
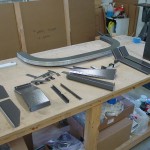
Today’s session was mostly about turning little parts into larger assemblies, some of which got mounted to the fuselage. Riveted together the fuel pump doghouse, roll bar brace, forward canopy decks, and subpanel left/right sections.
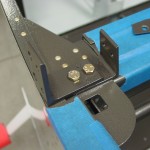
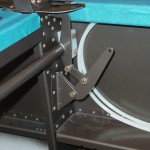
When the assemblies were assembled, I set about installing things…first up, the main canopy latch. After riveting on the latch bellcrank pivot bracket, the roll bar brackets, and latch weldment were bolted in place, and the latch bellcrank installed and connected to the weldment, complete with cotter pins. The side latch handle isn’t installed yet (I’m waiting on some UHMW tape to arrive), but the pushrod is assembled, and the knob screwed to the handle.
Before installing the subpanel, the firewall needed to be dimpled for the flush rivets which attach the subpanel ribs. The top two holes of each were reachable with the squeezer, but the lower three were not. I ended up using the rivets themselves as a dimple die–”pre-dimpling” the firewall with a couple taps of the gun, with the rib backed by a squeezer yoke; it then dimpled itself nicely as the rivet was driven. This worked beautifully on the rather malleable stainless firewall; I don’t know how well it would work on an aluminum piece, especially anything thick.
That done, the subpanel assemblies were inserted and clecoed, then riveted to each other, the firewall, and side bulkheads. Shooting the side bulkhead rivets required undoing one of the adel clamps securing the fuel line and gently bending it out of the way for a moment to allow access for the gun. Next, the forward canopy decks were clecoed in place. Also stuck the rudder pedals in, lest that be forgotten until access is made impossible; they’re not yet bolted down, so could be strapped up out of the way to allow for access to the lower firewall.
Tonight’s art project: cut out the templates for the NACA vent installation.
Hours: 4.9 | Posted in Cabin & Interior |
12th
July
2010
Picked up another quart of paint and sprayed the pile of parts prepped yesterday. Set to dry overnight, with some assembly on the plate for tomorrow. Also ordered some wire bushings, extra nutplates, UHMW tape, and a couple other odds and ends in preparation for wiring work.
Hours: 1.8 | Posted in Cabin & Interior |
