19th
September
2011
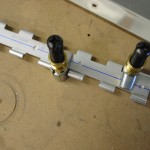
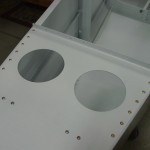
Sprayed primer on the forward top skin, and left to dry overnight. Located the steel strip from which the rudder pedal links are to be cut; marked and cut those, drilled the holes, and rounded the ends on the bench grinder. Sanded them down, and sprayed a coat of primer to keep them from re-rusting. Tomorrow I’ll spray a topcoat on them, and then they will be installed prior to riveting the top skin, to take advantage of easier access.
Hours: 1.5 | Posted in Upper Fuse & Skins |
18th
September
2011
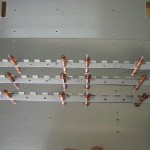
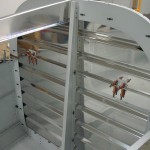
Took some high-resolution photos of the area forward of the subpanel, which may come in handy later on when I need to recall how something was done under there, or visualize it from a different angle prior to stuffing myself under the panel to work on it. Then, started prep on the forward top skin, which’ll soon be riveted in place over that area. Deburred, dimpled, and scuffed the skin. Hopefully we’ll have a warm calm evening this week to shoot the white primer on it–I’ve used white on everything in that upper area, with the hope that it will make working up there more pleasant/visible later.
I need to pick up some more syringes from the farm store to use for placing the firewall sealant before riveting.
Took another look at the fit of the empennage fairing; I’d like to get that done before the weather turns too cold, so that I can pull the tail feathers, move them to the hangar, and have room for cars in the garage during winter.
Hours: 2.0 | Posted in Upper Fuse & Skins |
14th
August
2010
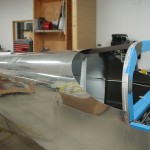
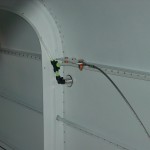
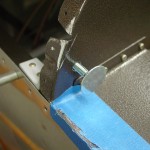
Allison helped rivet the aft skins to the fuselage in an evening session today, while I laid inside the tailcone to buck. A couple pieces of egg-carton foam made it bearable, almost comfortable. After riveting the skins, I bolted the shoulder harness anchors to the longerons, as long as I was back there. Also riveted the canopy stop brackets to the longerons.
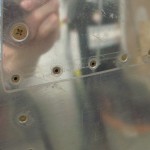
I did end up–as I have read others do–using three blind rivets on each side of the aft skins, at the forward end where the heavy angle piece under the roll bar blocks access to the rivet tails. The pride of solid rivets there wasn’t worth the frustration of the impossible bucking access. They can always be filled with a dab of epoxy before paint and no one will ever know.
(edit: I see now that those blind rivets, CCR264SS-3-4, which I pulled from a “Cherry rivets” bin at Oshkosh, are actually soft rivets intended for installing nutplates. I hadn’t realized the depth of the Cherry rivet catalog, and bought those on impulse, thinking of this spot. I’ll research and order some correct rivets that would be appropriate here, perhaps a CR3214-4-x, and remove/replace these when they arrive…)
(edit 2: The CR3214-4-x rivets have been successfully used by others, according to the wisdom of the internet, but they are reportedly expensive, and the common suppliers only stock them in 100-pack minimums. I did find where someone else had this same dilemma and ended up using the “nutplates” rivets that I just installed. I flirted with the idea of leaving them in place, since they would be easy to replace later if/when needed. But, I did bite the bullet and order some of the spendy rivets, since VAF threads indicate they may come in handy when closing up the forward top skin as well. Genuine Aircraft Hardware is stocking them in 10-packs, though they are definitely made of precious metal, looking at the price…)
Hours: 4.2 | Posted in Upper Fuse & Skins |
7th
June
2010
Primed and painted the parts readied in yesterday’s etching session. They’ll dry overnight and be ready for assembly tomorrow.
Hours: 2.2 | Posted in Upper Fuse & Skins |
6th
June
2010
Deburred a pile of parts, and etched for priming: gusset plates, seat pans, baggage side covers, and so on. Went to town to buy more cheesecloth for straining the primer, in the absence of proper paint filters (otherwise clods get in and clog up the gun, despite my best mixing efforts). Should be able to shoot these tomorrow after work.
Hours: 4.0 | Posted in Upper Fuse & Skins |
2nd
June
2010
Hours: 2.8 | Posted in Upper Fuse & Skins |
31st
May
2010
Memorial Day…spent most of the day in the shop after the long weekend of work. The first task was to install the baggage floors, which is done with blind rivets. Easy enough, and made easier by rotating the fuselage 90 degrees…it’s very evident why fuselage “rotisseries” have become popular. I just picked it up at the firewall and turned it on it’s side, moving blocks around to support as necessary. It became much easier to work in once on it’s side, and I will be strongly considering the creation of some apparatus or another to allow this rotation with ease.
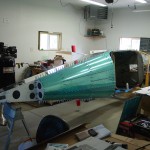
Anyway, baggage floors went in, followed by the aft baggage side covers… a bunch of nutplates were also installed along the tunnel and bottom of the baggage wall. This made way for the installation of the baggage wall itself, which is in two pieces. The bottom piece pretty much goes in as is, but the top piece requires measuring and marking of all attach holes, as well as trimming the curve at the top sides. I used my drafting compass to mark the curve, then cut with snips and finished on the disc sander. Slots are cut for the harness cables to pass through, and plastic wear blocks are fit behind those slots.
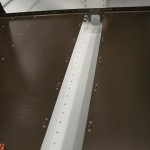
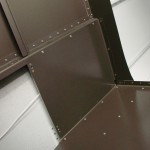
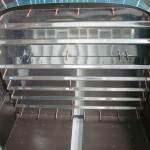
Fitting the baggage wall takes a series of install-remove actions (including the drilling and installation of 20-some nutplates), but when it is finally in, the forward baggage sides are fit; these are the pieces that cover the flap actuator arms, so they are also installed with nutplates. The pieces have one flange trimmed away at an angle, and the forward vertical flange also should be bent down a couple degrees for a nice fit against the bulkhead. Permanent installation of the nutplates on the bottom edge will come later, after primer and paint.
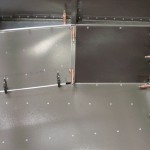
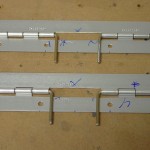
With the baggage area essentially completed, I set the fuselage back upright to allow removal of the aft top skins, later in the week…these will be removed and the gusset plates drilled to the longerons, then added to the pile for primer. I moved on to the aft seat pans, which need to have the seat bottom hinges fitted. After locating the hinge material, I was able to get the six pieces cut to length and ready for drilling to the pans. I think I’ll fit those hinges, pull the aft skins, and do a prep/prime day sometime this week for the parts that have been completed. Putting the seat pans in place isn’t too far off.
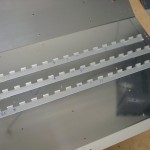
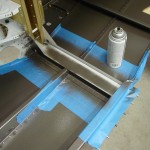
While working on the baggage area, I also masked off the side skins and sprayed paint on the vertical parts of the center section bulkhead, since one side is gold and the other white…paint will hide the obvious marker of a mistake-replaced part!
Hours: 9.1 | Posted in Upper Fuse & Skins |
22nd
May
2010
Riveted the aft deck to the fuselage. Many of the rivets can be reached with various squeezer yokes, but there are several that cannot. Of those several, some proved rather tricky and needed to be drilled out and replaced…the biggest complication was the odd contortions required for bucking; my arm doesn’t bend like that! My left-handed shooting skills are lacking some, which I think is to blame for the bad rivets.
Cleaned up all the drill shavings and vacuumed all the schmutz out of the fuselage.
Hours: 1.8 | Posted in Upper Fuse & Skins |
20th
May
2010
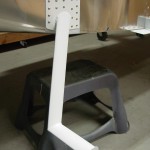
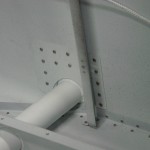
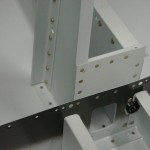
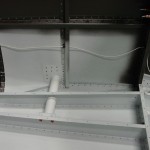
Working on tying up some of the loose ends still floating:
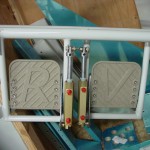
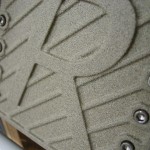
- Finished assembling the brake pedals, including cotter pins on the bolts.
- Installed the steps, bearing blocks, and doublers. Allison helped rivet the steps to the fuselage.
- Enlarged tooling holes in the aftmost bulkheads for snap bushings.
- Finished deburring the aft deck area and riveted the angle crossbeam in place.
- Re-leveled the fuselage, and clecoed the aft deck and spacers in place for riveting.
- Dimpled the baggage floors, and squeezed four rivets on the baggage bulkhead that had been left open earlier.
- Ran a cord through the holes where the rudder cable runs behind the baggage sidewalls, so the cable can be easily threaded through after the walls have been installed.
After cleaning up under the baggage area and spot-priming anything in need, the baggage floors should be ready to go down, and then the baggage wall can be fit. The end-of-year rush should be letting up soon, and I become half-time at work during most of the summer, so I’m hoping to make some decent progress this summer.
Hours: 3.2 | Posted in Upper Fuse & Skins |
9th
May
2010
Sprayed primer and final color on the pile of parts which were etched yesterday.
After they had set up, I squeezed the rivets on the brake pedal assemblies and bolted the pedals to the angle pieces. I think they turned out nicely. The paint thickness added enough to the assembly that I had to turn down the outer flange of the bushings I installed on the pedals…I finished the pilot side before it was time to wrap up.
Need to order those longer bolts for the left step bearing block, so I can get that in and not hold up the baggage floor installation.
Hours: 4.0 | Posted in Upper Fuse & Skins |


