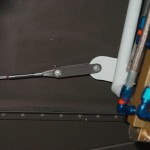
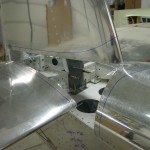
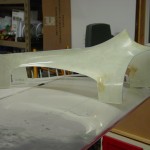
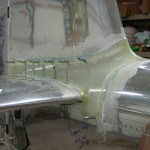
Happy Holidays — Christmas Eve is the anniversary date of the arrival of the empennage kit, so this marks the beginning of year 6 of the project. I really hope to get this plane flying this year, though enough plans have been laid and lost that I won’t bank on it at this point. The biggest remaining hurdles are all the fiberglass work, final assembly, and the “tax kit” (yes–thank you Minnesota–I will be required to pay over $6k in various taxes and fees before I’m allowed to fly it, and then a significant ongoing annual tax, as well…)
With Christmas as the associated family travel receding into the distance, the holiday schedule at work lined up to give us two 4-day weekends in a row. I, like many others, decided to cash in a bit of stored-up PTO to have a 9-day mini-”vacation” from the office, before heading back to build out another recording studio in January, along with new student training and a bunch of deferred maintenance items. And, I’m putting off the non-work work that I need to do a bit longer, in order to log a couple hours on the airplane project.
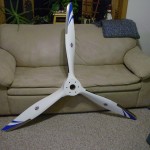
Today’s task was to find the thing under the pile of hay, dust, and remodeling debris that has accumulated in the shop since I last touched it over three months ago in September. Several hours later, the shop was clean again, and most of the tools found and returned to their home. A new storage stack was built out of cabinets removed from the kitchen, and more things stored away in the attic. With the floor swept, I was able to move the plane out where I could walk around it, and, under the dust (it’ll need a good cleaning for sure), it seems to be as I left it — in need of a propeller (which arrived just before Christmas, and the spacer kit should be here next week), some loose ends around the engine, and alot of fiberglass work, plus some finishing touches on the canopy…and the rest of a two-page punch list. Time to get started.
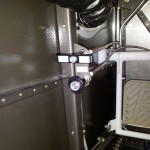
I finished the last task I’d started three months ago: heat-shrinking a piece of tube around a copper buss bar to connect the AFS amp shunt to the alternator fuse. Installed that and the fuse, and put the charger on the battery to top off any charge it lost while sitting (the charger indicated very little had been lost). I decided to install the AFS amp shunt after seeing that the VP-X amperage reading was not displayed in the bargraph metering as I thought it would, nor is there any monitoring/alarming on the amp value reported from the VP-X. Tp be clear, you can see the amps & volts reported by the VP-X, by calling up the VP-X page, but not in the regular bargraph meters in the EFIS. So, I put in the amp shunt, to have a reading there…but I put it in the alternator line, rather than the master buss line. This essentially gives me the ability to monitor two different amp readings: one showing how much current is being provided by the alternator, and a second (from the VP-X) showing the total current being used by the electrical systems. Simple math then gives the current being provided by the battery (or consumed in the manner of charging), and having both available should allow for easy diagnosis of a failing alternator and/or battery.
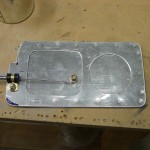
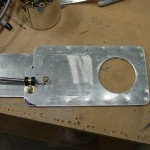
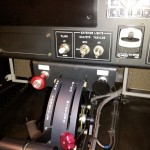
Pulled out the FAB and started looking at how I want to do the alternate air door…this is on the priority list, since I want to install the eyeball for the control cable before I rivet on the top skin, as drilling those holes will be easier without that in the way. I think I will build a sliding door modeled after those I’ve seen on VAF, as there are numerous reports of the swivel door in the plans failing, when the pivot eye breaks off. Also need to find a place to mount the control cable — probably under the parking brake handle, or perhaps on the lower left subpanel, depending on how ugly of a reach it is to access it from the pilot’s seat.
(this log entry has an inflated number of hours, as I believe there were one, possibly two, work sessions that never made it into the log, wherein the amp shunt was installed and a doubler plate fashioned for it’s mounting, the rudder pedal links installed — probably among other unknown things that have been lost from my mind over time.)
