24th
September
2007
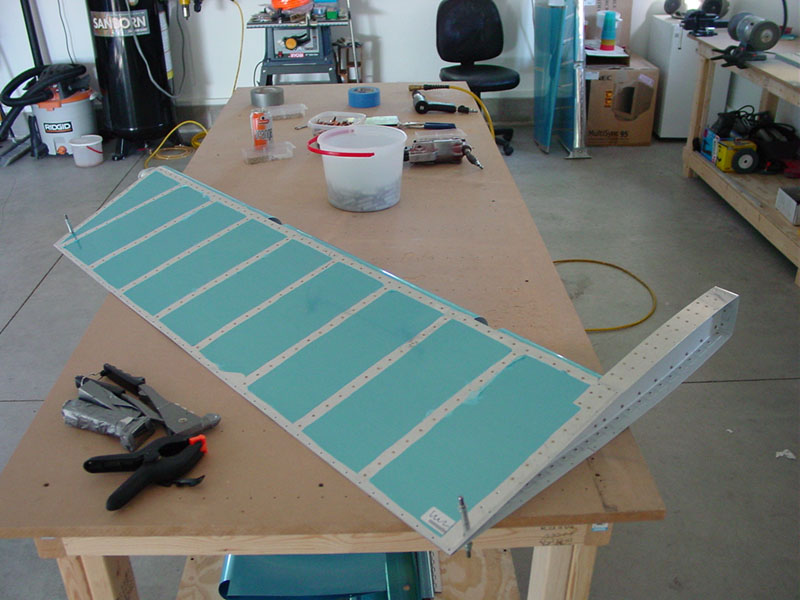
Short time in the shop today after work, started the left elevator. I discovered that I had already drilled the stiffeners to the skin with the right elevator, a nice time-saver. I was able to get the entire skin & skeleton clecoed, match drilled, and taken apart again. The parts await the next step, deburring. The assemblies seem to go quickly, I think partly because I spend plenty of time thinking about how it’s going to go together. I read a “working smart” article once that advised that building is easier if you build it once in your head first…I concur.

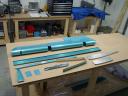
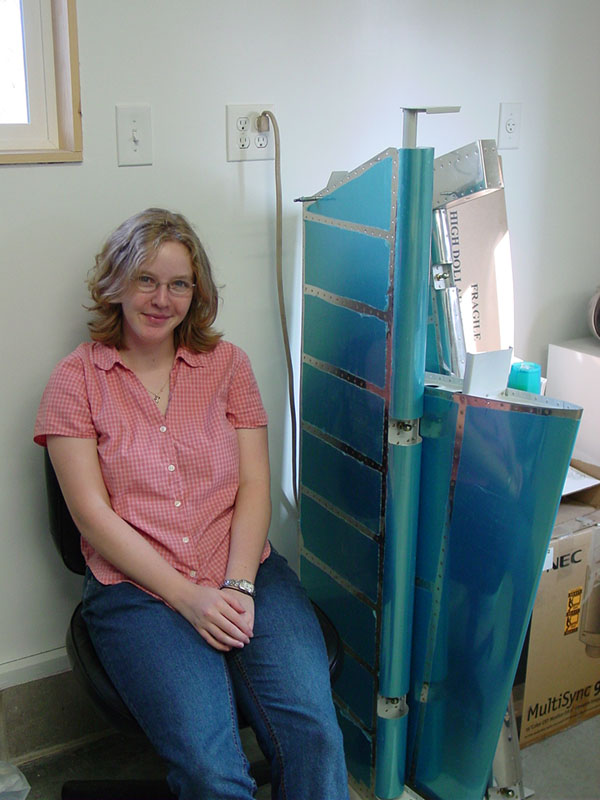
Allison guards the completed parts:

Hours: 1.4 | Posted in Elevators |
7th
September
2007
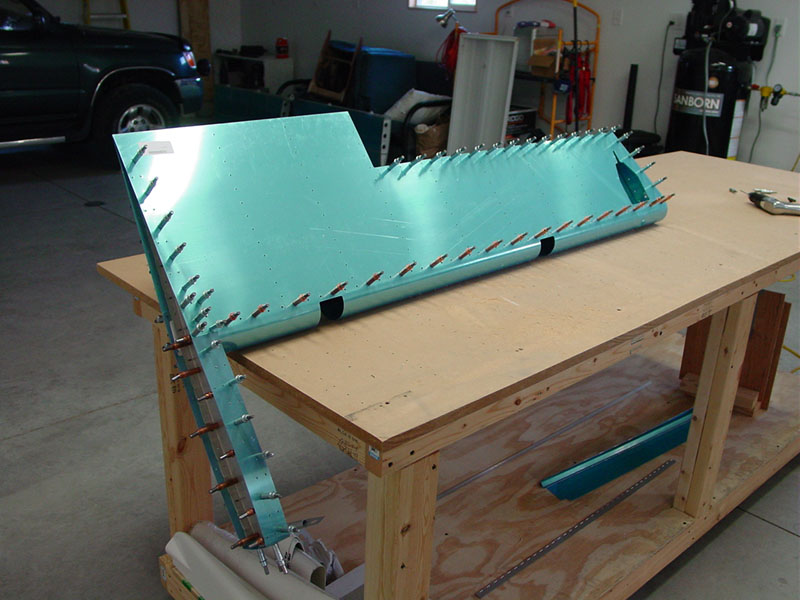
Off from work today (my job is only 20 hours/week for the time being), so, among other projects today, I assembled the right elevator. Everything went smoothly except for a handful of tricky rivets, and those weren’t particularly unsmooth, just required some time spent staring at them and holding up various metal tools to gauge their possible effectiveness as an improvised bucking bar.
Riveted the spar and root with flush rivets, then attached the control horn weldment.

Backriveted the stiffeners to the upper skin surface, then riveted the spar in place–I padded a footed bucking bar with paper towels and duct tape to prevent damage, and the whole row of rivets went easily and set well. I screwed a scrap piece of plywood to the benchtop to hold the lower skin surface down during riveting, and used strips of duct tape to hold the top surface open.

Next, riveted the stiffeners to the lower skin and built the tip rib assembly.

Riveted the assembly in place (here’s 2 of those tricky rivets) to the spar, then weighted the whole thing down and pulled the lower spar rivets. I elected to keep things consistent and did the entire lower spar row with the CS4-4′s depicted in the plans. Once I figured out how to prevent the puller from jumping around as the mandrel breaks, that was easy.
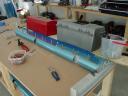
Finally, squeezed the root and tip skin-rib rivets. Two more tricky rivets live in the junction of the two skins, spar, and counterbalance rib at the outboard end…improvised a bucking bar here (the tight-fit dimpler from Cleaveland, padded with tape and held sideways).

All in all, good progress for a day. This elevator will get set aside now to await its trailing edge installation. Left elevator is next.
Also, passed 100 project hours in today’s session! Only 1600 (optimistically!) to go…
Hours: 4.6 | Posted in Elevators |
3rd
September
2007
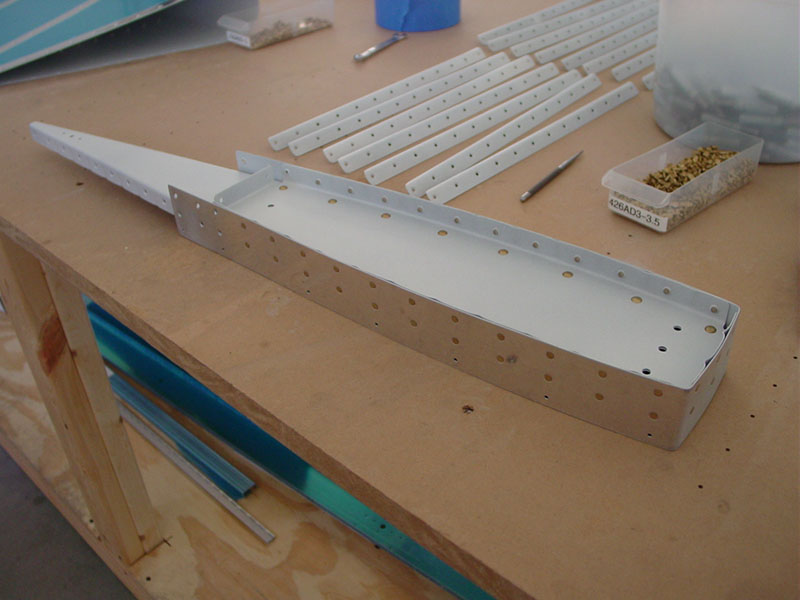
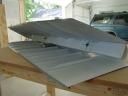
Quick morning priming session for the right elevator parts. Afternoon & evening working on other projects and spending time “at home.” Priming goes pretty fast, actually, once everything’s set up; even cleanup is easy with the waterborne primer/sealer I’m using.
Hours: .8 | Posted in Elevators |
2nd
September
2007
Primer prep on the right elevator parts: etch, scrub, rinse, repeat. Set everything on the rack in the shop to dry out before priming.
Hours: 1.3 | Posted in Elevators |