28th
June
2012
The replacement nav/strobe assembly arrived, along with the replacement wingtip lens. My hangarmate fixed my up with an engine hoist and sling for raising the nose to work on the nosegear. So, time for a night at the hangar.
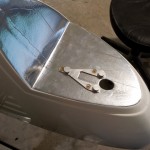
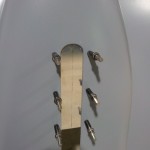
Trimmed the leads on the new nav/strobe, and crimped on Molex pins. Tested it out for awhile, and it stays in sync with the others, so — problem solved. Removed the old unit from the wingtip and installed the new one. The faulty one will be on its way back to AeroLEDs tomorrow morning for an autopsy. While I had it off, I grabbed a photo of the mounting bracket installed.
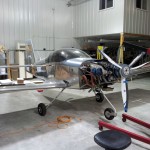
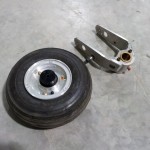
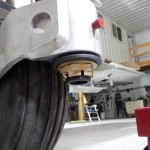
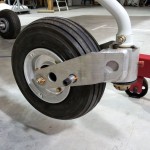
Easily raised the nose with a sling around the prop spacer, hooked to the engine hoist. I removed and disassembled the nosewheel and fork, cleaned the axle shaft/bearing seal mating surfaces, and installed the axle according to the directions (tighten the ring until the bearings don’t rotate with the wheel), then tightened the screw on the preload-setting ring. Set that aside for a bit, while I attended to the fork assembly.
Cleaned & greased the bushings in the fork, along with the spindle. Slid the fork on and installed the washer stack and big nut, then tightened it down with the giant (3/4″ drive) socket/ratchet, until I had the desired figure on the fish scale. My cheapo fish scale I bought isn’t perhaps the pinnacle of professional measuring devices, but it got the job done. On the advice of those who have gone before, I set the breakout force high (26lbs), so it has room to drop as the parts wear in during initial use. Once I had that set, I drilled the 1/8″ hole across the spindle, removed the nut to deburr, and reinstalled the whole stackup with cotter pin.
Reinstalled the nosewheel to the fork, torqued and marked everything, and we’re done.
Hours: 2.2 | Posted in Electrical, Endgame, Gear & Fairings |
24th
June
2012
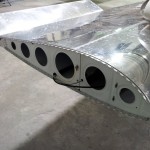
Yup, another day working on the wingtips. I’m not at all convinced that this hinge method is easier, as some said, than doing all the nutplates. I’m reserving judgement on the outcome until I see it all done, though. One upside that I do see is the ability to get the tips “done for now,” and then with relative ease, remove them for additional fiberglass finishing later on. That’s a good thing.
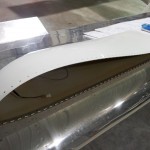
Drilled, mounted, and wired the AeroLEDS wingtip lights. I lined the wingtip cutouts with strips of aluminum tape to give it a pseudo-mirrored look; the glasswork underneath isn’t perfectly smooth, though, so there are some visible seams and lumps. I expect this will be somewhat temporary, and will be redone later with tape over smoother glass, or perhaps a thin sheet of mirrored plexi.
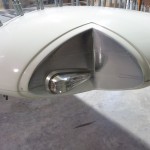
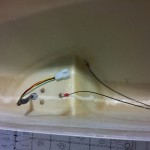
Discovered that the right (green) light assembly seems to have a problem with the strobe sync; while the left and tail strobes flash together, the right one drifts in and out of sync. Swapping left & right, the problem stays with the unit, which indicates a fault with the unit, and not with the wiring. (Update 6/25: AeroLEDS agrees it sounds like an internal problem, and is sending an advance replacement for the suspected defective one. Defects happen, that’s expected, and it’s good to see a company handle it this way.)
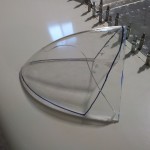
Attempted to start fitting the tip lenses, and promptly put a big crack in the right one with the bandsaw. Dang. New lens on order, and we’ll start over with that.
On to the tip hinges…did all the necessary deburring and countersinking (yawn), and was able to get the hinges riveted to the wings and wingtips, by staying at the airport way too late for a “school night.”
Hours: 9.1 | Posted in Electrical, Endgame, Wingtips |
17th
June
2012
Not a ton of progress today, because I switched vehicles with Allison and in doing so, forgot to load up the stuff I needed to get started on either of the two major projects I was considering. So instead, I worked on some smaller stuff.
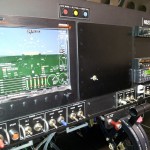
I’m not using two of the three switched aux inputs to EFIS 1, and I want to have some way of marking data in the log files during flight test (for use in calculating performance or looking at some specific occurrence in more detail). I checked the logs files and it turns out that the state of the inputs is logged. So, I decided I would install a simple toggle switch that I could flip to mark data, which I could find later by looking at the logged state of the input.
I have a blank panel I made to cover the open mounting tray for EFIS 2, so I drilled a 1/4″ hole in it and mounted a miniature toggle. Opened up the D-sub connector on the EFIS and swapped the pin in (the other side of the switch is connected to ground). I programmed the EFIS to display “Data Marker” on the screen when the switch is on. It’s not super pretty, or match the rest of the panel, but it is not intended to be a permanent install — just for gathering test data. I’ll remove it completely when I install the second EFIS someday…unless it proves to be amazingly useful for some reason beyond my expectations.
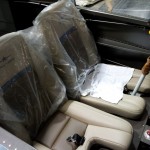
Decided for selfish reasons to do some work on the interior — secured the seat pans with several screws each (they’ll be removed for inspection again, so no reason to put them all in…it will be nice to have a seat, though, to do the engine runs). Pulled out the seat cushions and installed the velcro patches on the seatpans. I need to find the stick boots…
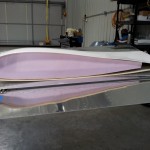
The rest of the session was back on the wings. I made a pair of foam ribs that match the airfoil shape, to use inside the wingtips. Also looked at the wingtips to see how they would need to be trimmed, and swapped around some pieces of hinge in preparation for mounting the tips.
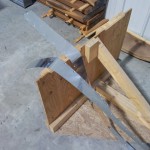
Moving to the inboard end of the wings, I deburred & dimpled the screw holes in the wing root fairings, and mounted them in place. I marked a line 5/16″ or so from the side of the fuselage, down the entire length of the fairing strip, then removed and trimmed to the line. Filed the edges of both strips, and brought them home to finish the edges on the scotchbrite wheel.
Milestone: not only is it our 6th wedding anniversary today, but I also crossed 1800 hours logged on the project. That’s an average of 300 hours per year…thank you, dear, for tolerating & supporting this crazy idea of mine! We’ll go flying soon.
Hours: 5.1 | Posted in Cabin & Interior, Electrical, Endgame, Wing & Tail Joins |
10th
June
2012
Final assembly continues. Finished off the wing bolts — all the -4′s for each wing, and the rear spar bolts. Also installed the screws along the belly skin-to-wing joints. Vacuumed the crud out of the seat pan area, and reinstalled the comm antennas. Trimmed & connected the AOA pressure lines. I need to grab the pitot union connector from home to hook that up.
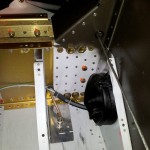
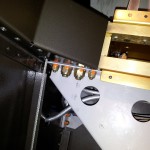
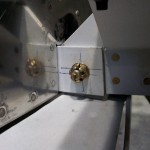
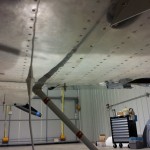
Found my latest mistake, though: I was supposed to install a nutplate on the tank attach bracket before mounting the wings. Oops. The brackets in question are well-attached to the fuel tank, but I should be able to remove their mates from either side of the fuselage for access, drill and rivet the nutplates, then reinstall the fuselage brackets and we’re back in business. Less than an hour, I’d estimate. (I would have done this today, but didn’t think of it until now…in my mind, I needed to email Van’s to see if a different bolt arrangement would work here.)
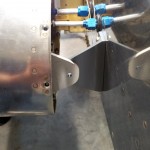
Massaged the RH fuel feed line to adjust its position in relation to the tank nipple. Removed the vent line stubs from both sides and replaced them with new, longer versions. Tightened and marked feed & vent lines on both sides. Adjusted the tension bolt on the fuel caps. Installed ring terminals on the fuel level sender wires, and connected them to the senders. The fuel system is now complete.
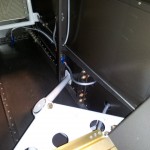
One by one, removed the four bolts holding the VS to the HS forward spar, and added a washer under the bolt head. This in response to consensus on a recent VAF thread after someone found a crack propagating from one of these slotted holes. The washer’s purpose is to provide a larger bearing area for the clamping force of the bolt. Retorqued & marked.
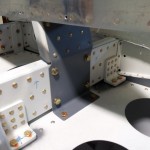
Loosely connected the aileron pushrods to the bellcranks and control column, and inserted the smaller pushrods from the rear of the wings. Pinned the ailerons in place and fooled around with pushrod positioning, stops, surface throw, etc. It’s nearly right as is, but I want to bring a round file and Dremel sanding drum and “customize” the pushrod holes a wee bit more, to make it just right. I also need to rivet on the aileron stops, which are only clecoed right now. Once that’s done, the ailerons can be installed and we can move on to flaps.
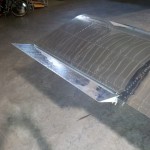
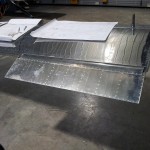
Hours: 7.5 | Posted in Endgame, Plumbing, Wing & Tail Joins |
28th
May
2012
Amid the craziness of this week and next, I made it out to the hangar for a couple hours tonight. Worked on a couple of punch-list items. First, I’d brought the electrical toolbox, so I was able to extract the old sockets from the taillight molex shell, and insert the new ones. Then, install the taillight to the rudder and test both nav & strobe functions.
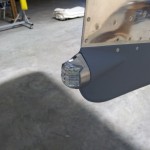
Safety-wired the pitch trim hingepin in place.
Dimpled the screw holes on the bottom fuselage skin, that overlap onto the wing; these would be impossible to dimple after the wings are installed.
Measured for and fabricated a closure plate for the forward part of the nosegear slot in the bottom cowling. I forgot to bring any scotchbrite to the hangar though, so didn’t get it primed or nutplates attached, though all the drilling/deburring/countersinking is complete.
Hours: 2.2 | Posted in Cowling & Baffles, Electrical, Endgame, Wing & Tail Joins |
8th
May
2012
With the towing company on the schedule for tomorrow morning, I wanted to see how many of the little things left on the pre-airport punch list I could get done. A pretty successful, if short, session, I think…
Riveted and installed the lower cowl support bracket that was fabricated on the weekend.
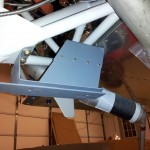
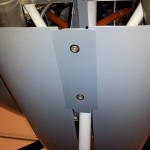
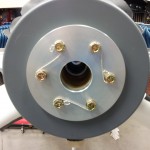
Torqued and safety-wired the propeller. Temporarily reinstalled spinner with three screws (this won’t be final installed until the engine is ready to be run; inspectors will want to see the prop bolts.)
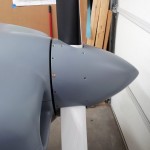
Re-checked the alternator belt tension, which is fine with a breakout force of around 130-140 in/lb on the beam torque wrench. (The desired spec is 11-12 ft/lb, aka 132-144 in/lb).
Tightened up the nosewheel axle bolt temporarily; we’ll revisit all the gear hardware at the airport again.
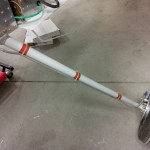
Cut the temporary zipties off the gear legs, and replaced them with new ones after placing a wrap of orange silicone fusion tape around the leg under each tie location.
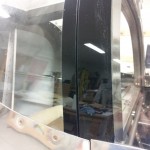
Cleaned up a wavy spot in the aft edge of the canopy on the RH side, straightening it out along a marked tape line. This gives an even gap ~1/8″+ all the way around the canopy split, which should be wide enough to prevent expansion in the heat causing the canopy to stick shut, based on what I’ve read.
Swept the shop, moved some things around, and pulled the plane in front of the garage door, so it’s ready to roll out tomorrow. Taped down things that could rattle in the wind while moving. Vacuumed the various debris out of the cabin. Took a fistful of photos.
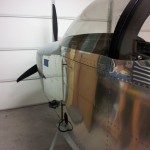
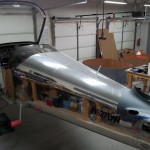
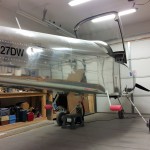
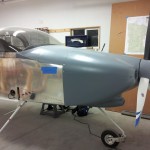
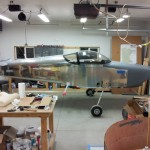
After 1751.5 shop hours, ~5.5 years after project start, she’s going to the hangar.
Hours: 2.4 | Posted in Canopy & Frame, Cowling & Baffles, Engine, Gear & Fairings |
4th
May
2012
Drilled a 3/16″ hole in the breather tube and bent it upwards with a punch, as recommended by the Lycoming SB to create a “whistle slot”, the function of which is to relieve crankcase pressure in the event that the breather outlet should ice over in cold temperatures. The common RV FWF layout (like mine) has the end of the breather tube over the exhaust, which should prevent that from happening anyway, but it’s the belt & suspenders approach.
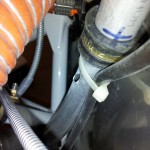
Added some spiral wrap around the oil temp, oil pressure, and fuel pressure sensor wires, to offer them more protection and support. Larger wrap was added to the bundles of wires leading to the Pmags, for protection & support.
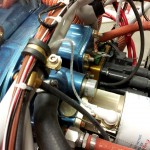
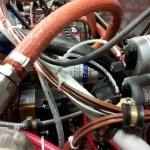
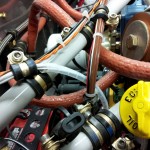
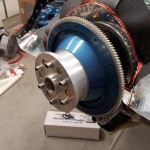
Flywheel set in place with alternator belt, and prop spacer loosely secured to it with three bolts. I want to be pretty sure I’m ready for this step before putting the bolts in for real with Loctite, so I’ll sleep on it tonight. Of course, while fitting it, I managed to knock the spacer on the concrete floor (aargh! yes, bad words were used…), causing dings on two opposite sides. I had to file the resultant bumps down flat, so the front & back surfaces were once again a level plane to seat against the flywheel & prop, and put some primer over the filed spots for protection.
If I can arrange a flatbed truck, and align it with time off work, she might move to the hangar middle of the week.
Hours: 2.0 | Posted in Engine |
7th
April
2012
Started the day with another layer of epoxy on the cowling halves. Should be ready for sanding on Monday.
Covered critical parts with plastic and washed the engine with Dawn and lots of water, to remove the fiberglass dust left behind from all the sanding over the last months. Dried with the air hose, towels, paper towels, and plugging in the engine heater. It really starts to get warm quite rapidly.
Trimmed & smoothed the front baffle, and cut some pieces of airseal, then drilled and punched holes. I won’t do the final attach of that until I have a chance to re-fit the cowls to check for proper clearances & airseal contact. Red RTV’d the perimeter of the baffles all around the engine, and filled various holes at corners & such.
Touched up a couple dings in the engine mount powdercoat with the powdercoat-colored paint.
Hours: 6.0 | Posted in Cowling & Baffles, Engine |
6th
April
2012
Sanded the rear edge split lines of the cowling to provide an even 1/16″ gap to allow for paint. Sanded the gearleg cutout to center the leg, by widening it to one side & straightening the lines.
Rolled on a layer of slightly thinned epoxy, then later in the day, a squeegeed second layer. It’ll get another layer in the morning, then allowed to fully cure before sanding.
Spent a bunch of time wrestling with adel clamps in the process of installing a metal piece for the last 16″ or so of the breather tube. The end of the tube is cut to align against the left exhaust pipe.
Hours: 5.0 | Posted in Cowling & Baffles, Engine |
21st
March
2012
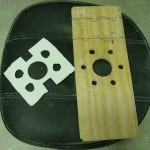
Sanded and shaped the micro filler added to the cowl in the last session. Refit the cowl to the plane and made up a “tool” to sand the nose to a consistent gap behind the spinner: a piece of plywood drilled with the prop hole pattern, and some cardboard shims to adjust the spacing. By bolting this up in place of the prop/spinner, I could set the space between the plywood and the cowl nose. Adjusting the spacers so that my sanding block (long piece of 1×3 with abrasive glued to one side) would slip between the board and the cowl, and sanding until it moved freely, worked quite well. It turned out that a couple areas of the nose needed more filler, so the cowl was removed again and more micro applied. More sanding to ensue on the weekend…
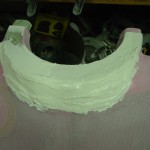
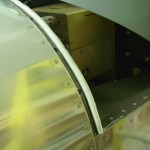
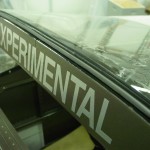
Decided to quit reinventing the canopy seal wheel, at least for now (since they’re easy to keep fussing with over the long term)…located & installed the factory canopy seals. The white P-profile foam one in the front, which looks like it will work, and the teardrop-profile one at the canopy bow. This one is made of a more slippery rubber, rather than the foam of the one I had tried earlier; that fact allows the canopy to close with much greater ease–the foam rubber one was “grippy” on the plexi as it closed. I installed this with taller part of the teardrop facing forward, so a valley is formed between the seal and the rear window plexi; the hope being that this will provide a channel to direct any water that enters the gap down to the sides.
More work on the list:
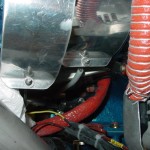
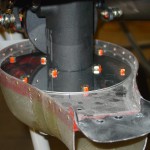
- Installed metal locknuts on the baffle tension rods.
- Torqued & marked the “squeeze bolt” on the fuel servo-airbox ring.
- Cleaned the airbox, fully assembled with bolts. Torqued & marked all the airbox bolts.
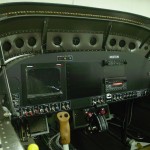
- With the canopy seal sorted for now, reinstalled the EFIS and tested.
Hours: 6.5 | Posted in Canopy & Frame, Cowling & Baffles, Engine |


