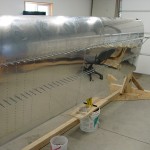
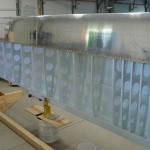
26th July 2009

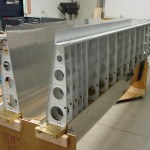
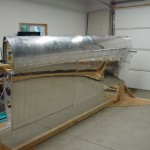
Right wing body complete

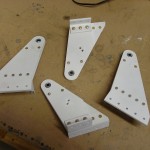
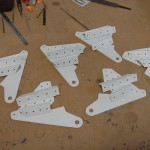
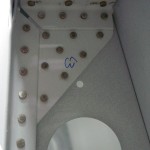
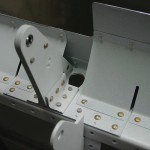
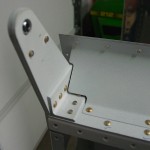
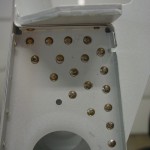
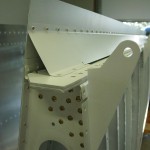
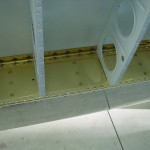
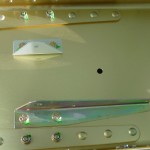
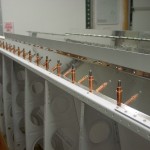
Hit the ground running today and riveted on the flap brackets and associated angles.  Nothing major different than the left wing process; the only “problem” rivets are those three spar-angle rivets nearest to the top skin, but with added experience from yesterday, then came out passably.  One ugly “smiley” in that awful root-end rivet, but after yesterday’s lesson, I decided to leave it as-is.  After the brackets were in place, I riveted on the gap fairings, and the right wing is done.

Right inboard flap bracket Right root rivets Right outboard flap bracket Right wing gap fairing

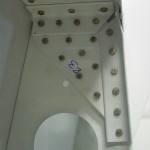
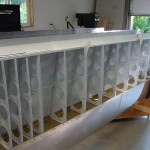
Wrapping up, I vacuumed the aluminum shavings out of both wings, then went through them and spot-primed the scrapes and scuffs from the riveting process.  Torque-sealed the fuel tank bolts on the right wing (I had anready done the left wing while it was in the jig).  Bolted the bellcrank brackets in place on the right wing (the bottom bracket replaced by the Trutrak servo mounting bracket; I have left the top servo support bracket out for now, because with no servo, one end is loose in the air, and would be free to vibrate.)  Torqued and sealed the bellcrank bolts.

Right wing fuel tank bolts Bellcrank & roll servo bracket Right wing body complete

Spent some time at the end putting tools away, sweeping the shop, and re-organizing to fit two vehicles into the garage bays.

Hours: 3.3 | Posted in Ailerons, Flaps | Comments Off

26th July 2009

Left wing body complete!

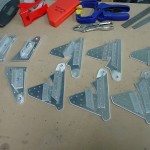
A solid full day in the shop ahead of vacation plans, which resulted in good progress on the wings.  Started out by etching and priming all the flap & aileron bracket parts, plus the gap fairings…a task made interesting by the afternoon’s weather.  I set the parts out on the priming table in the sun, and by the time I had loaded the gun with primer, it had begun to rain.  Inside with all the parts, and start to prime in an impromptu cardboard “booth”…  Soon enough, the sun was back and normal operations could resume.  Primed everything and set it aside to dry, while I worked on deburring and dimpling the #40 holes in the wing skins that attach the gap fairings.

Once the gap fairings were dry, I dimpled the skin attach holes there as well, then set about assembling the aileron brackets.  Had to drill out a couple rivets in two of the brackets when I realized I had misread the plans, and not countersunk for the installation of flush rivets in a few spots.  Oops…not a big deal to fix, though, and the brackets were soon assembled.  Installation onto the wing was relatively painless, the riveting being rather straightforward.
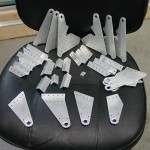
Bracket parts etched, ready for priming Aileron brackets assembled Flap brackets ready for installation

With the aileron brackets in place, I started work on the flap brackets, at which point I realized that I had never countersunk the holes where the skin dimpled nest into those pieces either.  Took care of that, and spot-primed as necessary.  I first installed the rivets that hold only the main piece of the flap brackets to the rib (many of which are squeezable), then went back and installed the bracket-spar angles, then the bracket-skin angles.  It feels more productive to do a whole set of related tasks while a tool (gun, squeezer, air regulator, etc) is configured for a particular situation, rather than having to constantly reset the tool.
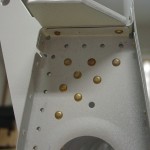
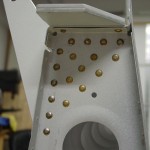
Bracket-rib rivets first Bracket-rib-angle rivets second Left wing, outboard flap bracket

The only real problem rivet was the 470 rivet at the root end, where the flap bracket attaches, as it’s a rather long (-9) rivet, and it’s close up to the skin, requiring the use of the double-offset rivet set.  A tool which I have never been satisfied with the use of.  It seems as if the double-offset allows the tool to “spring” and doesn’t transfer the energy of the gun into the rivet nearly as well as the straight or single-offset sets do.  After drilling the rivet out twice (I had distorted the manufactured head with the set), I had a hole that was ovaled in the top piece of metal (the rear spar doubler).  I decided to address that by making that rivet a flush rivet, same as the other two rivets on that row.  The countersink removed the ovalled portion of the hole, and I was able to squeeze the rivet with the 4″ no-hole yoke on the squeezer.  The bugger is still not perfect, but there are many other rivets in that area.  I’ll point it out to my tech counselor for his opinion on the next visit, as well.  Today’s lesson?  If the rivet is good enough, don’t try to drill it out (again!) in hopes of making it perfect…
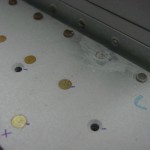
Troublesome left wing root rivet

All in all, the left & right aileron brackets are installed, and the left flap brackets are in.  After all that, it was a quick job to cleco on the left wing gap fairings and rivet them in place.  Only 2 rivets in the gap fairings require use of the gun (where they’re too close to ribs or brackets to fit the squeezer body); the rest are squeezable.  I love my pneumatic squeezer and longeron yoke!
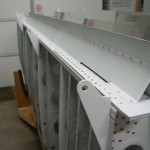
Gap fairings installed Inboard aileron bracket Outboard aileron bracket

Hoping to get the right wing to the same point tomorrow, then I should be able to roll the wing cart off to the side of the shop and move the fuselage kit out of the second garage bay, so we can get both cars in and secured during our trip.  Looking forward to watching the news out of Oshkosh this week, as well.
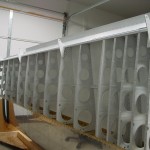
Left wing body complete

Hours: 9.3 | Posted in Ailerons, Flaps | Comments Off

21st July 2009

Endless deburring

The task that never ends…  deburred & edge-finished all four gap fairings, as well as the #30 holes in the spar and ribs for the flap & aileron brackets.  Still need to deburr the #40 holes in the top skins, and dimple where necessary.  The pieces with the little radii, cutouts and such are the worst to deburr — you end up using several different files, including the set of miniature files, plus scotchbrite pads.  Still not as bad as those square corners of ribs, though.

Hours: 2.1 | Posted in Ailerons, Flaps | Comments Off

20th July 2009

Drill, deburr, repeat

Drilled the flap & aileron gap fairings to the skins and spars, then removed them from the wing.  Deburred all the holes on the components of the flap & aileron brackets, and finished the edges with files and scotchbrite wheel.  With time, luck, and perseverance, I might have all this stuff installed before we leave for AK on the 29th.

Drilling gap fairings to wing Flap & aileron bracket parts

Hours: 2.6 | Posted in Ailerons, Flaps | Comments Off

19th July 2009

Flap bracket fabriction, continued

Aligned and drilled the flap bracket angles that were fabricated yesterday; lots of drilling, but easy enough, with a set of 12″ bits and an angle drill to use where necessary.  Clecoed on the bottom skins and back-drilled those holes into the angles as well, then removed the skins, and all the flap & aileron brackets.  These parts are ready for deburring and priming.  Finished up the session by clecoing the flap & aileron gap fairings in place.  They need to be drilled to the wing, then they’ll be ready for prep & prime.  This is the last batch of parts to prime & install before control surface fabrication begins in earnest.

No progress pictures, as the camera batteries are dead.

Hours: 2.5 | Posted in Flaps | Comments Off

18th July 2009

Flap bracket fabrication

Worked on fabricating the flap bracket angles, using the hacksaw and bench sander.  Cut and shaped all twelve pieces in preparation for drilling.

Hours: 1.4 | Posted in Flaps | Comments Off

14th July 2009

LE light lenses and wing miscellany

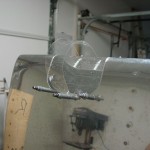
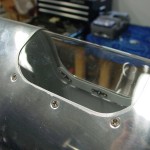
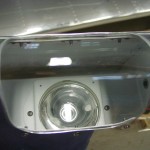
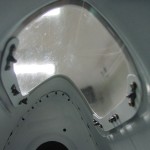
Fit the leading edge light lens to the right wing, using the same process as for the left wing earlier.  Once that was fit (always easier the second time!), and the light bracket mounted in the wing, I assembled both sets of retainer strips that hold the lenses in place–these parts were primed along with the right wing skins.  Used the double-stick tape to attach them to the lenses, and screwed the lenses in place on both wings.  I did install the thin foam weatherstrip tape inside the opening, as listed in the instructions.

Fitting right LE lens Right LE lens installed Right LE assembly Right LE lens installed, inside view

Once both lenses were in place (which completes the LE lights, save for the bulbs) , I flipped the right wing off the stand and into the wing cart, and took apart the stand.  Clecoed the right wing flap & aileron brackets in place, pulled out the aileron/flap gap fairings, and looked at how the flap bracket angles need to be fabricated.  Spent awhile cleaning up the shop from all the projects that have been going on lately…starting to look decent in here again–who knows, might be able get a car or two in here soon!

Both wings in cart

Hours: 3.2 | Posted in Accessories & Mods | Comments Off

14th July 2009

Right wing riveting…done

Before leaving for a day with the girls, Allison helped drive the remaining rivets on the right wing.  All went smoothly, and we finished the main spar and J-stiffener in around an hour.

Right wing top skins finished

Hours: 1.1 | Posted in Skin Panels | Comments Off

13th July 2009

Right wing riveting

In a morning and an afternoon session, Allison helped rivet the second pass on the top skin ribs.  After that was done, I slid the J-channels in place and clecoed them to the skins.  I also squeezed the rear spar-skin rivets, so all that remains on the top skins are the skin-spar rivets and the J-channels.

Also picked up lumber and a sheet of 3/4″ MDF to build a box for flap & aileron construction.

Right wing riveting in progress Right wing riveting in progress

Hours: 2.1 | Posted in Skin Panels | Comments Off

11th July 2009

Right wing riveting

This morning, spent a couple hours at the quarterly meeting of the Twin Cities RV Builders’ Group, chatting about planes and listening to stories.  Had the chance to visit Mike Behnke’s recently flying -9A and sit in the copilot seat.  A well done airplane.  Really liking his panel; even better in person than in pictures.  Playing with my paper cutouts, I figured that two AFS screens (my long-term plan) should be configured one on the pilot side, and one on the copilot side, with the radio stack in the middle.  Sitting in Mike’s cockpit (where both screens are in front of the pilot), I had no problem seeing both screens from the right seat–and since the displays share data and any screen can appear on any display, the right-hand display could be configured as the flight data screen if the copilot is flying.  He also still has room on the far right of the panel for a third display; I think an AFS 3400 would fit there, or a Dynon of some variety for dissimilar backup.  His panel is ~1 1/4″ longer than stock, but legroom didn’t seem to be an issue (I was able to sit with my knees bent up), and I think it might be possible to tighten things up a bit more, if a person was concerned about the panel length.

In the evening, Allison helped rivet the rest of the first pass on the top skin rivets.  After that, we fixed the few rivets that needed drilling out, and I pulled clecoes in preparation for the next session.  Also drilled out the rivets on the left wing that I squeezed into the holes intended for the root fairing screws…a stupid oversight of plans-reading on my behalf.  All those holes have also been dimpled, so I’ll be reading ahead in the manual to see whether that’s a problem, or if I need to flatten them out.

Hours: 1.2 | Posted in Skin Panels | Comments Off