Cabin assembly
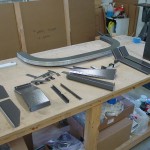
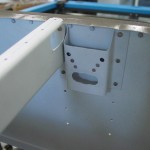
Hours: 4.9 | Posted in Cabin & InteriorToday’s session was mostly about turning little parts into larger assemblies, some of which got mounted to the fuselage. Riveted together the fuel pump doghouse, roll bar brace, forward canopy decks, and subpanel left/right sections.
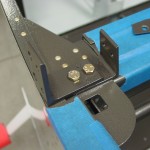
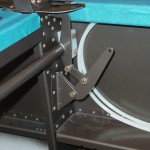
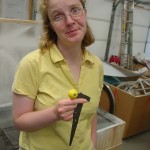
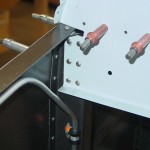
When the assemblies were assembled, I set about installing things…first up, the main canopy latch. After riveting on the latch bellcrank pivot bracket, the roll bar brackets, and latch weldment were bolted in place, and the latch bellcrank installed and connected to the weldment, complete with cotter pins. The side latch handle isn’t installed yet (I’m waiting on some UHMW tape to arrive), but the pushrod is assembled, and the knob screwed to the handle.
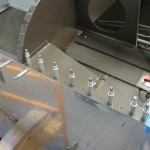
Before installing the subpanel, the firewall needed to be dimpled for the flush rivets which attach the subpanel ribs. The top two holes of each were reachable with the squeezer, but the lower three were not. I ended up using the rivets themselves as a dimple die–”pre-dimpling” the firewall with a couple taps of the gun, with the rib backed by a squeezer yoke; it then dimpled itself nicely as the rivet was driven. This worked beautifully on the rather malleable stainless firewall; I don’t know how well it would work on an aluminum piece, especially anything thick.
That done, the subpanel assemblies were inserted and clecoed, then riveted to each other, the firewall, and side bulkheads. Shooting the side bulkhead rivets required undoing one of the adel clamps securing the fuel line and gently bending it out of the way for a moment to allow access for the gun. Next, the forward canopy decks were clecoed in place. Also stuck the rudder pedals in, lest that be forgotten until access is made impossible; they’re not yet bolted down, so could be strapped up out of the way to allow for access to the lower firewall.
Tonight’s art project: cut out the templates for the NACA vent installation.
