30th
May
2011
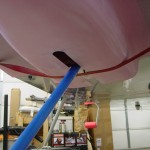
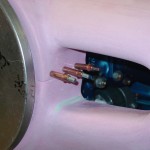
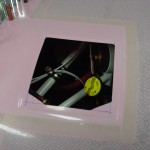
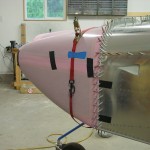
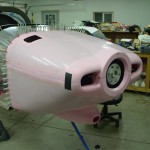
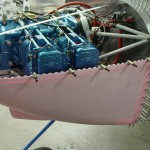
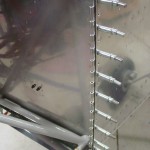
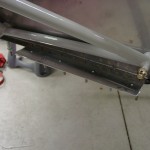
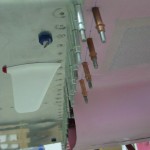
Finished drilling the cowling hinges to the lower cowl, and clecoed them in place. Cut the steel hinge pins and filed the insertion slot for them in the cowling. Refit the top cowl in preparation for drilling the upper hinge half.
Hours: 2.5 | Posted in Cowling & Baffles |
22nd
May
2011
Hours: 6.0 | Posted in Cowling & Baffles |
21st
May
2011
Spent a bit of time fussing with the control cables again. I didn’t come up with a bracket solution that satisfied me, because the too-short mixture cable would need it’s bracket a couple inches closer to the firewall than the throttle. The extender wouldn’t solve that, just make it reach the lever. So, I guess I’ll order a longer custom cable, wait for it, and get it in right; then sell the short one to someone who can use it. Also, more aluminum angle to redo the bracketry.
Cut the side hinges and hinge shims that will hold the lower cowling, and drilled them to the firewall. Marked and cut the slot in the cowling for the gear leg. Cleaned up the fiberglass on the backside of the nose flanges and refit the cowls together. Clecoed the top cowl back on the plane, then put the bottom cowl on via the two clecoes in the nose, and a cargo strap under the rear portion. The fuselage end seems like it will fit decently, but the nose doesn’t hold alignment with the spinner backplate — the gap at the top right side is 1/4″, and the lower left is 1/2″. This might close up a bit with the rest of the fitting, but it looks like a load of filler will be required. (Apparently this is not uncommon.)
Hours: 4.5 | Posted in Canopy & Frame, Engine |
19th
May
2011
Spent a bunch of time working on engine controls today. Figured out and fabricated brackets for the throttle and mixture controls, and temporarily installed, along with the cables, to test fit and function. Trimmed the AFP brackets to match and provide clearance from the engine mounts. Had to adjust the angle of the mixture arm, and use the shorter hole on the throttle arm, for the cable throws to work out with the throttle quadrant. Extra holes for more throw also had to be put in the quadrant levers, a common item. The throttle lever doesn’t have as long of a throw as I’d like (1/4-3/8 each end remaining), but it’s perfectly workable. Couldn’t hook up the mixture at the quadrant end, as the cable is just a bit too short…aargh. Will have to order one of the threaded extenders from Spruce, way cheaper than a new custom cable.
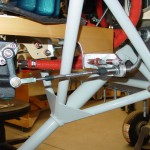
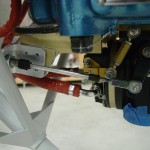
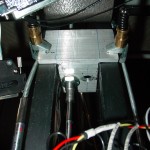
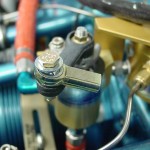
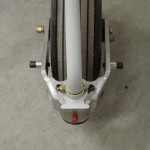
Put a rod end on the purge valve…still need to engineer that bracketry and FW passthru. Also swapped out the bolts in the nosegear fork for longer ones with spacers, which give a better grip for the towbar to hook on to.
Hours: 6.0 | Posted in Engine |
15th
May
2011
You know you haven’t done much work on the plane when the “remember me” on the build log has expired and you have to go find your password. Busy times at work, church, and freelancing. Should be done in another 4 weeks, then summer can begin.
Worked on fitting the cowling halves together for a bit tonight. Cleaned up the flanges around the center hole, and got them fitting decent. Drilled a #30 hole in either side to maintain alignment; will be filled later. Need to do some reading up on cutting the gear leg notch, and the filler plates that go in said notch.
Hours: 1.0 | Posted in Cowling & Baffles |
8th
May
2011
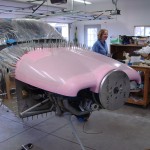
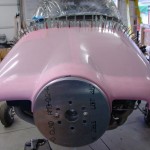
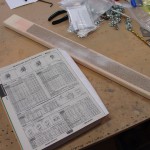
Made up a long sanding block with a 2′ length of 1×3, and a piece of sanding paper cut in half lengthwise. A little drywall bead adhesive spray, and presto. Worked on the fit of the top cowl with a bunch of on-off cycles. I found that I needed to trim back the camloc strips at the lower sides, because they were hitting the thicker honeycomb-core portion of the canopy. With everything fitting correctly, and the canopy shimmed at the front with chunks of an old Mouser catalog, I carefully drilled the holes to #30 along the camloc strip, starting in the center and working down. It seems to have gone alright, the positioning looks fine, even after the catalog was removed. I intentionally left as little gap at the rear as possible, and it’s a bit uneven in spots, so ‘ll have to carefully sand it to the recommended 1/16″ paint gap. It’s surprising, actually, how solid the cowling is when it’s clecoed on all around.
Hours: 3.0 | Posted in Cowling & Baffles |
7th
May
2011
A bit of FWF work: installed adel clamps for the oil and manifold pressure lines, and looked at possible clamping locations for the fuel line to the spider.
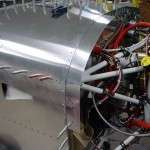
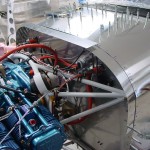
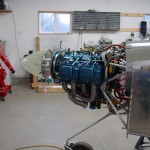
Finished the preliminary work on the camloc strips for the upper cowling: trimming to length, completed drilling to the firewall, transferred the layout lines for the camlocs, and drilled for the camlocs with the first template (3x #30 holes). Clecoed the strips back on, and set the upper canopy in place. Marked a rough trim line that just clears the clecos, and cut with the oscillating saw. More fitting will be required, of course.
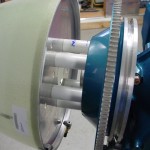
Stopped by the airport while out and about today and picked up a possible lead on a hangar space.
Hours: 4.0 | Posted in Cowling & Baffles |
