6th
June
2012
Dispatched several items from the punch list today…
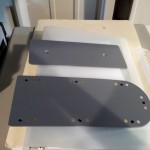
- Installed nutplates & test fit the forward lower cowl closure plate.
- Crawled into the tailcone with a vacuum and cleaned out all the construction debris, cut off zipties, and other junk that had accumulated back there.
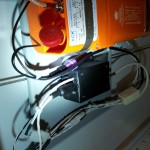
- Wrapped electrical tape around the mini-DIN connectors feeding power and GPS to the ELT. Personally, I dislike the mini-DIN connector (there are so many other, better choices), but it’s what the manufacturer chose, so we’re stuck with it here. Hopefully the tape will prevent the connector from disconnecting.
- The APRS tracker also has a mini-DIN (ugh), but even worse–where the ELT has both halves inline, the tracker has one chassis mount side, which prevents taping the two together. So, I put a glob of Goop adhesive at the joint between connector shell & chassis, which should hold it together. The preload on the cable tends to hold the connector in, so hopefully this will secure it. Thankfully, if this comes undone, it’s an annoyance, rather than a critical failure.
- Removed the springs from the roll trim assembly, which disconnects the roll trim from the control system. This done at the suggestion of the pilot who will do my first flight, the theory being that it makes any heavy-wing or out-of-rig situations easier to notice and diagnose.
- Found one spot missing a ziptie under the panel, so added it while laying upside down on the cabin floor.
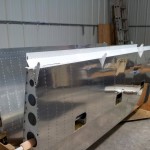
- Uncovered the wings and wiped off the shop grime and bug poop.
- Removed the flaps & ailerons from both wings, and unbolted the wings from the cart, in prep for mounting the to the fuselage.
Hours: 3.3 | Posted in Cowling & Baffles, Endgame |
30th
May
2012
Just a quick jaunt to the airport tonight — brought out some scotchbrite so I was able to scuff & prime the lower cowl closure plate. Also countersunk the holes in the cowl which attach it. Walked around the plane and blew off some dust. Couple more little things and there’ll be no choice but to stick the wings on.
Hours: 0.8 | Posted in Cowling & Baffles, Endgame |
28th
May
2012
Amid the craziness of this week and next, I made it out to the hangar for a couple hours tonight. Worked on a couple of punch-list items. First, I’d brought the electrical toolbox, so I was able to extract the old sockets from the taillight molex shell, and insert the new ones. Then, install the taillight to the rudder and test both nav & strobe functions.
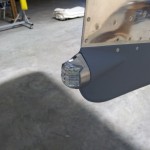
Safety-wired the pitch trim hingepin in place.
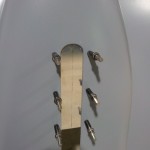
Dimpled the screw holes on the bottom fuselage skin, that overlap onto the wing; these would be impossible to dimple after the wings are installed.
Measured for and fabricated a closure plate for the forward part of the nosegear slot in the bottom cowling. I forgot to bring any scotchbrite to the hangar though, so didn’t get it primed or nutplates attached, though all the drilling/deburring/countersinking is complete.
Hours: 2.2 | Posted in Cowling & Baffles, Electrical, Endgame, Wing & Tail Joins |
17th
May
2012
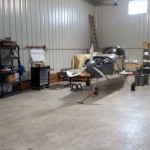
Had the day off work today, and with the list of concerts to edit temporarily down to none, it was off to the hangar. First, though, it took almost 2 hours to sort through, collect, and pack up everything that needed to move from the shop to the hangar. On the way, stopped at Menard’s a picked up a rolling toolbox and a plastic shelf thing that were on sale. After setting those up (could already use a second shelf thing), and putting things in their place, my corner of the hangar is becoming a workspace.
Popped off the top cowl in order to re-install the dehyrator plugs after baking the silica gel. Adjusted a couple of the camlocs on the top that were too tight, and installed the spring on the oil door.
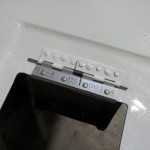
Climbed way back into the tailcone to install spiral wrap on the wire bundle that runs aft, for additional protection against chafing, should it rub against the skin between the ziptie bases. Also wrapped the taillight wire bundle as it passes through the aft bulkhead and through the rudder.
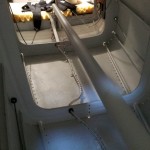
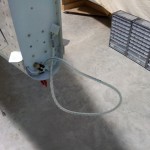
Installed the HS & VS, torqued & marked all bolts — except the one that also attaches the case ground for the taillight, since I forgot to bring the crimper & ring terminal for that wire.
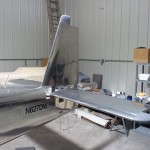
Removed the rod ends from the flaps and reinstalled with new lockwashers and blue loctite.
Hours: 7.5 | Posted in Cowling & Baffles, Endgame, Wing & Tail Joins |
8th
May
2012
With the towing company on the schedule for tomorrow morning, I wanted to see how many of the little things left on the pre-airport punch list I could get done. A pretty successful, if short, session, I think…
Riveted and installed the lower cowl support bracket that was fabricated on the weekend.
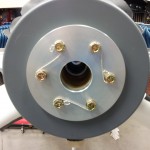
Torqued and safety-wired the propeller. Temporarily reinstalled spinner with three screws (this won’t be final installed until the engine is ready to be run; inspectors will want to see the prop bolts.)
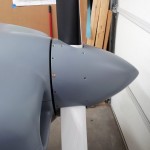
Re-checked the alternator belt tension, which is fine with a breakout force of around 130-140 in/lb on the beam torque wrench. (The desired spec is 11-12 ft/lb, aka 132-144 in/lb).
Tightened up the nosewheel axle bolt temporarily; we’ll revisit all the gear hardware at the airport again.
Cut the temporary zipties off the gear legs, and replaced them with new ones after placing a wrap of orange silicone fusion tape around the leg under each tie location.
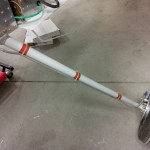
Cleaned up a wavy spot in the aft edge of the canopy on the RH side, straightening it out along a marked tape line. This gives an even gap ~1/8″+ all the way around the canopy split, which should be wide enough to prevent expansion in the heat causing the canopy to stick shut, based on what I’ve read.
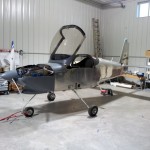
Swept the shop, moved some things around, and pulled the plane in front of the garage door, so it’s ready to roll out tomorrow. Taped down things that could rattle in the wind while moving. Vacuumed the various debris out of the cabin. Took a fistful of photos.
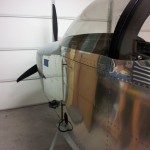
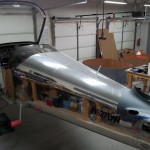
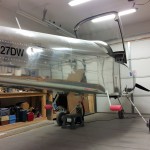
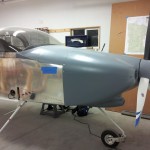
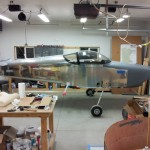
After 1751.5 shop hours, ~5.5 years after project start, she’s going to the hangar.
Hours: 2.4 | Posted in Canopy & Frame, Cowling & Baffles, Engine, Gear & Fairings |
5th
May
2012
More work at the front of the plane today — installed the prop spacer bolts with Loctite blue 242 and torqued to 45 ft/lb according to the installation instructions: three steps (15, 30, 45) plus two final passes at 45. Temporarily bolted the spinner and prop on, as well. Fit both cowlings, and cut a piece of cardboard to slip between the spinner and cowlings when installing and removing, to prevent scratching up the cowling nose. She looks pretty good.
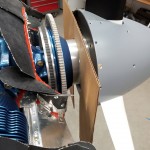
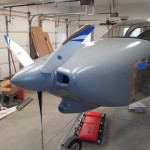
More shop visitors today, co-workers of Allison came to check out the 110 poultry that are being brooded in the garage temporarily, and they looked over the plane while there as well.
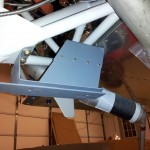
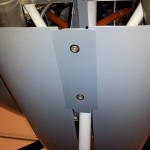
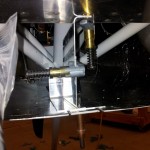
Time to deal with the last loose end on the cowling (aside from installing the oil door hinge pin, for which I’m still awaiting the replacement spring): fabrication and install of the lower outlet support bracket. This is a contraption made up of several metal strips and a few angled pieces; it bolts to the nosegear leg socket, and to the firewall flange, and provides a channel which captures the lower cowling. The bottommost piece is held on by screws, so it can be removed to allow the cowling to be removed. Anyway — worked on getting the angles right, clamping things up, drilling for the various rivets and nutplates. Finally, deburred everything, scuffed, cleaned, and sprayed with rattlecan primer. Will rivet & install next session.
Posted in Cowling & Baffles |
2nd
May
2012
Worked tonight on finishing the odds & ends of the cowling. Installed the airseal on the bottom of the airbox inlet duct; after wrestling with the phillips screws while test-fitting this, I used some low-profile hex head screws (same as I’m using on the interior panels, actually), to hold it in place, which made the install easy.
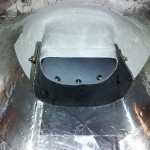
Final-drilled and countersunk the holes to attach the inlet ramp airseal, and fabricated aluminum backing strips which serve to clamp the airseal in place. I’ve left just over an inch of airseal extended; plenty enough to make a good seal on the baffle ramps, and it also folds forward well, for installing the cowl without too much difficulty. Those are #6 screws; I may be overusing the tinnerman washers (essentially, everywhere a countersunk screw bears on fiberglass), but I like the way they look.
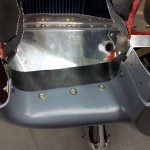
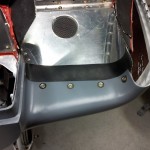
With those items in place, and a test-fit done, I affixed some 1/8″ ceramic refractory felt to the inside of the bottom cowl, in the places where the exhaust system runs closest to the fiberglass. This stuff is quite good at heat shielding (it’s used in kilns and the like), so it will hopefully protect the glass and paint from any excess heat. Taped the edges with aluminum tape. Then, applied the self-adhesive aluminum heatshield foil from Van’s to the inside cowl, over the top of the ceramic and tape. I was skeptical of this foil’s ability to stick, but it turns out it has a strong adhesive; hopefully it’ll hold up as well as it seems. I used a rubber roller and plastic squeegee to stick it down well and smooth it out.
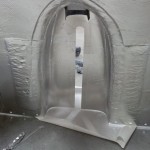
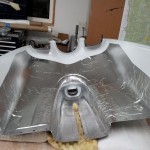
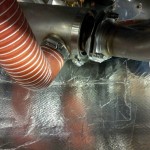
During the night’s final test fitting of the cowl, trimmed the forward outside corners of the lower camloc strips with a radius, to minimize the damage a sharp corner might inflict on the foil and fiberglass. And, with the RTV cured on the front baffle, pulled the clecoes and pulled large-head rivets to secure the airseal to the baffle.
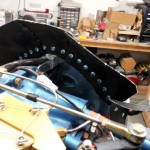
The “pre-airport” punch list is growing short…move the hangar mid next week?
Hours: 4.5 | Posted in Cowling & Baffles |
1st
May
2012
Fit the top cowl to the plane tonight, to check the fit and tweak the airseal at the nose inlets. Chucked up a spare piece of hinge pin that I’d cut a groove in one end, and ran it through the cowl side hinges to clear out the bits of primer & surfacer that ended up in there, and allow the real pins to slide in more easily. They still need to do some wearing in before “easy” is a word that will really apply to this task.
Also checked fit of the oil door to the cowl; searched high & low for the oil door spring last night, and my theory is that it was knocked to the floor by one of several cats who think it’s endearing to leap up and climb all over the workbench, then swept up and tossed with the rest of the floor debris; it’s a tiny spring. Ordered a new one: $5 plus $5.50 freight…
Booted up the panel to admire it; time to get this thing flying. Hoping to come home from work early tomorrow if I can finish the latest deadline project, as I have to work long days Thu, Fri, and Sun. After that, the schedule should lighten up for a couple weeks while students finish class & take finals.
Hours: 0.6 | Posted in Cowling & Baffles |
30th
April
2012
Well, the DPLF did flow out a little bit more during the last 24 hours, despite the cool temperatures in the shop…it looks better than it did last night. Not perfect or even quite ideal, mind you, but I’ll accept it for now.
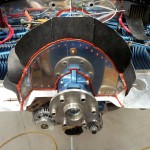
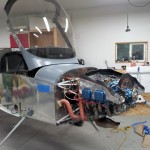
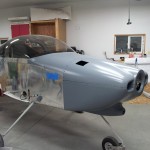
Moving forward…working around the passel of newborn kittens who decided to come into the world under a sheet of plastic, I started doing the punch list of FWF items. I’m not going to handle the cowls much for another day or two, to let the primer harden as much as possible. I carefully attached the bottom cowl to the plane, then fit & drilled the airseal strips which cover the gap between the cowl inlets and baffles. Three screws along the bottom, and one on each side to hold the curves in place. Once the cowl is removed, I’ll make up aluminum backing strips for these pieces, as well.
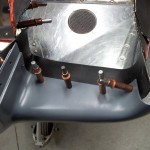
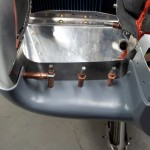
Swapped out the temporary nuts for metal locknuts on the spark plug access hole seals.
Filed the front baffles where I’d trimmed earlier, then laid a bead of RTV on the aft side and clecoed the airseal fabric on. Formed it into the approximate shape it’ll be when the cowl is on, and held with binder clips until the RTV cures; then rivets will replace the clecoes.
Hours: 3.2 | Posted in Cowling & Baffles |
29th
April
2012
After some reflection, and staring at the primer coat for awhile, I think I’ll just let it be. If it still bothers after I’m flying, I’ll pull the cowls and redo them later. Otherwise, a pro painter will sand it all down to make it pretty anyway (someday). Until then, Allison has agreed to stand guard at any fly-ins and stare daggers at people who laugh at the bumpy cowls.
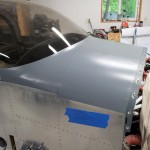
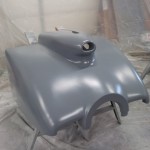
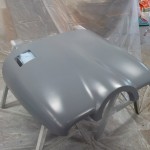
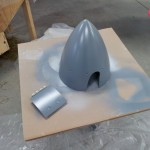
Also discovered a cosmetic scratch in the empennage fairing. Darnit.
Hours: 0.3 | Posted in Cowling & Baffles |


