29th
June
2007
Hours: 2.1 | Posted in Rudder |
28th
June
2007
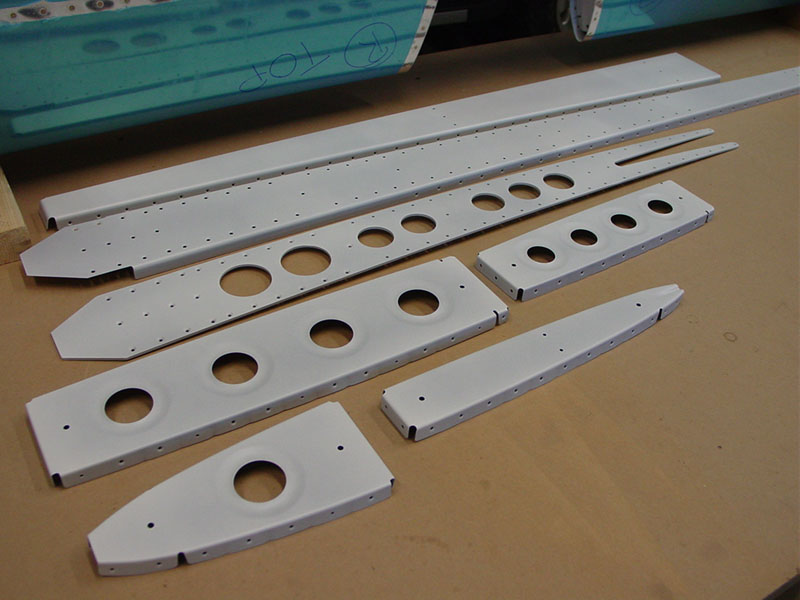
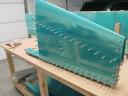
Tonight’s task was the thankless deburring of the rudder stiffeners, and dimpling the same. No pictures of this endeavour, the only thing of note is that I found it necessary to modify my #40 dimple die by radiusing one side, in order that it could fit into the inside radius of the stiffeners. I notice that my (used) #40 tank dimple dies have had a similar mod done by the previous owner, presumably for the same reason. Didn’t cause any problems with the resulting dimples. Also begun dimpling the rudder skins after removing the plastic from rivet lines.
Hours: 1.9 | Posted in Rudder |
26th
June
2007
Couldn’t resist the siren song of aluminum…and the cool shop on a 90+ day. The big concrete slab moderates the temperature quite nicely, so when the house is sweltering, I can escape to my cave.
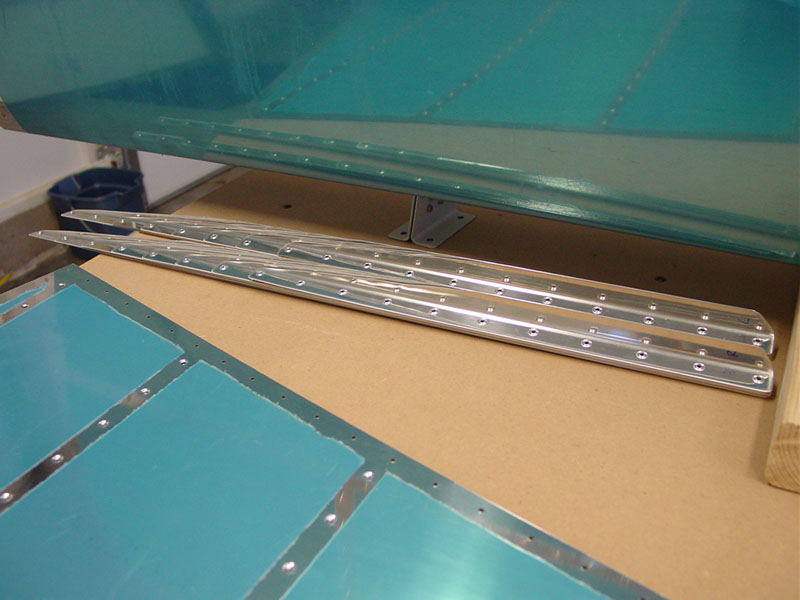
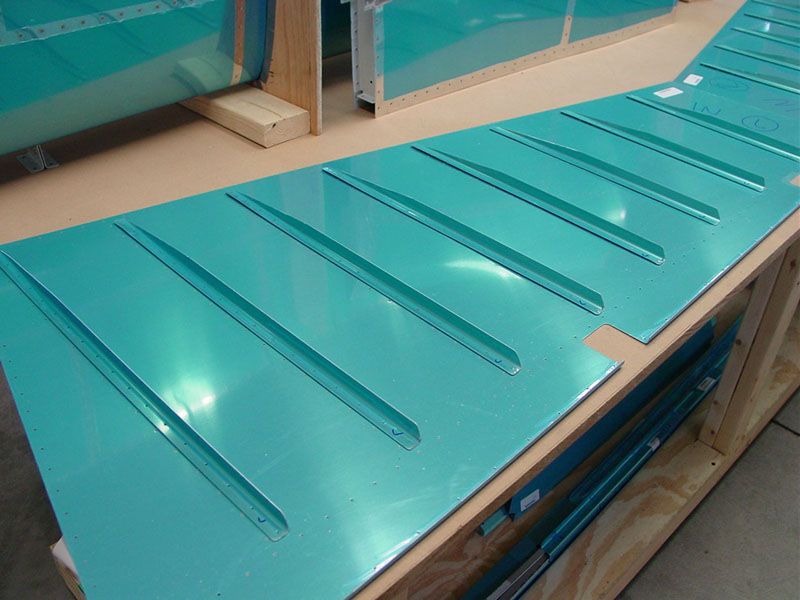
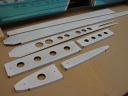
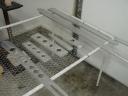
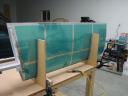
Laid out the rudder skins and cut the stiffeners to length, smoothed the ends on the scotchbrite wheel, and match-drilled to the skins. Also deburred the skin holes before the dinner bell. These skins are quite thin compared to the material used in the stabilizers, and the manual warns strongly about over-deburring, so I was careful, and I think it turned out nicely. I did drill into the tabletop; I built my workbenches to have easily replaceable MDF tops, so it wasn’t a concern. The one complaint I have with the benches is that if it gets wet at all–water, etch, condensation from a can of soda, anything–it swells up and makes a little hill that needs to be sanded down flat. when I replace the top, I will look into sealing it with something to prevent this from happening.

Hours: 2.6 | Posted in Rudder |
26th
June
2007
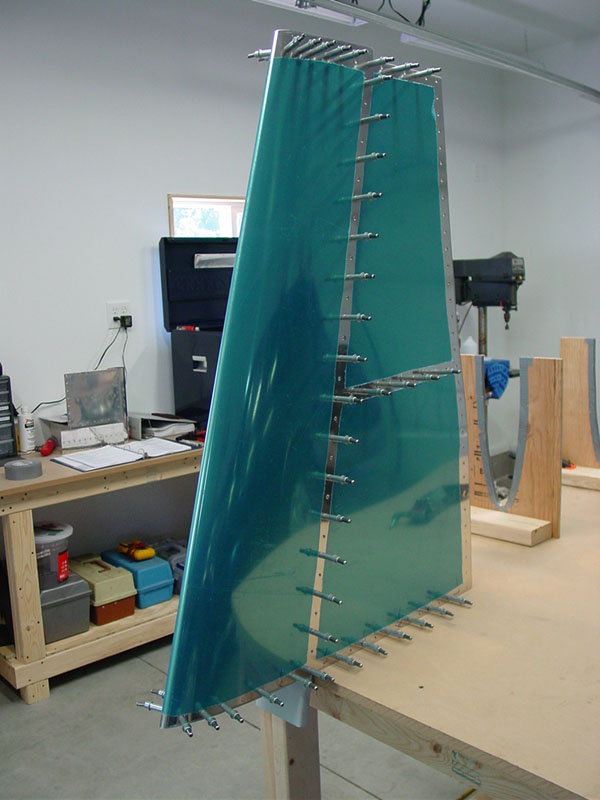
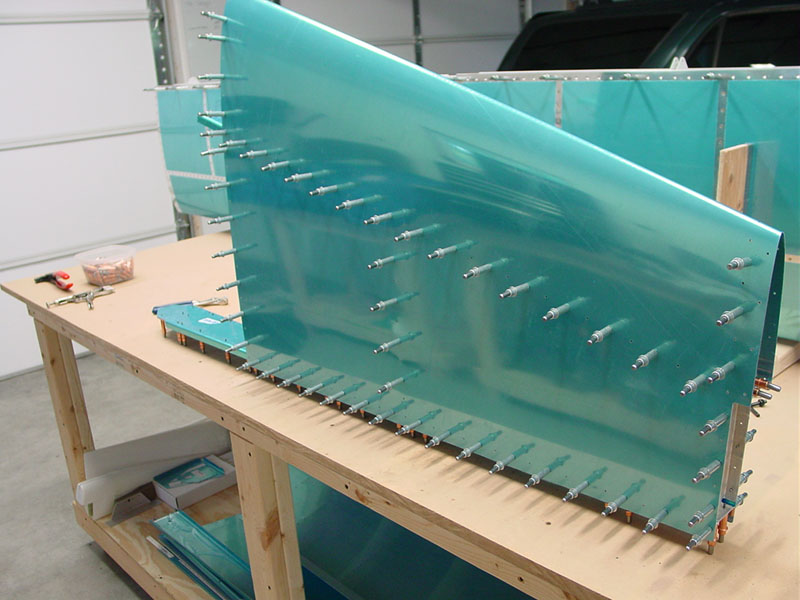
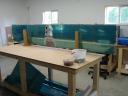
Finished up riveting the vertical stabilizer this afternoon; like the HS, the rear spar has been left off at this time to allow for inspection when I get ahold of a Tech Counselor. (I admit, I haven’t done anything beyond send an email…) Riveting went smoothly following lessons learned on the HS, and didn’t take long at all–there’s not nearly as much here to rivet. Ended up with one small smile on the skin, but nothing I’m going to worry about.
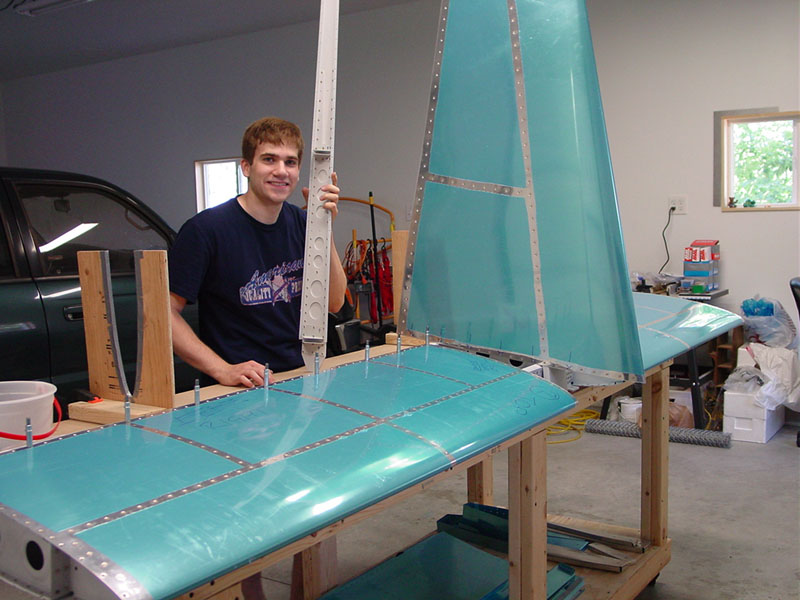
I couldn’t resist setting the VS atop the HS on the bench and snapping a picture. Too cool…can’t wait to get the wings on order. Once I have a steady income again!


Also finished up my required solo hours this morning, though I expect to put in a couple more practicing for the checkride. My ground ref stuff has improved; I found that if I don’t worry about holding altitude, I can hold it much better. Go figure.  I was actually surprised how well it went the last time, considering I haven’t done any of those maneuvers for months…
Hours: 1.7 | Posted in Vert. Stabilizer |
25th
June
2007
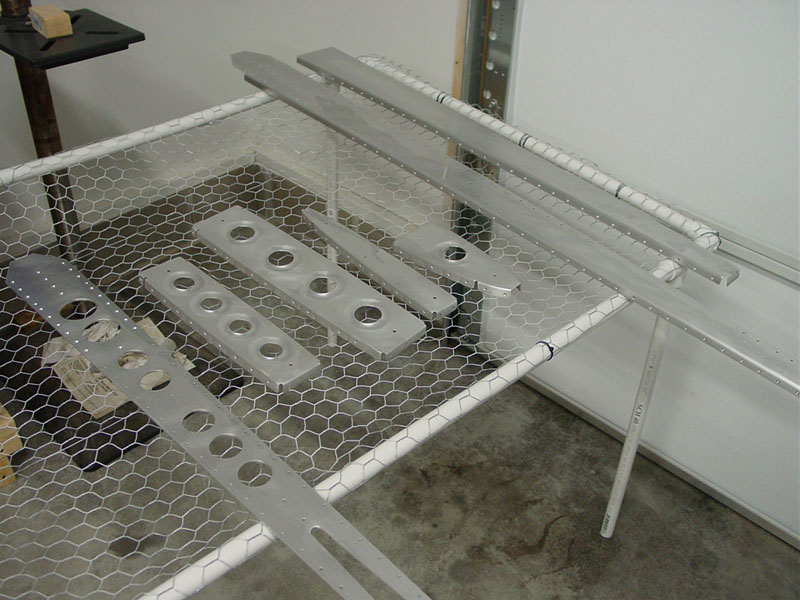
Started out the day by priming the VS parts. The discovery for today is that rinsing the etch chemical off the parts using water from the garden hose is a no-no. (I was trying to keep the parts out of the shower at Allison’s request  ). We have much iron in our water, and it created blackish spots on the parts where it had dried. They didn’t come off by just rubbing, or with acetone, so I decided to re-scrub them with the etch, in case the iron was a corrosion possibility. Rinsed them in the shower (the water in the house is softened & filtered, whereas the hose water is tee-d off the line straight from the well), and no problems. I set them out on the priming table and put my big utility fan blowing at them to speed the process.
Everything looked good with that done, so after lunch I shot them with primer, as well as swabbed primer in the holes of the steel hinge brackets. Allowing some time for it all to dry, we riveted the rear spar after dinner. That squeezer does an awesome job, and I’m glad I sprang for the longeron yoke. I expect that riveting the rest of the assembly will go smoothly…most of it’s squeezable, too. I’m starting to read build logs of rudder assembly.
Came in after the spar to do some flight planning for my scheduled night X-C tomorrow…not sure if it will go because of weather (forecast is for clouds & rain, and stiff winds), but if tomorrow turns out like tonight, it will be gorgeous. I’m also going to ask for the knowledge test signoff and see if I can get that done this week; my computer tests (software from checkride.com) have been going well.
Hours: 2.7 | Posted in Vert. Stabilizer |
24th
June
2007
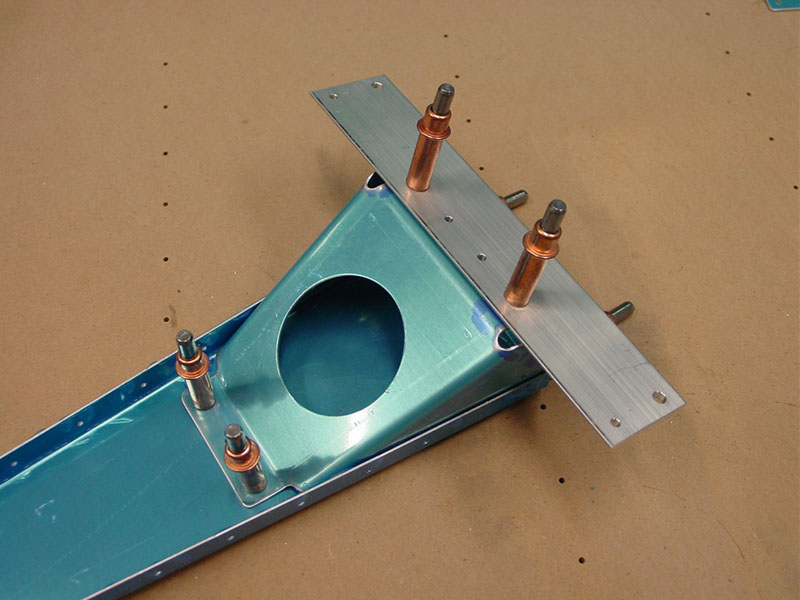
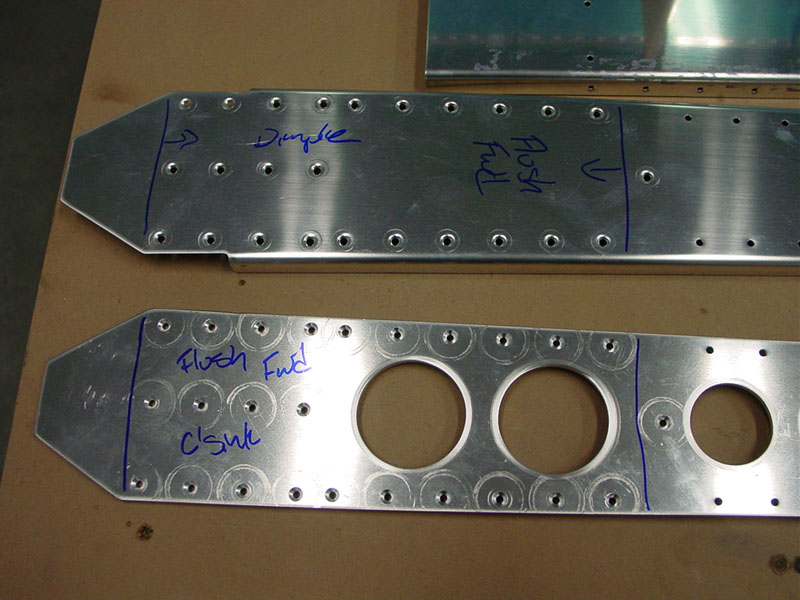
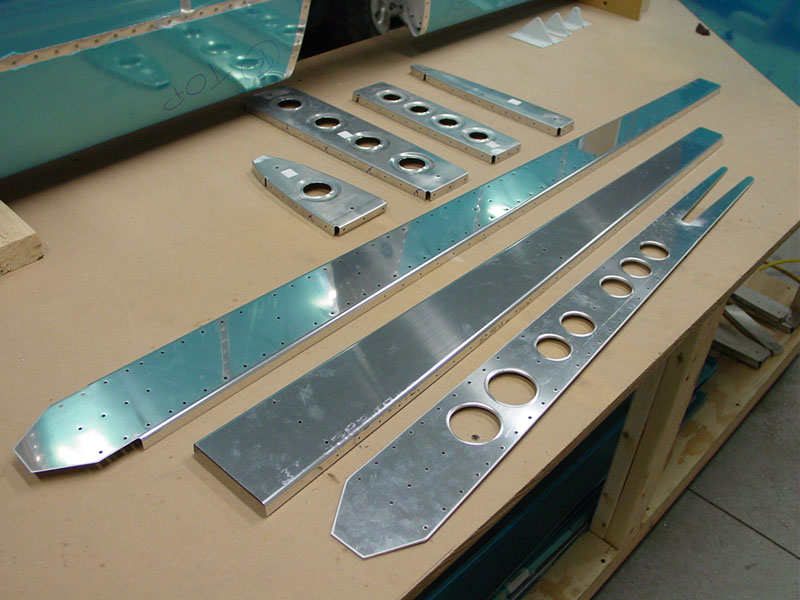
Good day today; I keep wonderin what I’ve missed on the vertical stab because it’s coming together so fast. Countersunk, dimpled, and deburred as appropriate on the various parts today, as well as edge-finishing the skin. At the lower spar section where the rivets need to be flush on the forward side (the attach point to the fuselage), I dimpled the spar with the pneumatic squeezer and countersunk the doubler to receive the dimples. I also dimpled the spars at the skin-spar rivets, rather than countersinking as was done on the HS spars–because the VS spars are made of thinner stock (.032″). This is acceptable to dimple, according to the book, and test pieces nested find. The only countersinks in this assembly are on the spar doubler.
Followed that up with an etching session, rinsed and left the parts to dry overnight. Tomorrow morning I’ll prime if the weather is decent (clear sky at the moment).
First project visitor today; a fellow from church, sings in my choir, and an ATC manager. He’d heard through the grapevine that I am working on my PPL and we got to chatting after church about related things. He ended up stopping by after the service for a quick look at the project, then we went out to the airport (KRGK) for a flight around the local area in his recently purchased Bonanza. Nice plane, and a nice day to fly–a scattered layer around 4000′ MSL, good visibility, and calm & clear above the clouds.
This was Allison’s first time in a small plane, and she seems to have enjoyed it. She handled the turbulence better than I expected, and her only complaint was the noise level (not too worried about that, something that can be addressed with the headset technology available today). I had the chance to wear a pair of David Clark ANR headsets, much more comfortable and quiet than the loaner headsets at the FBO where I train…and I found out after we’d landed that they weren’t even turned on!
Hours: 3.6 | Posted in Vert. Stabilizer |
23rd
June
2007
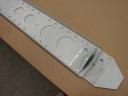
Assembled the VS skeleton & skin tonight. At first it didn’t look like things were going to line up (and I was wondering what I goofed up), but as I worked down the line of holes, everything fell into place. I think the blue plastic on the spars was making things a bit tight in some places. I did trim the nose of the top rib slightly–just put an angle on the front of the tabs at the forward part; it didn’t want to fit, even with serious nose fluting, because the leading edge of the skin continues to taper inwards above the rib. I have seen a number of other logs where this was done, with no problems. Edge distance on the front skin-spar rivet is still ok, and everything fits nicely.
With everything clecoed together, it was a simple job to match-drill the skin. Edge-finished the spars and doubler after disassembling the assembly; the ribs were done the other night. Should be a short few steps from here to priming & assembly.


I’ve also left an email for a local Tech Counselor, hoping to get another set of eyes to look over my HS riveting and check my skill!
Hours: 2.5 | Posted in Vert. Stabilizer |
22nd
June
2007
Today was errands day at our house, so we spent much of the day running about the cities (well, the suburbs really, but..) in search of this or that. In the evening, I carved out some time to start the vertical stabilizer.
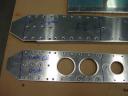
Laid out all the parts and clecoed the rear spar, doubler, and hinge brackets together per the plans, and match drilled. The bottom set of brackets needs to have two holes per piece drilled through the bracket to match the spar. The two holes on the ultimate bottom bracket have their the size and position set according to what version you’re building: tailwheel or nosewheel. These holes are drilled through all three pieces in the assembly. The plans/instructions indicate that these holes are drilled in assembly with the fuselage, but this, according to some other build logs, is only the case for the tailwheel model. I cross-checked DWG 27A, and it indicated that the bottom holes for the -A model are an extension of the rivet sequence already there, and are not connected to the fuselage. Another builder had written the factory and asked about this, and was told to go ahead and drill/rivet these lower holes during the VS build. (The above, of course, is mostly for my recollection, in three years when I get to the point of mounting the VS and the instructions say to drill these holes, and…wait…they’re already riveted! What happened?) I drilled the holes.
Deburred and fluted the VS ribs too, and smoothed out a few scratches on those pieces.
Hours: 1.4 | Posted in Vert. Stabilizer |
19th
June
2007
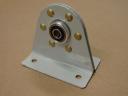
Completed the riveting on the HS today by assembling the left side. One drilled out rivet and a couple minor dings where the flush set walked away from solid backing…always disappointing, but they’re quite minor and I’m not getting bent out of shape (no pun intended!). I’m ready for the HS to be inspected and then squeeze the rear skin-spar rivets and store it away! Also assembled the center elevator bearing/hinge and match-drilled the rear spar; this gets bolted on after the spar is riveted in place.
Allison the other day was sitting on the couch and staring off into space…I asked her what she was thinking and she replied “I think we should aim to have the plane finished in the summer of 2009.” “Uhh, you know that’s only two years away!” “Yeah.” Not that it couldn’t be done (and it has, many times), but…not on our budget! I think in order to have a short completion, a person needs to have the cash to order the kits ahead of time so there’s not a 2- or 3-month work stoppage (and skill forget-tage) while waiting for the next kit or component to arrive.
Hours: 3.5 | Posted in Horiz. Stabilizer |
18th
June
2007
Escaped to the shop after a full 8-hour day of editing CD’s and finished the riveting on the right side HS. It really went smoothly after I got into the swing of it. Only one problem rivet, the first skin-spar-rib rivet I tried to drive. I drilled it out twice before I found a bucking bar & angle that did a decent job…which worked well for all the rest of the similar rivets. My favorite bar for the rest of the riveting so far is actually the one where I ground a spot on the handle of a bar I had, when doing the practice project. I’d love to try one of the tungsten bars, they sound like the ticket for small spaces like this…but alas, at over $100, it’s not on my list of “needs” just yet. Happy to report no more dings in the skin. Looking good!
I’m leaving the rear spar off for now, tomorrow I will have a go at the left assembly, and then it will be time to find a Tech Counselor who’ll drive out to take a peek. The rear spar should go on in a jiffy after that, since it is practically 100% squeezable. I may also prep the VS parts before I call for a TC visit, so they’ll be able to advise me if my deburring or whatever needs work, too.

Hours: 2.0 | Posted in Horiz. Stabilizer |