19th
July
2011
Laid up another ply of glass on the back of the empennage tips. Hopefully that will stiffen it up enough to remove the foam rib and add glass to the inside. Left to sit and cure overnight…this glasswork looks like it’ll take awhile just because of all the waiting around.
Riveted in the rest of the wing inspection panel nutplates. All that’s left on the wings for now is to drill, countersink, deburr, and rivet in 52 more nutplates for the root fairings. Oy. I’ve dealt well with all the nutplates on the project so far, but this job makes me wish I’d bought a nutplate jig.
Hours: 0.9 | Posted in Skin Panels, Wing & Tail Joins |
18th
July
2011
Allison tried to escape the heat in the shop tonight (though we finally gave in and got the central air fixed in the house…) Drilled, deburred and dimpled the nutplate holes for the inspection plates in both wings, and riveted the nutplates on the left wing.
Also put the top & bottom cowls together to see if they still fit together with the inlet ramps glassed in, which they did, rather nicely in fact.
Hours: 1.1 | Posted in Skin Panels |
23rd
September
2010
Finished up the wing skin riveting tonight (excepting the nutplates for the inspection covers). I’m clearly not as good of a left-handed riveter, as I managed to put an ugly ding in the right wing bottom skin by slipping off the bar. Sigh. Smoothed it out a bit and will either leave it alone or use some filler before paint to level it.
Cleaned the shop up and made room for the wing attach, hopefully coming up this weekend. The rudder & elevators were removed and stored, then the fuselage was turned into the center of the shop and leveled in both axes. Measurements were taken, and it appears that there is enough room to fit the wings without having to clear the piles of stuff from the side walls. The canopy was also removed, as it would hit the garage door opener if opened fully, and having it off will give better access for leaning over to reach the spar bolts.
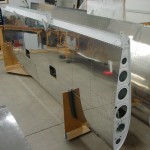
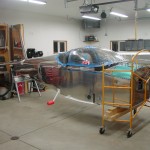
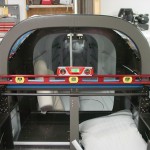
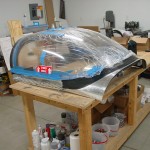
Next step: read up on what needs to be done prior to the wing attach (so far: trim rear spar stub, trim fuel/vent lines, and some sort of marking for the root fairing holes…what else?)
Hours: 2.4 | Posted in Skin Panels, Wing & Tail Joins |
20th
September
2010
Continued riveting the right wing bottom skins…got through about 2/3 of the outboard skin before calling it a night to avoid annoying the neighbors.
Hours: 1.8 | Posted in Skin Panels |
19th
September
2010
Finished the left wing bottom outboard skin, and riveted on the right bottom inboard skin. Clecoed the right outboard in place for the next session.
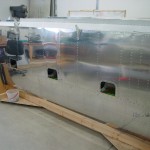
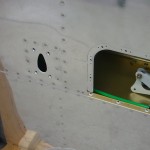
Hours: 4.8 | Posted in Skin Panels |
18th
September
2010
Started work on riveting the wing bottom skins. Finished the inboard left, and half of the outboard left, so the left wing is 2/3rds complete.
Shop time has slowed considerably as the beginning-of-the-year crunch hit hard at work; a number of different need-it-now projects for different constituents, and I come home feeling wiped and not really motivated to do anything but nap after dinner. Hopefully with a concerted effort to head out for at least a bit on most nights, forward motion can be maintained.
Hours: 4.6 | Posted in Skin Panels |
9th
September
2010
Ran another cable in the right wing conduit for the OAT probes, that had been left out in the previous bundle. This terminates at the middle inspection panel, as I thought that would be better than placing it at the outer panel with the bellcrank and autopilot servo…keeps the wire away from the controls that way.
Put the nutplates and cable wear blocks on the baggage wall halves and set them aside.
Clecoed the inner bottom wing skins to the rear spar. I need to look up and see what pattern others have found works for riveting the bottom skins.
Hours: 1.3 | Posted in Electrical, Skin Panels |
6th
September
2010
Worked against the weather today to get the wing skins primed. While the spray gear was set up, the baggage wall pieces were primed and painted, as well. Thinning the Rustoleum paint has been hit-and-miss, and today’s batch was a miss…I think it was thinned out too far, and the panels ended up with very heavy coats to get the coverage needed without pinholes…they have a different look than the rest of the interior; for now, we’ll let it go, since there are other inconsistencies, and these panels can easily be pulled out, stripped, and repainted later if it becomes bothersome.
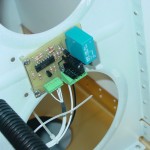
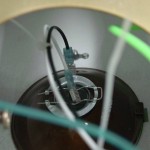
Also finished wiring the internal parts of the wings, trimming the wires to length and crimping on the connectors for the landing lights and the D-sub for the autopilot servo, and terminating the leads to the pitot heat control board. I later realized that I have not yet run cable for the OAT sensors which will be installed in the right wing to feed the EFIS boxes. I also epoxied some zip-tie bases to the underside of the seatback bulkhead for holding the headset jack wires, and installed the baggage light strip under there as well, using it’s built-in adhesive strip.
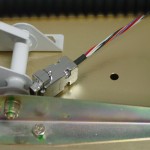
Neighbor Jeff stopped by to check on the progress; it’s been awhile since he’s seen the project. People who see it now say it looks like an airplane.
Hours: 5.2 | Posted in Electrical, Skin Panels |
29th
August
2010
A collection of things happening in the shop today. First thing up, finish the canopy sealing. The excess Sikaflex was rubbed off the exterior of the top skin and the inside of the rear window and canopy (from gluing the spacer gaps), followed by removal of the rear window spacers and insertion of sealant into those gaps. Smoothed those over with tongue depressors and all looks good. Some canopy work remains, of course, but the plexi is in place (which was the big summer goal).
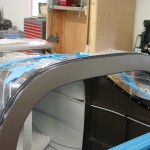
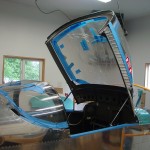
Before the gear can be put on the fuselage, the wings need to be fit, which was skipped earlier in order to get the canopy done in the warmth of summer. In order to do that , the wings will need to be finished (bottom skins riveted on, which means that they must be wired and plumbed). Out came bottom wing skins, which needed edge deburring and a few dimples made. After those were done, the skins were etched for priming along with the rear baggage wall; unfortunately it was too windy to prime until after dark, so that’ll have to wait for another day.
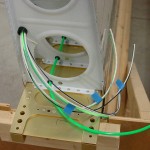
Cleaned up the inside of the wings, which had naturally collected a layer of shop dust and spiderwebs, and set about running the various wires and tubes for the in-wing systems (pitot heat, lights, strobes, AOA, and autopilot). Everything except the pitot tube was run inside the corrugated conduit which was installed during the wing build. A hole was drilled in the conduit near the aileron bellcranks, to permit wires to emerge for autopilot and pitot heat; once these wires are in position, some RTV can be used there to prevent any chafing on the conduit edge. The control module for the heated pitot was installed on the rib near the bellcrank inspection hole, which should allow access to hook up the pitot wires later on. The pitot tube was secured underneath the aileron bellcrank with an adel clamp to prevent interference or chafing. All the wiring and tube will terminate at the wing root in connectors, to allow the wings and fuselage to be fully wired in the shop, and easily joined at the airport later on.
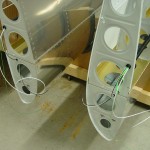
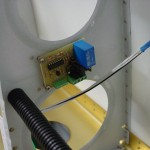
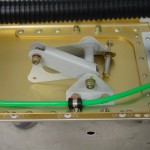
Hours: 5.2 | Posted in Canopy & Frame, Electrical, Skin Panels |
14th
July
2009
Before leaving for a day with the girls, Allison helped drive the remaining rivets on the right wing. All went smoothly, and we finished the main spar and J-stiffener in around an hour.
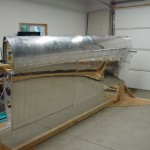
Hours: 1.1 | Posted in Skin Panels |


