Canopy frame fitting
Hours: 5.5 | Posted in Canopy & FrameBack from Oshkosh, it’s been a little rough getting back into the shop. Talked with lots of vendors at the show, but didn’t find the deals I was hoping for, though I got most of the information I was seeking, and made some connections. I expected to be highly motivated when we got back, but strangely the opposite happened.
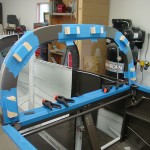
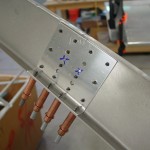
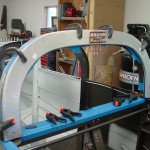
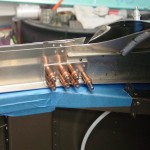
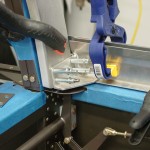
Regardless, I cleaned up the disaster of a shop today, and went back to work on the canopy frame. Fit the rear bow to the rollbar, fit the side weldments along with the spacers to allow the Sikaflex bead, and drilled the splice plates. Then, the whole works is removed for deburring and riveting; I think this is also the point to install the stiffener kit and the struts (neither are mentioned in the manual). I’m using the Flyvans.com guys log as a guide for the canopy work, since I will be gluing the canopy as they did–there are many logs of the gluing method for sliders, but not many for the tipup.
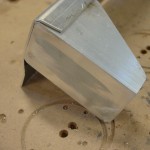
The main differences so far are that the roll bar and rear bow were built slightly narrower than plans (which meant also that the brackets were inboard, which required the fabrication of a spacer to sit outboard of the brackets, rather than filing the aft end of the bracket), and the forward splice plate of the canopy side rails, where the side rails are offset inboard by .125″ using a spacer. This is to allow for the required .125″ bead width of the glue. To make up for the inboard offset, a corresponding .125″ spacer must be installed between the side rails and the canopy skirts…I ordered a pair of the .063″ strips that are used in building the roll bar, as they’re just the right width for the job. Cutting each in half and doubling it up gives a nice .125″ spacer for the skirts, and it seems to be working well so far.
In the odd jobs category, installed the last three nutplates on the roll bar brace, having received my supply shipment from Van’s.
