17th June 2008

Trailing edges

Bought a couple 8′ pieces of aluminum angle from Menards the other day, so I got the trailing edges sealed.  Using the severely expired Proseal (exp. 11/07) might not have been the best idea…I had kept the tube in the fridge since receiving it, and it warmed up just fine, but the mixing head broke off the “dasher rod” when I tried to mix it.  I squeezed it all out onto a piece of cardboard for manual mixing, but it took a very lumpy/ropy consistency when mixed.  It was still quite sticky, so I used it by scraping off the lumps…hopefully it will work.  This validates my decision to NOT order the Proseal for the fuel tanks with the wing kit.  I’m not worried, since Van’s sells expired Proseal at a discount, with a note that it’ll be fine for this sort of application, but not recommended for fuel tanks.

In any event…the empennage trailing edges are clecoed to angle, awaiting the cure of the Proseal before starting to rivet.  I plan to use an angled set in the squeezer to do these, and will experiment on the practice kit first.

Hours: 1.5 | Posted in Elevators, Rudder | Comments Off

26th July 2007

Rudder work done for now

Back from Oshkosh yesterday night: spent 3 days (Sun eve-Wed eve) there in Camp Scholler, but missed the RV BBQ, which was just a couple streets over from where we were set up.  Good show, lots of sun, lots of walking.  Took several dozen pictures, saw the 35-ship RV flyover on Wed morning.  Walked the entire field of RV’s, but no one was really around to talk to.  Not too many 9′s in attendance, but saw both Mike Schipper (my favorite paint job) and Matt Brandes‘ birds; two websites that I regularly use for reference and inspiration.  Also saw lots of goodies from the vendors, including AFS’s new software for the 3000 series of EFIS’s, which looks really good: they added odometer-style numbers, changed the style of the speed & altitude tapes, added speed & alt bugs, and some other enhancements.  I got to play with the display at both the AFS booth and the SteinAir booth, and was as impressed as I hoped I’d be.  They’re also showing moving map, and terrain & WX are in development.  [I heard that AFS is going to partner with Honeywell to develop a certified system--I hope that doesn't jack the prices on the experimental systems, or do away with the experimental models...]  I also saw Icom’s new A210 radio, which is another option for an SL-40, has the same features like dual-watch, plus 10-channel recall, also has a nice display.  I didn’t see any pricing, though I’m betting it’ll be somewhat less than an SL-40.  Saw the Garmin 496 demo’d, nice unit, the display resolution is incredible.  (Is it obvious that the panel is my favorite part to dream about?)

Also talked to several different engine folks, and the opinions on Carb/FI and autogas are all over the map.  Superior will warrantee their engines (8.5:1 or less) to run on autogas, and have a 3-year warantee.  ECI (supposedly having the best cylinders for corrosion resistance) has only a 1-year warrantee, and it is void if you run autogas.  I talked to one gent who said that I shouldn’t have to worry too  much about corrosion if the engine is in a climate like ours (ie non-coastal based), and gets exercised regularly.  I still like Klaus’ Lightspeed ignition, and the Catto props look as nice in person as they do in pictures.  Just some observations…

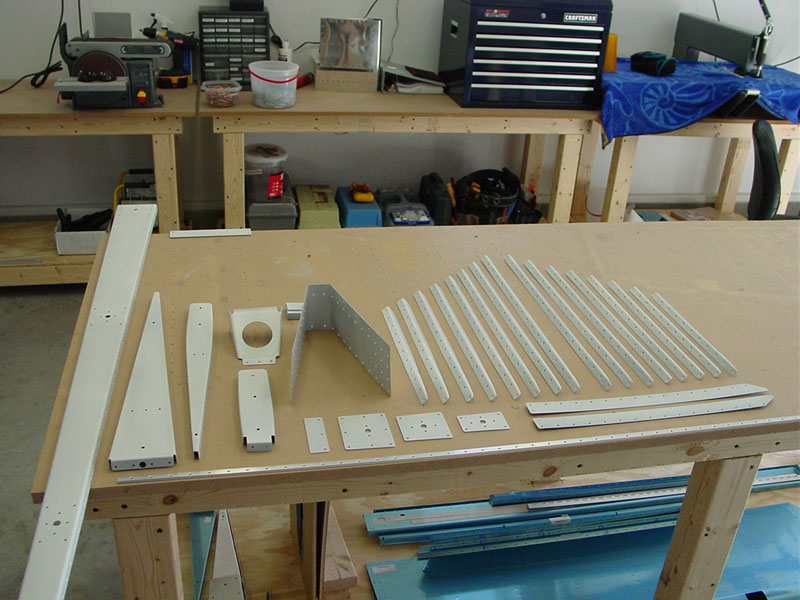
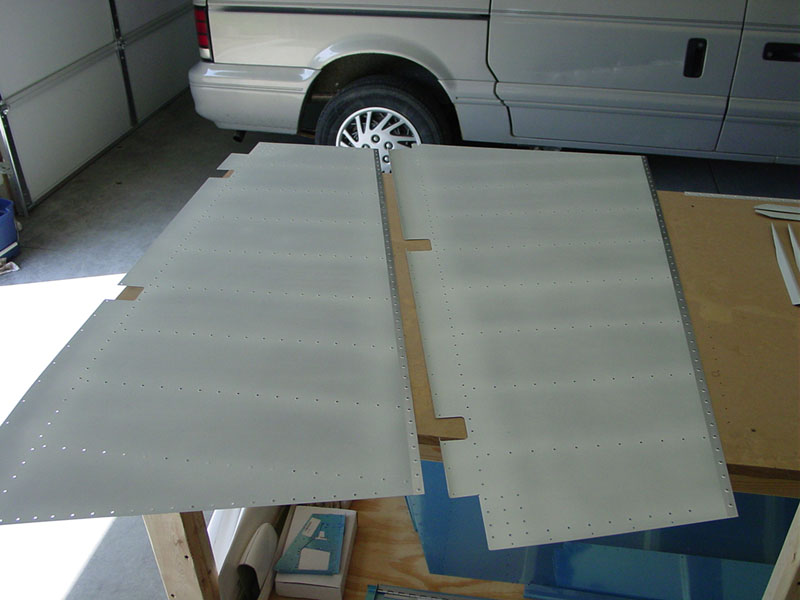
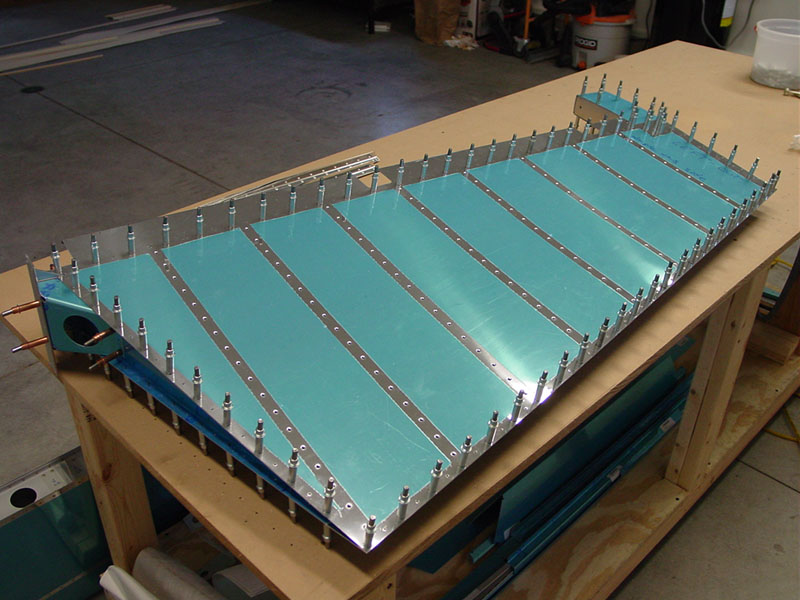
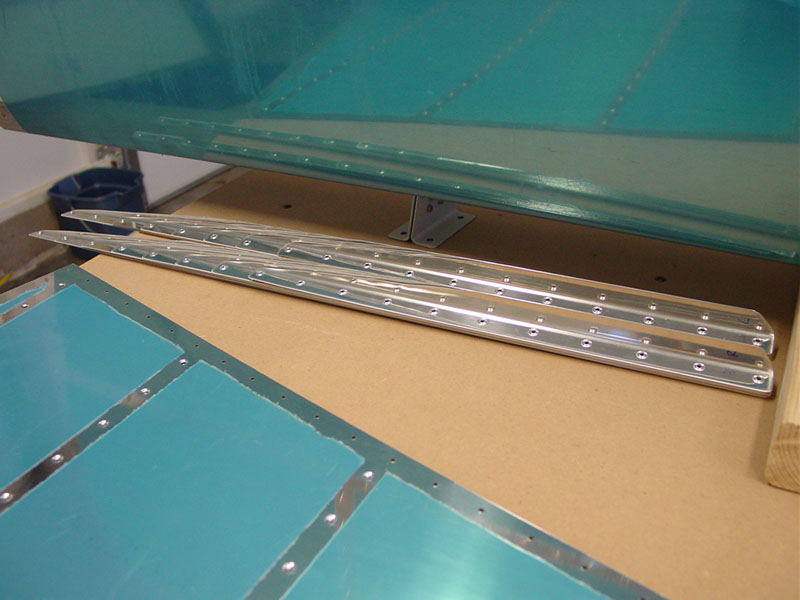
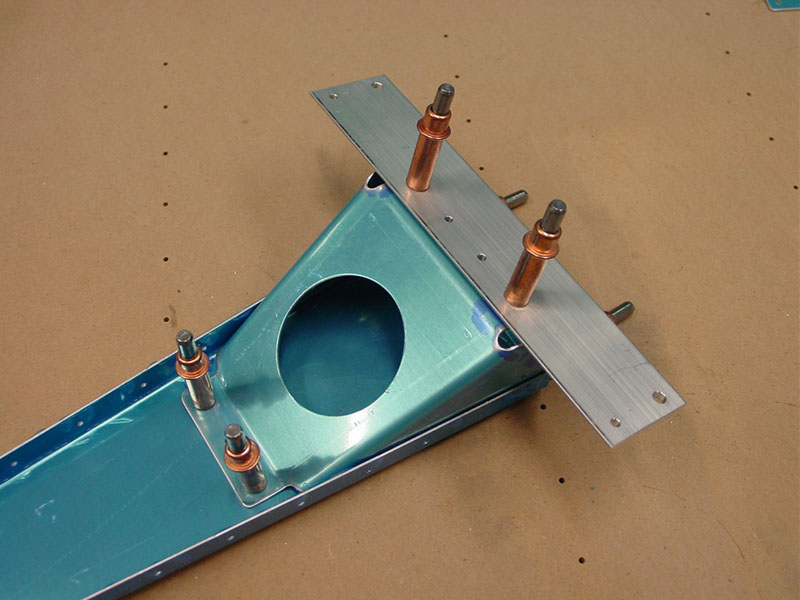
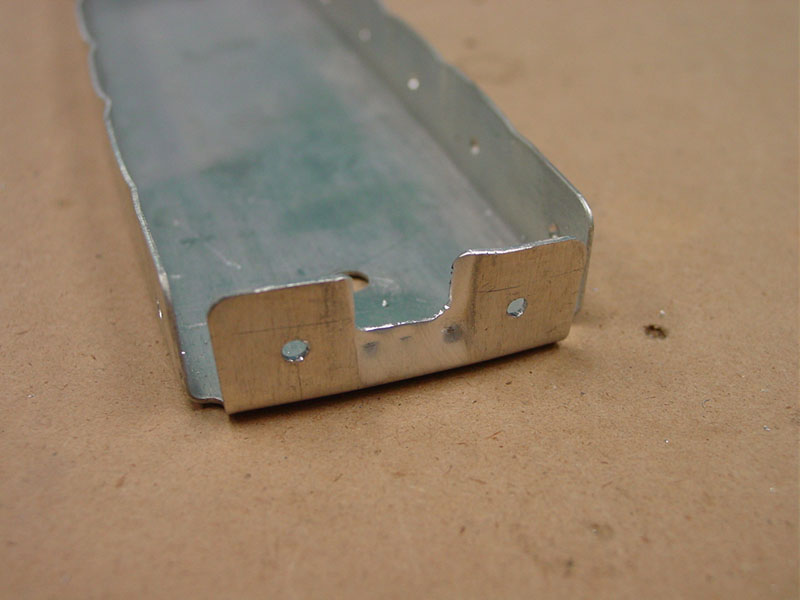
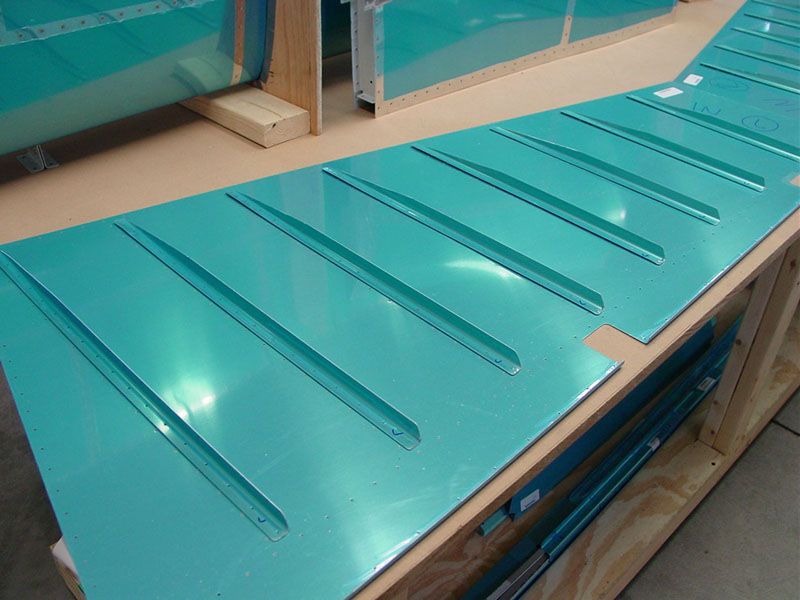
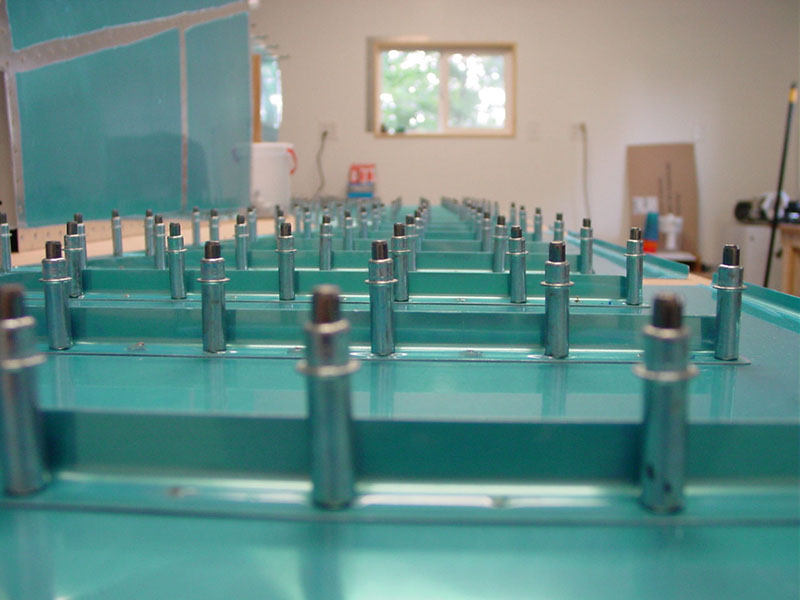
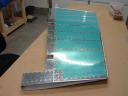
Bought some needed tools while I was at the show, so today I escaped the heat in the garage (after expending my allowance of curses for the day on mowing the lawn), and made severe progress on the rudder.  I got the counterbalance rib dimpled (new #10 dimple dies), and dimpled the narrow ends of the ribs (tight-fit dimpling fixture from Cleaveland Tool, needed to grind some off the bracket to get it in close enough).  Riveting everything together went very smoothly with the assistance of the 4″ no-hole yoke and the longeron yoke on the squeezer…that thing makes quick work out of a long line of rivets.  I did give in and use blind rivets in the last 2 holes on the top, and the last hole on the bottom of each side (the plans allow this).  It’s very narrow there, too much for even the no-hole yoke, and I tried bucking one in there with the end of a pry bar–I did more harm than good and had to drill out the rivet.  Since the plans say it’s ok, I put the pops in there, figuring I’d just create a mess if I tried to get solid rivets in there.  The purists would be disappointed, but I’m building this thing to fly, not win awards…  I did have to trim the 4th stiffener from the bottom (both sides) to clear the center spar doubler, as was noted on another builder’s website.

Counterbalance weight screws Rudder counterweight installed Trimmed 4th stiffener

Rudder counterbalance skin rivets Rudder spar rivets Rudder skeleton & skins riveting finished

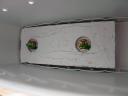
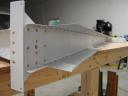
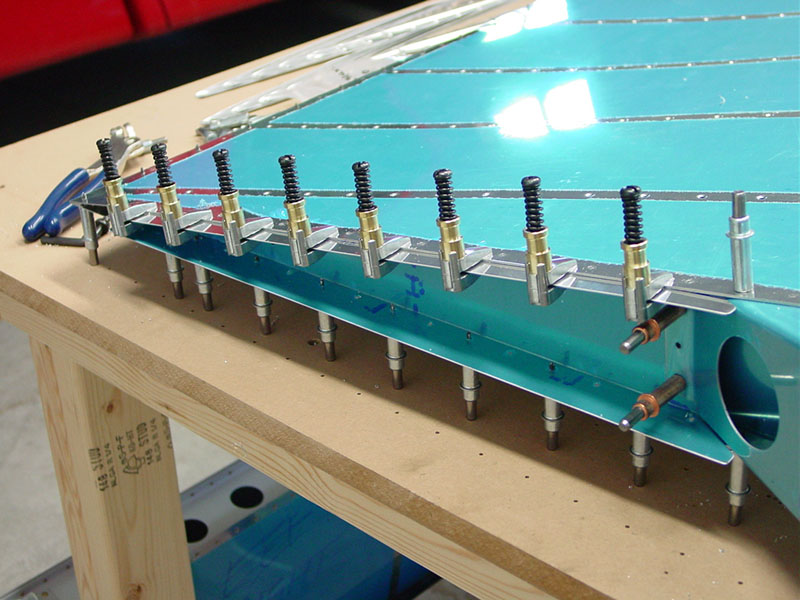
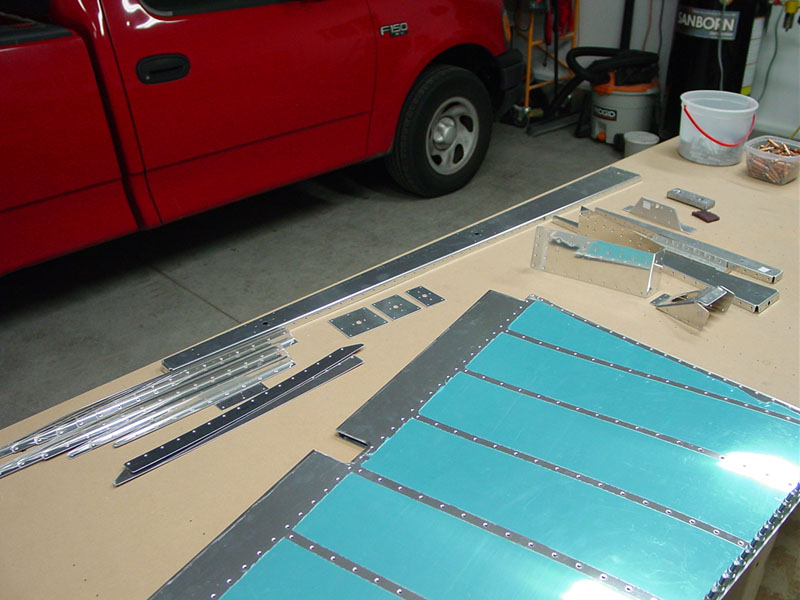
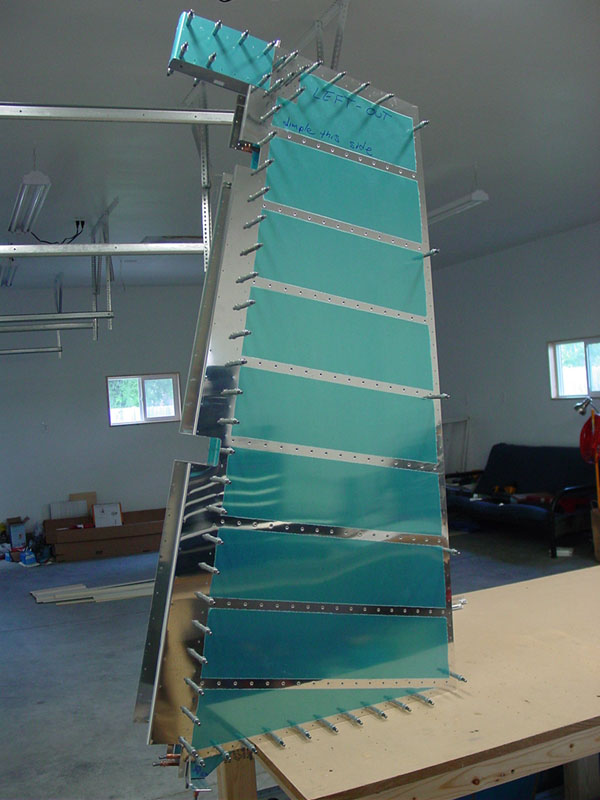
I went ahead and rolled the leading edges (fun…not!) and riveted, as well as installed the rod end bearings.  After that, I gave in and hung it on the VS with some bent nails for fun.  Not bad!  I left the jam nuts loose on the bearings, as they will undoubtably need final adjustment after mating with the fuselage.  It was nice to see the VS & rudder in assembly, though!  From here, I’ll go to the elevator assembly, saving the rudder TE for later, so that I hit all the Proseal at once (I only have a single cartridge, not the mix-your-own cans.)

Rolling rudder leading edge VS & Rudder hinged together

Hours: 5.5 | Posted in Rudder | Comments Off

16th July 2007

Rudder assembly

Feeling good about progress after yesterday’s priming session, so I improvised a back rivet plate and went to work.  I had purchased a hunk of steel from Menards awhile ago, 1/4 x 4 x 12 or so, but smoothing and polishing its rather rough surface proved to be a task that my belt sander wasn’t cut out for.  Revisiting that slab of metal, I found a piece of aluminum from the practice kit scraps that Van sends with the empennage, that was nearly the same size.  Placing this piece over the top of the steel solved the roughness problem, at least for a “temporary” solution.  The aluminum piece was clearly sacrificial, as the continued riveting expanded it and caused it to take on a bowl-like curve.  But it did work, and set the rudder stiffener rivets nicely.

Improvised back rivet plate Stiffeners to skins

I followed that up with some work on the rudder skeleton: riveted the doubler plates to the spar, along with the nutplates, and the bottom rib/horn assembly.  No need to resort to blind rivets (called out as ‘optional’ on the plans)–the longeron yoke on the pneumatic squeezer made quick work of those tough-to-reach buggers inside the rudder horn.  Finished up by riveting on the lower counterbalance rib.  I’m now officially at a stopping point on the rudder, as I need to finish dimpling the ribs before I can attach the skin.  I read of another possible way to attack that problem today: it seems you can use a wing-nut cleco along with the pop-rivet dimple dies to get into those tight-fit locations.  If we end up at Oshkosh, I’ll be looking for a solution.  My plan until then is to pull out an elevator or two and see how they go together.

Rudder horn assembly Rudder skeleton riveted

Hours: 2.0 | Posted in Rudder | Comments Off

15th July 2007

Rudder prep & prime

Continued on the rudder with etch & priming.  I masked the trailing edge of the skins, looking ahead to the proseal that will eventually adhere there.  Haven’t ordered tools yet, as we’re in a bit of a financial crunch at the moment.  I may set this aside and do some work on the elevators to keep the momentum going forward.

Rudder parts primed Rudder skins

In other news, I’ve finished up my instrument flying, so now all that remains on that front is some test prep & ground work to prepare for the oral exam.  I hope to take my checkride at the end of the month, or the first part of August…providing the weather holds out.  I’m looking forward to the accomplishment, but also know that flight time will diminish greatly after it’s done — I can’t afford to keep up this pace!

Plans are being discussed for the possibility of a trip to Oshkosh for the first 2 or 3 days of the show.  We didn’t get tickets for the RV BBQ since registration was closed and we still hadn’t decided whether we were going or not, and whether Allison’s class schedule would allow us to be there that Wednesday.  The discussion online, though, seems to indicate that there will be plenty of RVer’s there for the early-to-midweek stretch.  Last year, we arrived Friday eve, and left Sunday afternoon: lots of folks had departed by then.  The potential plan for this year is to drive out Sunday afternoon, and leave later Wed or Thu morning.

Hours: 3.5 | Posted in Rudder | Comments Off

7th July 2007

More rudder action

Got a good block of time in the shop today, but I fear things will slow down now, as I am in need of a couple tools I don’t yet have.  I need to buy or create a back-rivet plate to set the stiffeners to the skins, and I need a vice-grip dimpler (or other suitable tool) to dimple the holes in the rear ends of the rudder ribs (will also need this for the elevators), where a dimple die is just too big to fit.  Also need a #10 dimple die for the counterweight screws.

No work on the project for several days due to going out of town for the holiday, and spending some extra time there.  Today, I started by fabricating the R-918 L & R strips, which serve to attach the fiberglass rudder bottom to the structure.  They are essentially identical, save for the direction they are dimpled.  After that, disassembly of the rudder ensued, followed by plenty of deburring and dimpling fun.  I also countersunk the trailing edge wedge, and ended up clecoing it into the skins for fun, to see how it fit.  I checked every c’sink as I went along with my dimple-tester scrap, and was pleased to see it looks decent with the skins clecoed into the wedge.

Rudder parts are ready for etch & priming, except for the things that need more dimpling.

Drilling the R-918 strips to the assembly Rudder components

Hours: 4.7 | Posted in Rudder | Comments Off

1st July 2007

Rudder progress

Couldn’t stay away from the shop after the stabs were done, so I neatened things up and did some more work on the rudder.  I fit the skeleton pieces all together & match drilled, then fit the skins & TE wedge to the skeleton and drilled everything out.  Everything now can be taken apart and deburred, primed, and readied for final assembly.  Allison says I need to slow down since we can’t order the wings yet.

Rudder standing tall Match drilling rudder

Hours: 1.0 | Posted in Rudder | Comments Off

29th June 2007

More rudder & another goofup

Finished dimpling the rudder skins & stiffeners tonight.  It seems that you’re intended to put the stiffeners on the skins before drilling the skins to the ribs & such, so those need to be etched and primed.  I also need to get a decent backriveting plate to carry on.  I read through the rest of the rudder instructions and decided that it would be safe to do the skeleton fabrication up to the skin attach point, so I did some match drilling of components and rib fluting, etc.  I managed to cleco together some interesting-looking assemblies, such as the spar/rudder horn/brace junction at the bottom where the control cables attach for the rudder.  Impressive!  I also worked on the top end, at the counterbalance.  I had some trouble getting holes to line up between the R-912 counterbalance rib and the associated skin, so decided to flute the nose flange of that rib to draw the holes together…bad move.  I ended up cracking the rib flange about half of its width in two places.  I determined that I could radius & file out a notch between the holes and create a two tabs.  I roughed this out and took some pictures; I will ask advice of my TC (who is coming to visit on Sunday afternoon) and/or the factory before proceeding with this part.  The rib is $9.34 from Van’s if it needs to be replaced.

Skins & stiffeners dimpled up Rudder counterbalance assembly Rudder horn & brace assembly Broken R-912 counterbalance rib

Hours: 2.1 | Posted in Rudder | Comments Off

28th June 2007

Moving ahead on rudder

Tonight’s task was the thankless deburring of the rudder stiffeners, and dimpling the same.  No pictures of this endeavour, the only thing of note is that I found it necessary to modify my #40 dimple die by radiusing one side, in order that it could fit into the inside radius of the stiffeners.  I notice that my (used) #40 tank dimple dies have had a similar mod done by the previous owner, presumably for the same reason.  Didn’t cause any problems with the resulting dimples.  Also begun dimpling the rudder skins after removing the plastic from rivet lines.

Hours: 1.9 | Posted in Rudder | Comments Off

26th June 2007

Beginnings of a rudder

Couldn’t resist the siren song of aluminum…and the cool shop on a 90+ day.  The big concrete slab moderates the temperature quite nicely, so when the house is sweltering, I can escape to my cave.

Laid out the rudder skins and cut the stiffeners to length, smoothed the ends on the scotchbrite wheel, and match-drilled to the skins.  Also deburred the skin holes before the dinner bell.  These skins are quite thin compared to the material used in the stabilizers, and the manual warns strongly about over-deburring, so I was careful, and I think it turned out nicely.  I did drill into the tabletop; I built my workbenches to have easily replaceable MDF tops, so it wasn’t a concern.  The one complaint I have with the benches is that if it gets wet at all–water, etch, condensation from a can of soda, anything–it swells up and makes a little hill that needs to be sanded down flat.  when I replace the top, I will look into sealing it with something to prevent this from happening.

Stiffeners cut to size Stiffeners drilled to rudder skins Cleco forest!

Hours: 2.6 | Posted in Rudder | Comments Off