Canopy frame fitting
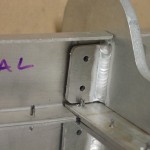
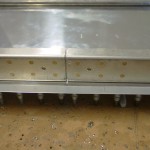
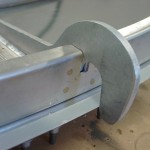
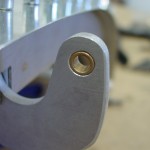
Hours: 6.1 | Posted in Canopy & FrameMore work on fitting the canopy frame, which began by drilling holes in the splice plate, fabricating spacers for the goosenecks, and getting the frame positioned correctly to match the fuselage width. That done, the holes were deburred and the forward portion of the frame riveted: the bows, splice plate, spacers, and goosenecks. The whole business was then fit to the fuselage again and tweaked for fit. The holes for pivot bolts were marked with a long 1/4″ bit by peeling up the edges of the forward top skin, then the assembly removed to drill the pivot points. Bushings were pressed in with the hand squeezer…both sides turned out well, with good edge distance.
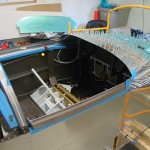
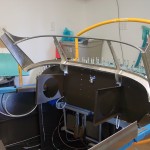
That done, it was back to the fuselage again for another round of fitting. The seal support angle needed to be trimmed to allow the canopy frame to move, and the front of the canopy skin filed down to widen the gap enough that the skin doesn’t catch the front skin and kink the edge. After another couple of on-off cycles, I think I have the front fitting decently; supposedly this all changes when the struts are fit, but I see no mention of that in the manual, so I will have to see when that’s best done. I do plan to add the canopy stop bolts that have become popular, to provide a positive forward stop to counteract the “thrust” of the struts when in the closed position
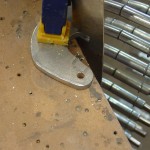
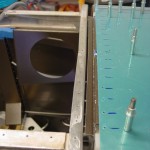
I will follow the lead of Chad Jensen and the Flyvans.com guys, filling the gaps at the outboard three holes with washers, so I put stacks of 960-10′s in there for now.
