22nd August 2010

Canopy skirts & stick grips

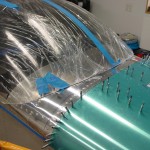
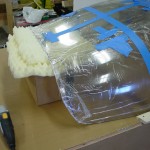
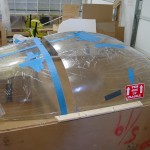
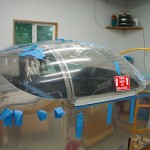
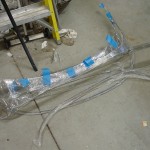
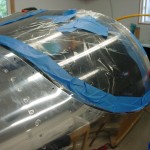
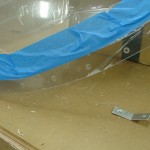
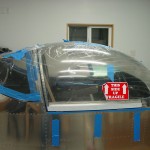
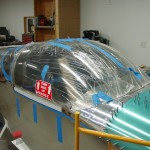
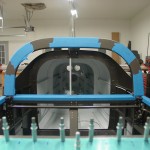
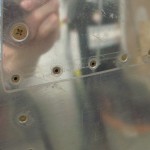
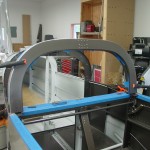
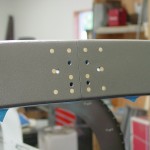
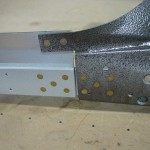
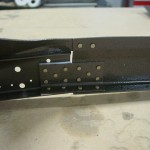
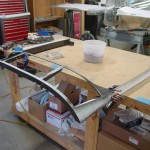
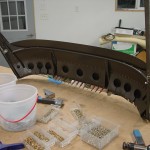
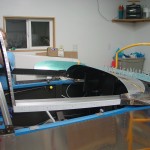
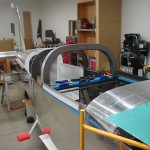
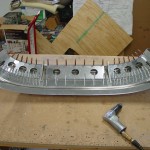
Removed the canopy from the fuselage for eventual sanding to true up the back edge; I also need to read and see how wide of a gap is needed here to allow proper opening of the canopy.  Fit and drilled the canopy skirts, the countersunk/dimpled, masked off the area at the top which will get sealant, and primed the rest.

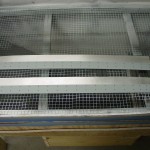
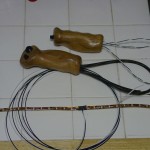
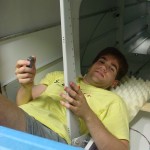
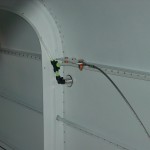
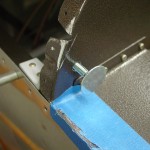
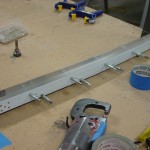
Measured out a section of LED strip light to go under the channel that runs behind the seats; this will serve as baggage lighting for loading/unloading in the dark.  The power for this will feed from the center of the strip, so I spooled off some 20ga wire and soldered it on.  While I was soldering, I also wired up the pigtails to the stick grip switches; the pilot’s grip got some expandable sleeving to keep all the wires in a nice bundle, as well.  Both grips’ wires will terminate in a connector at the base of the stick–either a Dsub or CPC for the pilot, and a 3.5mm mini-jack for the copilot, which will be easy to access to allow for stick removal.  I may also have a second PTT somewhere for the right seat, when the stick is removed.

Countersunk for canopy skirts Canopy skirts fit and primed Stick grips, baggage lighting soldered

Last but not least, I was able to find a good description of gluing a tip-up (illustrated, even) from Jim Ellis on the Matronics Wiki — I think this is the procedure I will use, minus the screws of course.  Fitting the canopy and then inserting the adhesive should be easier and less messy to handle with only two people, compared to applying the sealant bead and then lowering the canopy onto it.

Hours: 4.1 | Posted in Canopy & Frame, Electrical | Comments Off

20th August 2010

Map lights

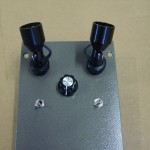
Wired up and tested the map light panel, with the lights, switches, and dimmer module.  This panel will close out the bottom of the roll bar brace, and will receive power from the interior illumination circuit.  Two switches provide for independent control of left and right lights.  A single dimmer knob controls the brightness of both lights, via a PWM dimmer module.

Hours: 1.8 | Posted in Electrical | Comments Off

18th August 2010

Canopy trimming and more

Off-and-on in the shop today while working through other non-RV projects, eating away at the canopy stuff one bite at a time. The day started by jumping in to dangerous waters: drilling the holes in the rear window.  One hole was drilled at a time, then deburred from the inside, and a cleco inserted–from the inside out, so that the spreading “nibs” on the cleco wouldn’t be putting force on the plexi…rather, the large diameter body of the cleco would be holding the plexi out against the skin.  While it was clecoed, it was marked for the final trim on the forward edge, as well.  Off it came to finish the holes–30 holes, countersinks, and step drill enlargements later, plus final trim of the forward edge, there were still no cracks in the plexi!  It was reattached and held in place with a few screws for fitting of the main canopy.

Rear window drilled Rear window drilled & clecoed Rear window holes finished

Marking and trimming of the main canopy was easy enough…by the end of the day, the canopy & rear window trimming was finished.  All that’s left is to do some block sanding on the aft edge of the canopy to even up the line and provide the necessary clearance gap.  A few on-off cycles were required to get everything fitting nicely, including the lower side trims and the little part where the plexi goes under the “ears” of the canopy skin.

Canopy fitting nearly done Canopy fitting nearly done

Sent an email checking on the shipment status of the SikaFlex supplies.  In other news, my latest order from SteinAir showed up today–the highlights were air vents and map lights, along with the usual wires, connectors, and the like.  I couldn’t resist, and I drilled my overhead panel for the lights, switches, and dimmer knob.  Looks good, I think, and seems like it will work well.  I also put some zip-tie bases up the rear channel of the flap housing, which will hold wires for the flap motor, position sensor, baggage lights, and phone/mic jacks (and perhaps other things, too…).

Map light panel

I decided to put the headset jacks at the aft end of the armrest, in the vertical bulkheads, rather than in the roll bar brace — it seemed like a better place after reading several threads, and thinking about the loading/unloading of baggage, and the possibility of hitting the plugs, or having to remove them each time a suitcase needed to go in or out.  Since the plane will usually have the same people in the seats, the headsets in this position shouldn’t need to be unplugged very often.  It also leaves open the option of having a place (the armrest behind the seat) to hold an ANR box, should one or us end up with a headset that has one…I’ve never liked to dangle boxes from connectors, so this fits with that well.  In any event, I drilled the headset jacks and temporarily fit them in place with the isolation washers.  I’ll need to look at my headset and see what the orientation of the plugs is to get the correct jack position (mic/phone inboard/outboard), for the volume control box to be right-side-up.

Hours: 7.5 | Posted in Canopy & Frame, Electrical | Comments Off

17th August 2010

1000 hours + 1 Big Cut

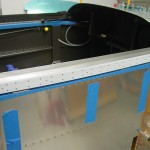
After reading a bunch of logs, forum threads, and articles on cutting the canopy, it was time to jump in with both feet.  And it was rather anti-climatic; I think the last “big worry” part of the build is over.  I started cutting before lunch, and by 6pm, I had trimmed the tooling marks off, trimmed the front bend in 3 iterations, and split the canopy in two.  I think I got lucky with the front bend fit; it was very close on the first trim, just a few adjustments required; I wouldn’t have needed to trim the third time, except that I wanted to “creep up” on the right cut amount, and more needed to come off so that it would sit down nearer the roll bar.

After the split, I cut the aft curve of the rear window, and drilled the screw hole pattern into the aft skin.  I could have gone farther, but I need to go shop for some 1/8″ spacers to hold the plexi the correct distance from the roll bar to mark the necessary trims for the rest.  The same spacers will be used to set the bead thickness for the SikaFlex, which should be arriving this week.
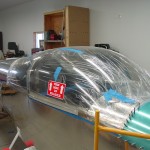
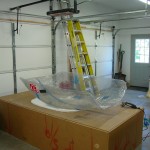
Pre-fitting and marking the canopy for initial trim The "hot zone" -- quartz heater overhead Iterative trimming of the front edge Marking the Big Cut line

Supporting the canopy for the Big Cut Big Cut done...sigh of relief Test-fitting the canopy to the fuselage Pile of cut off scraps

All in all, it was nothing like the to-do it’s made out to be…though it did take a couple days to get up the courage to pull out the saw.  I used my quartz heater clamped to the opener track overhead, and flipped the finish kit crate upside down to use for a work stand (my bench is not wide enough to hold the canopy bubble).  With the heater running, it kept the canopy nicely warm for the whole operation.  I did let it sit to pre-heat the plexi for about 90 minutes before starting to cut.  For cutting, I used an oscillating saw gizmo, which worked well; very controllable, even with one hand, though two is better as it does weigh a bit, and less flying debris than the cutoff wheel (though there certainly was debris, it wasn’t thrown across the shop, but pretty confined to the work area.  I used the sanding pad attachment for the same tool to smooth the edges after each cutting pass, with 2 grits of sandpaper.  I can heartily recommend this method/tool, with the caveat that I have not used the cutting wheel to compare.
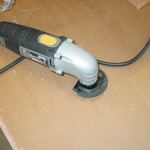
The tool of choice

I also experimented on a piece of scrap with some drill bits and countersinks, to get a feel for drilling the plexi.  Light (very light!) pressure and high speed seems to make the best holes, and I actually had better luck with a regular “used” bit than I did with one that I dulled on the scotchbrite wheel.  After experimentation, I think my plan is to match-drill the holes using light pressure on a #30 bit, then countersink with the 3-flute cutter, again with light pressure, followed by opening up the holes to 5/32″ with a step drill…that made nice clean holes in my testing, now I just have to do it 30 times for real.  (I will be using SikaFlex on the forward canopy and the roll bar, but having the required bead thickness on the aft part of the window would inset the window enough that it would be ugly; I will be using a bead of Sika there as a seal, but the structrual attachment will be per plans, with #6 screws.
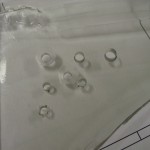
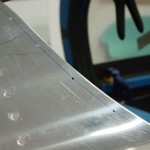
Experimenting with scrap; drilling, countersinking Pre-drilled holes for rear window attach

Finally, two milestones together on one day…not only the Big Cut, but the project clock rolled to 1000 hours.  I think that’s enough to safely call the project half complete.
Hours: 7.8 | Posted in Canopy & Frame | Comments Off

15th August 2010

Fiddling with the canopy

A short session this afternoon, in which I was able to get the canopy stops adjusted and file the skins as necessary to allow the canopy frame to open without catching skins.  With the lift struts installed, it’s somehow quite satisfying to open and close it.  With everything playing nice, the forward top skin was clecoed fully down to provide a solid forward structure.
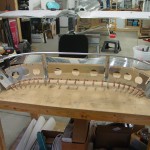
All that done, we lifted the canopy out of the crate and set it atop the fuselage.  And there it sat, while I stared at it for awhile, pondering the why and how of trimming the bubble.  I still have not found a good “guide to cutting” from one who has gone before — there’s plenty written on how to cut or not cut, and the merits of various tools, but precious little on what gets cut off, the sequence of trimming, and the like.  More research ensues…temps in the low 70′s today, maybe it will warm up at the end of the week.
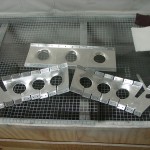
Hours: 2.2 | Posted in Canopy & Frame | Comments Off

14th August 2010

Aft skins riveted

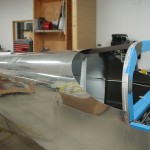
Allison helped rivet the aft skins to the fuselage in an evening session today, while I laid inside the tailcone to buck.  A couple pieces of egg-carton foam made it bearable, almost comfortable.  After riveting the skins, I bolted the shoulder harness anchors to the longerons, as long as I was back there.  Also riveted the canopy stop brackets to the longerons.

I did end up–as I have read others do–using three blind rivets on each side of the aft skins, at the forward end where the heavy angle piece under the roll bar blocks access to the rivet tails.  The pride of solid rivets there wasn’t worth the frustration of the impossible bucking access.  They can always be filled with a dab of epoxy before paint and no one will ever know.

(edit: I see now that those blind rivets, CCR264SS-3-4, which I pulled from a “Cherry rivets” bin at Oshkosh, are actually soft rivets intended for installing nutplates.  I hadn’t realized the depth of the Cherry rivet catalog, and bought those on impulse, thinking of this spot.  I’ll research and order some correct rivets that would be appropriate here, perhaps a CR3214-4-x, and remove/replace these when they arrive…)

(edit 2: The CR3214-4-x rivets have been successfully used by others, according to the wisdom of the internet, but they are reportedly expensive, and the common suppliers only stock them in 100-pack minimums.  I did find where someone else had this same dilemma and ended up using the “nutplates” rivets that I just installed.  I flirted with the idea of leaving them in place, since they would be easy to replace later if/when needed.  But, I did bite the bullet and order some of the spendy rivets, since VAF threads indicate they may come in handy when closing up the forward top skin as well.  Genuine Aircraft Hardware is stocking them in 10-packs, though they are definitely made of precious metal, looking at the price…)

Bucking the tailcone Aft top skins riveted Forward view of fuselage status

Harness anchors installed Canopy stops installed Blind rivets at forward end of top skin

Hours: 4.2 | Posted in Upper Fuse & Skins | Comments Off

13th August 2010

Canopy frame assembly!

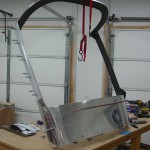
The night that the last few weeks have been building up to (no pun intended…) finally arrived.  The primer and paint were dry, and canopy frame is now riveted. Not a bad job overall; before riveting, I had to back-drill the holes for the screws that hold the lift strut blocks through the skin, and dimple.  The frame skeleton was riveted first, then the spacer strips attached (there are 5 keeper rivets per side).  The aft bow was riveted together, after checking for fit against the roll bar and clamping to the table to hold it in position.  Then the bow and the frame were joined, and the top skin added.  For ease of riveting, I lifted up the aft end of the frame by suspending it from the garage door track.  Once everything was together, I riveted the aft edge of the stiffeners to the skin, then clamped the frame flat to the table to cleco and rivet the forward edge of the stiffeners to the weldment.

Checking fit on the rear bow Rear bow splice plate rivets Forward splice plate riveting Splice plate riveting

Assembling the frame structure Adding spacer strips to side rails Riveting the front skin Adding the stiffeners

Checking fit on the fuselage Canopy frame test fitting

True to the tales, it shifted a little during riveting — the aft width is nearly perfect, but the front sides near the splice plates had narrowed a bit, and the skin seems to have shifted forward, as it catches the forward top skin now.  A couple strategic pulls took out most of the side gap, and the forward skin can be filed down a touch.  The numerous on-off cycles have broken in the hinge blocks, so the hinge goosenecks slide in easily now.  I won’t worry about perfecting the fit until the next time, when I rivet the forward stop brackets and fit the struts, so I can correct for any flex added by the struts at the same time.

Punch list before fitting the bubble:

  • File forward edge of canopy skin
  • Fabricate and install (6) straps on stiffeners
  • Install stop brackets and lift struts
  • Drill hole and install bushing for wiring passage to roll bar brace…install tie-wrap bases on vertical cable path
  • Run extra coax aft for GPS antenna?
  • Rivet aft top skins
  • Read up on fitting process and where/what to cut

Allison has discovered the joy of paint schemes, so I gave her the JetGlo color chip booklet…a side trip yesterday to a beach just a few dozen yards’ walk from an airport (KDYT [airnav]) was good inspiration, I think.  Three hours in the car, just an hour by plane.

Hours: 4.6 | Posted in Canopy & Frame | Comments Off

11th August 2010

Prep, prime, paint

The three P’s of almost-ready-to-assemble-something.  Etched the remainder of the canopy frame parts, then primed, and painted the visible surfaces.

Hours: 3.4 | Posted in Canopy & Frame | Comments Off

9th August 2010

Yet more canopy frame

Drilled the rivet patterns into the skirt spacers, then match-drilled to the side rails.  The spacers will be riveted to the side rails with several keeper rivets along their length, then the side skirts will be fit and back-drilled from the inside.  Deburred all the holes, and that is a lot of holes.

Trimmed the rudder cable exit fairings (picked up at OSH) to a curved shape, rather than a rectangular one.

Hours: 1.9 | Posted in Canopy & Frame | Comments Off

8th August 2010

Canopy frame continues

More work on the canopy frame… fitted the stiffener kit to the frame, then took everything apart for deburr/dimple/etc, and prep for primer.  The plan is to rivet this thing together, and get the aft top skins on, then fit the plexi bubble.  The stiffener kit wasn’t too bad to install, though it has plenty of notches to deburr; the worst part is bending the flanges around the 9 lightening holes.  I broke a couple boards with notches (including an oak piece), then used a 3″ hole saw to make a giant dimple die of sorts, clamped one hole at a time, and whacked it with a 3# hammer.  That seemed to do the trick.  They’re not pretty like factory-formed ones, but the do stiffen up the pieces considerably, and they’re hidden behind the panel anyway (except when the canopy is open).

Stiffeners drilled to canopy frame Stiffeners drilled to canopy frame Flanges bent in stiffeners

Also riveted 2/3rds of the rearmost top skin, while Allison was looking for a reason to be in the garage (since it was cooler than the house in the 95° heat.

Expecting to be out of town again for half this week, and busy some evenings, but with any luck, the frame will be complete by mid-next week, and work with the plexi might still have a shot at being done before the fall temperatures set in.

Hours: 8.1 | Posted in Canopy & Frame | Comments Off