22nd
February
2009
Finished riveting the ribs of the left tank, then went through with an inspection mirror and gave all the rivets another look; found 4 more that I drilled out & replaced. Touched up any spots whose leak-free probability looked even slightly questionable with some of the leftover Proseal.
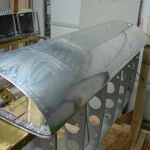
Pulled out the fuel level senders and bent up the float wires according to plan, then clecoed the access plates & senders in place for a test fit. Left was spot on, but on the right, the float hits the stiffener when installed according to plan. The float on the right tank is clearly more forward in the tank than the left tank, as Van’s instructs you to install the float onto the wire in opposite directions, and then the place where the wire comes off the sender is different left/right, as well. After puzzling for a moment, I reversed the orientation of the float on the wire, which makes both tanks look more the same, and allows the float to clear the stiffener. Quick searching online didn’t reveal other mentions of this problem, but I wasn’t able to find any pictures of a RH float install yet, either. Will triple-check the orientations & wire bends before closing this up, but I also can’t see any reason why it wouldn’t work this way. (EDIT: Smitty has a picture of his R tank install here, showing the same thing I ended up with…perhaps I misread the plans?)
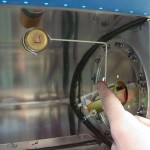
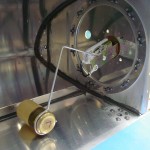
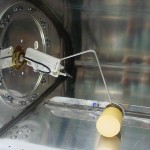
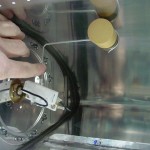
Also test-fit the fuel pickups, and drilled the holes for the vent line fitting. Not as much work to the tank internals as I imagined. I will need to beg, borrow, buy, or steal a 37-degree flaring tool for the vent lines (the pre-fab pickups come flared).
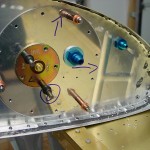
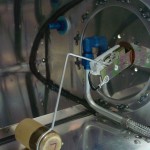
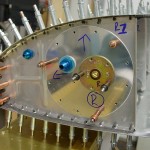
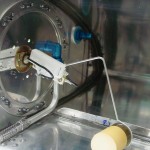
Overall, met my goal for the weekend (R tank sealed, and L tank riveted). Busy week ahead (as last week, and, it seems, every week), but perhaps I can wrap up the internal details on the L tank over the available evenings, and be ready with the internals of the R.
Hours: 4.6 | Posted in Fuel Tanks |
21st
February
2009
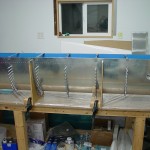
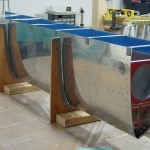
Sealed all the ribs into the right tank, following the same procedure used for the left tank. Got a later start than planned when the used-only-three-times-previously scale refused to show anything other than an error message (“oUt2,” which of course isn’t mentioned in the 1-page, 5-language “user’s guide”…); ended up making a trip to town to exchange it.
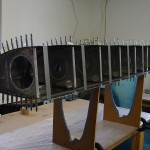
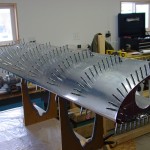
Started riveting the left tank ribs. Clinching over a rivet or two on every rib so far; I think due to the angle of the inside of the tank (read: my lack of apparent ability to keep the bucking bar at the correct angle), combined with the wet proseal on the rivet. The first two ribs were wearily slow, but it started moving much faster once I began pulling every other cleco on a rib and doing them in “batches”…ie. all the ‘even’ rivets, then all the ‘odd’ rivets. Squeezed the rivets on both end ribs, and shot the bottom of the tank before calling it a night. Hoping to wrap this riveting and start working on prep of the LE’s this weekend, leaving the right tank sealant to cure ’till next weekend.
Hours: 8.1 | Posted in Fuel Tanks |
20th
February
2009
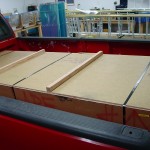
Trip to the ABF terminal in Owatonna after work today to pick up the fuselage kit. No damage to speak of, and the crate just fits (lengthwise) in the back of a full-size pickup box with the gate up. In the garage overnight while it’s snowing, then I can unload with the skid loader tomorrow in the daylight.
Posted in Fuselage |
14th
February
2009
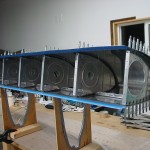
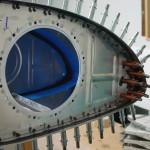
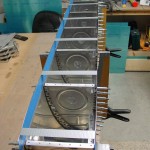
Left tank is on it’s way; sealed in the ribs tonight. In addition to using the fay sealing method, I did a slightly different order than the manual specifies. First, clecoed #2 & 6 ribs in place (without sealant) to hold the skin in proper curvature. Sealed and 100% clecoed the #4, then #3 & #5 ribs, followed by the #1 and #7 ribs, at which point I removed the sealant-less 2 & 6, reinstalling them with sealant. The ribs slid into place much easier now that they’re dimpled and lubricated with Proseal. I typically pushed them into place, caught a couple holes on the aft bottom with clecoes, pushed the top row of holes into close alignment, dropped in a couple clecoes on the aft top, then used the awl to move the rib into place; once the dimples nested, it held itself in easily, whereupon I clecoed every hole.
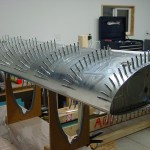
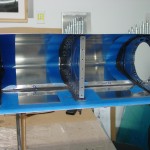
I squeezed the reinforcement plate rivets on the outboard rib and gooped the inside heads with sealant before installing that rib to the skin; the inboard rib rivets can’t yet be installed, because they also attach the tank-t-fuselage angle, which is too think to install before riveting the rib rivets (the thickness of the material interferes with access for bucking or suqeezing those rivets). So, instead, I sealed & clecoed the reinforcement plate to the inboard rib, figuring that the sealant will hold it in place nicely once it’s cured; should be a simple task then to install the bracket & rivet.
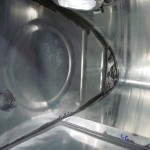
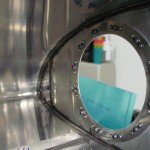
After installing all the ribs, I went back and did the fillets around the edges with a popsicle stick (actually, it’s a tounge depressor with once end ground down to a narrower radius; provides a radius tip for filleting at the end of a triangular section, useful for “spatula-ing” sealant into places where it’s needed). I also ran strips of duct tape at each rib location to hold the aft edges of the skin closer together, into the position theyd be held when the baffle is in place. I noticed that the skin wanted to pull open due to its curvature and lack of rear baffle to hold it together. I think the tape strips will take some of the pressure off the aft-most clecos, allowing them to do their job of holding the skin more tightly to the ribs. The blue tape is to confine the mess of the filleting near the ribs; installing the ribs for some reason wasn’t as messy as the stiffeners seemed to be, and I think it would have been fine without the tape (which was removed after the fillets were in place).
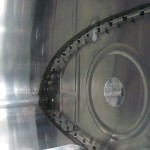
Hours: 3.1 | Posted in Fuel Tanks |
8th
February
2009
The sealant having cured to a generally tack-free state, it was back out to the shop with them this afternoon, for part two. Pulled the clecos from the holes, cleaned out the Proseal gobs remaining, then smeared a dab of fresh sealant in each hole with a Q-tip, followed by driving the rivet as needed–back-riveting the stiffeners, driving the filler flange with the gun, and squeezing the drain flange. I think everything turned out alright, and I did remember to attach the vent line clip!
With the flanges that I’m using (the “deluxe” locking caps), the flanges are milled from a thicker piece of aluminum, with a curve to match the curve of the skin. This results in the flange being thinner in the front and rear than the center (the high point of the curve), requiring longer rivets to be used than the plans call out. (The stock Van’s flanges are, from my understanding, machined flat, and then the curves are bent into them afterwards, so the thickness is uniform.) I had seen this on other builders’ sites who used this cap, and was aware to watch for this…no problem.
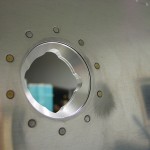
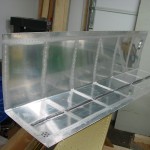
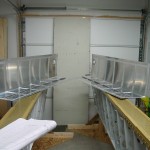
After that was over, I cleaned off the outside of the skins, cleaned up the tools, and neatened everything up before mixing up the next batch of Proseal. This time, I used a toothpick to put a dollop of sealer over the shop head of each rivet, swirling it around to ensure that it seals to both the rivet and the sheet, fully encapsulating the shop head. I’m going to try and pick up a syringe to use for this step when doing the ribs, as there are many more rivets there. On the drain flange, I made sure to leave clear space between all the rivets-head sealer blobs, to allow for water to reach the drain port.
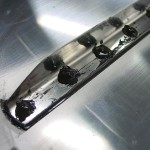
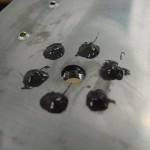
With the leftovers from the last batch of sealer, I slathered up the nose of the two outboard tank ribs and clecoed on the reinforcement plates for later riveting.
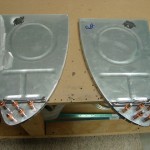
Hours: 4.8 | Posted in Fuel Tanks |
7th
February
2009
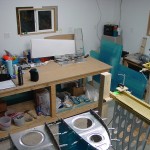
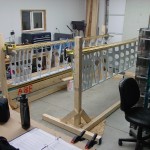
Evening session…pulled the leading edge assemblies off the wings, followed by the J-stringers and skins. That’s a metric boatload of holes and pieces to be deburred, dimpled, and primed. I’ve read that the mil-spec on riveting indicates that holes which are dimpled (aka “form countersunk”) are not required to be deburred, but it seems the common practice is to deburr the holes anyway, and that’s what I’ve been doing so far. I suspect I will need to order more primer to finish this off…maybe it’s time to bite the bullet and order the gallon can instead of the quart.
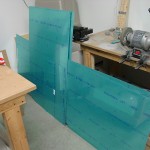
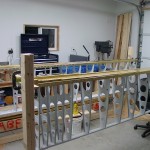
After everything was pulled apart, I deburred the holes in the spar web (LE rib-to-spar holes), and countersunk all the skin-to-spar holes to receive the dimpled skins. Lotta countersinks. Finished off by blowing the shavings out of the skeleton and giving the shop a good sweeping.
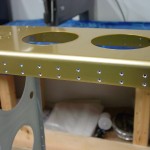
Hours: 2.5 | Posted in Skin Panels, Spars & Skeleton |
7th
February
2009
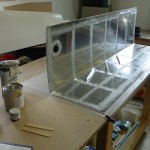
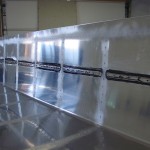
Spent the afternoon session learning the joy of Proseal. I’m using the “fay sealing” method described by Rick Galati, which has been adopted by a number of other RV builders. Butter up the stiffener, put it in place and cleco in every hole; fillet the edges and clean up the mess. Let sit until sealant is partially cured so it’s no longer tacky (I brought the tank skins in the house where it’s warmer to help them cure). Once the sealant has cured–I expect it to be ready tomorrow–wet-install the rivets and put a dollop of sealer over the shop heads.
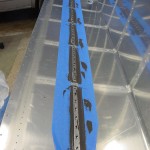
I put in the stiffeners, drain flanges, and fuel cap flanges for both tank skins. They’re sitting in the living room curing at the moment, and should be ready to rivet after church tomorrow (at dinnertime, they were on their way to being tack-free). On the second tank, I ran strips of blue tape along both sides of the row of stiffeners, which made the filleting and cleaning tasks less messy, and the final product prettier. I doubt I’ll win the gold Lindy in the “neatest fuel tank” category, but my goal is less ambitious–no leaking fuel. 
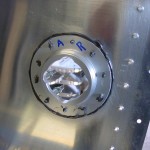
Had a little sealant left at the end, so I cut a couple AN6 rivets short, and drove them in the tooling holes of the end ribs. The shop heads were far from perfect–a results, I think, of the cheapo rivet cutter slicing them off at an angle; but as their sole purpose is to plug up that hole, I believe they are serving their intended function, so I slathered them with the leftover Proseal and moved on. Also squeezed the nutplates to the tiedown bars, one of those 5-minute tasks that was left over from the replacement spar exercise. Still need to get an in-lb torque wrench to put them on.
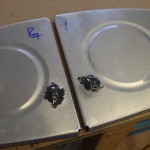
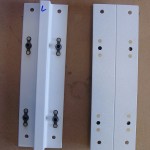
Hours: 3.1 | Posted in Fuel Tanks |
6th
February
2009
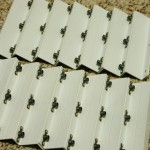
Brought a box of parts inside and hand-squeezed the nutplates onto the tank attach angles.
Hours: 0.9 | Posted in Fuel Tanks |
6th
February
2009
Van’s called this afternoon, asking for authorization to charge for the balance due on the fuselage kit…so it appears that they are shipping on schedule. They said the kit is going to crating next week. When they sent me the order confirmation, the expected ship date was the week of 2/9 — three weeks earlier than anticipated, based on the advertised lead time (8-9 weeks) when I ordered.
Quick production is a good thing, now I just need to step up on the progress here!
Posted in Fuselage |
1st
February
2009
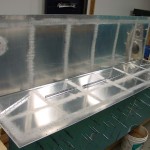
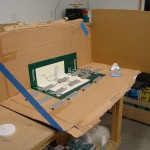
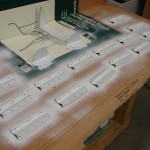
Finished deburring the left tank skin and ribs and dimpled all parts. Scuffed sealing surfaces on both tank skins, all the tank ribs, stiffeners, rear baffles, fuel cap & drain flanges, inboard & outboard rib reinforcement plates, and the tank-to-fuse attach angles. Cleaned the left tank skin, stiffeners and ribs with acetone until the rag wiped clean, in prep for sealing. Etched, then primed the Z-brackets and attach angles for both tanks in a miniature “paint booth” made of cardboard. Should be ready to start slinging Proseal in the next session…
Hours: 5.8 | Posted in Fuel Tanks |


