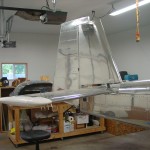
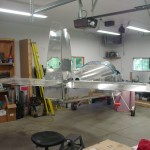
Received a couple supply orders this morning, from SteinAir and McMaster, so parts were on hand to complete a few tasks.
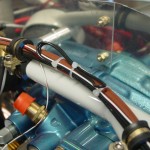
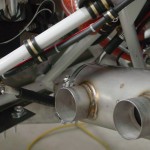
Installed the intake gaskets and bolted the fuel servo and spacer/bracket to the sump. I bought some all-metal steel locknuts in 5/16-18, which is the thread on the long studs AeroSport sent to me. I’ve installed the standard-height ones, but even with a thin washer, the threads are only flush with the bottom of the nut, rather than the usual 1-or-2-thread protrusion we want (though they do appear to be fully engaged; there’s just no excess). I installed them for now, torqued and sealed, but will ask around to see if this is a real problem; if so, whether using shorter nuts (which I also bought) would be acceptable here, or if I’ll need to locate and install longer intake studs (ugh). In other FWF news, torqued the engine mount bolts and installed cotter pins.
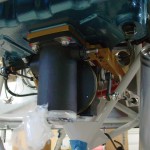
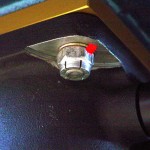
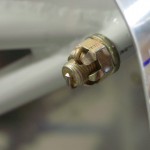
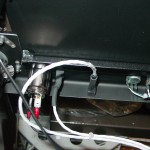
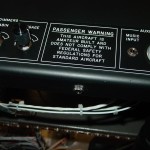
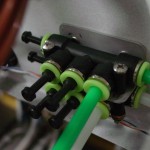
Installed the quick-connect fittings on EFIS 1, into which were installed the pitot and static tubes. Blowing lightly in the pitot line at the wing root caused the airspeed to come alive, and capping the tube off cause it to hold steady, so the system within the fuselage appears to be tight. Sucking lightly on a static port indicated a climb, so that’s good too, though that one isn’t guaranteed leak-free, as I wasn’t able to plug the opposite port and hold suction; that test will come later.
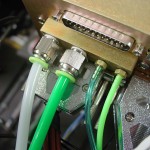
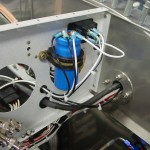
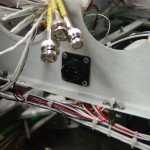
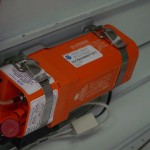
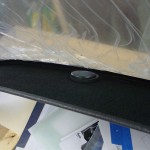
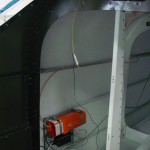
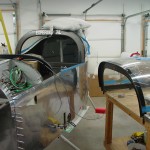
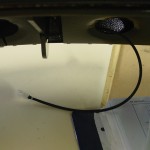
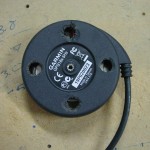
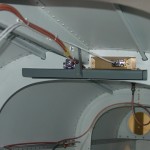
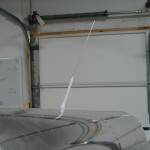
Moving toward finishing the ELT install, I drilled a hole in the aft top skin for the antenna, and fabricated a circular doubler to go inside, per the installation guide. Routed a coax from the ELT to the antenna, secured and terminated. Hint: a BNC connector doesn’t fit through the 1/2″ hole for the antenna, and if you install it with the coax pulled to the outside because it’s easier, you’ll have to cut it off and do it again, the hard way…don’t ask how I know. Routed and secured most of the wiring around the ELT itself, though the wiring is not done yet. Some fiddly soldering on a 4-pin DIN needs to be done to hook up the power and GPS signal (why they chose that awful connector, I don’t know…). And, I need to terminate the RJ-11 ends, and of course my RJ crimper is in my toolbag at the office.
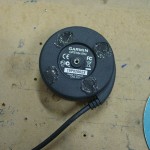
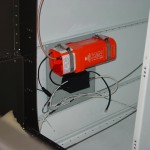
In the same area, installed a nutsert for the APRS box, and secured that along with it’s wiring. Placed a couple ziptie bases along the wire run to the RS-232 service port and status indicator light and secured those wires, as well. Still haven’t seen any pings from the APRS show up on the internet, though that’s not surprising as it’s been in the garage the entire time. I might push it out someday and see if it’ll ping, but with the bottom-mounted antenna, I don’t really expect to see anything until she’s airborne.
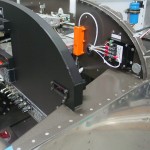
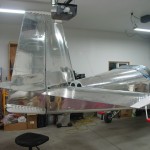
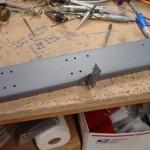
And as long as I was working in the tailcone, I finished securing the wires that run along the floor, including the addition of a few ziptie bases. Also removed the test-fit magnetometer mount, deburred and primed it so it can be riveted in place. I see at least a couple more trips into the tailcone (mag/mount install, finish the ELT, install the elevator pushrod) in my future, but hopefully I’ll be done with that soon, at least for awhile. Once you’ve got camp set up in there, it’s not so bad, but getting in and out is a bear…and even more fun when you get yourself inserted and then realize the tool you need is still on the bench.
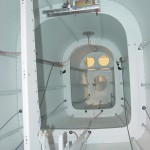
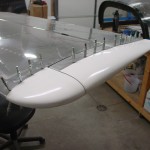
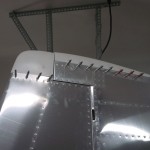
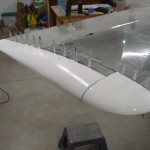
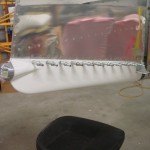
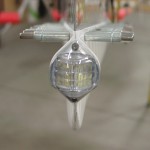
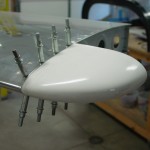
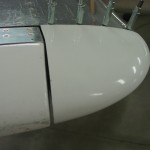
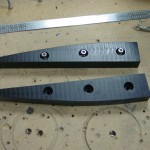
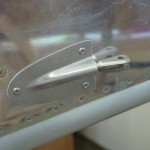
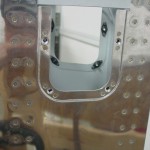
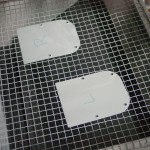
In keeping with the tailcone theme, but on the outside, I installed the rudder cable fairings that were prepped yeterday. The night’s last act was to install the nutplates on the elevator horn inspection holes, then prep & prime the cover plates.
Checked the FAA registry tonight and saw that my N number is now showing as assigned, with the proper details of my airplane. So, it appears my registration has been received. I’ll laugh if the state tax people call up in the middle of the current government shutdown to ask for their pound of flesh…
