A few tips…
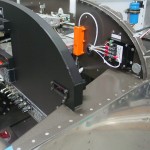
Hours: 7.8 | Posted in Electrical, Wing & Tail JoinsELT batteries came in the mail this morning, so the first item on the list was installing them. The lithium batteries are good for 10 years, according to the ELT manual, but the expiration date on the batteries is March 2020, so I’ll enter that as the replacement date. With the batteries in and everything back together, I armed the ELT and pushed the button to initiate the self-test. One beep came from the audio alert, which is supposed to indicate that the system has passed all its checks and is good to go. Disarmed the unit. Also, reached up into the tail and tightened down the nut on the ELT antenna.
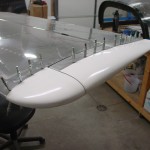
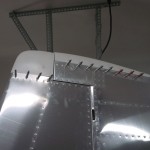
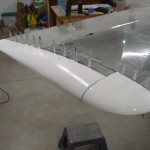
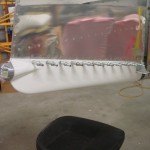
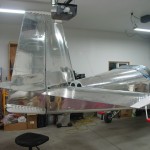
Spent the rest of the day working on the empennage. Lots of fitting, trimming, filing, and sanding of fiberglass tips. The vibrating saw I bought for the canopy work also works very nicely on fiberglass, so I’m using that to do the rough trims, then following up with a flat file, a triangular file, a half-round file, and a 2′ 1×3 with sandpaper glued to it. (Drywall corner bead adhesive works really well to stick sandpaper to a board.) And, the heat gun to warm up a couple recalcitrant parts so they could be shaped. Finished basic fitting of all the empennage tips, though there’s still plenty to do. The VS tip needs to have some height added to it to match the rudder, and the left elevator tip has a dip molded into it that will probably need filler. Plus, there’s the closeouts of the VS and HS tips with foam/fiberglass/micro/shaping them to match the control surfaces with acceptable gaps.
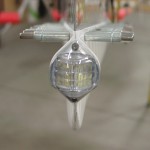
The rudder bottom was the most time-consuming, since it needed lots of trimming to fit around the rudder horn. I initially trimmed to the scribe lines, and they were close, but not quite. I have a bit much of a gap under one side rudder horn (oh well), and the other side needed to be sanded down at a taper quite a ways more before the centerline of the tip was in line with the trailing edge. Once it was fit, I proceeded to fit the aft nav/strobe, using rivnuts to mount it. Wired it up, adding the local ground called out in the new version of the recommended wiring diagram, and flipped the switch. Worked well, though the nav light draws so little current that the VP-X’s no-current fault indicator kept tripping it offline, so I disabled that for the nav light circuit. The strobe draws enough current that it keeps the strobe circuit from faulting; once the other 2 nav lights are connected, I can try re-enabling it on that circuit.
