Paperclip trick
Hours: 4.1 | Posted in Cowling & Baffles, Electrical, EngineCrimped a ring terminal to the buss end of the SD-8 power wire, and secured it to the VP-X stud with the main buss feed. Verified proper operation of the SD-8 relay. Loosened the capacitor and relay to allow bucking bar access above them for riveting the top skin.
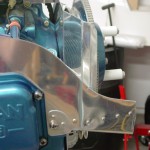
Back to baffles for a bit; set up a row of paperclips around the sealing edge and put the cowling on; this pushes the paperclips down and reveals the spacing between the baffle edge and the cowl. Once the cowl is removed, I marked a line 1/2″ down from the top of the paperclips, and used that as a guide to trim the baffles, aiming for the specified 3/8-1/2″ gap. Rough cut with snips, cleaned up with files, finished with scotchbrite in the die grinder. Refitting of the cowl revealed a couple small areas that may need a wee bit more trimming or a change in contour, but that’s easy enough to deal with. Should be ready to cut airseal fabric soon.
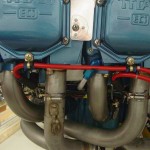
I’ve slowly been adding ignition wires as time goes by, so I decided to put the rest of them in, and start work on tying them up. I sorted out the various lengths and determined which is intended to go where, then started working from the spark plugs aft. Swapped around some baffle/valve cover screws to get adel clamps installed on the lower screw of each valve cover, to hold the bottom plug wires. I’m making spacers to secure adjacent wires with zipties and short pieces of silicone tube left over from the manifold pressure plumbing, similar to what’s shown in the Pmag docs.
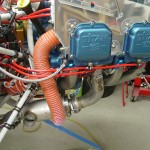
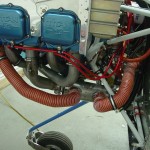
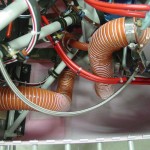
Also started work on the heater SCAT tubing, and got most of that routing sorted out and tube secured.
