Working the list
Hours: 5.4 | Posted in Electrical, Engine, Wing & Tail JoinsStarted out by giving more attention to the HS/VS tips (the elevator/rudder tips don’t require so much work, and I’m glad for it). Sanded the filler layer of micro I added yesterday, and got things looking relatively decent. Spent some time reading on what the process is from here; it looks like there should be an epoxy sealcoat or three over the microed area, then a primer, and possibly another primer after that. I’m reading much of what DanH has written over at VAF, and have found the specs for the PPG coatings used by many of the folks; have to see if there is a local supplier, or if it’ll be a mail-order operation. DPLF is the basic primer, and K36 is the high-build primer/surfacer. The finishing steps, as I understand them, are to brush or roll 3 layers of straight epoxy, then sand, shoot DPLF, sand/fill if necessary, then a light coat of DPLF and a coat or two of K36. I don’t know if the K36 step is needed at this point, or if that’s something that’ll happen at paint prep time. After sanding them up, I added a fillet of flox to the inside of each tip, to strengthen up the joint at the back. Hopefully these will be done soon…
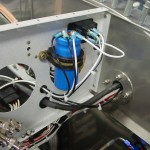
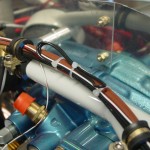
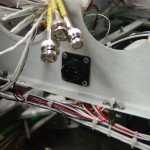
Next I tackled the pre-installation for the SD-8 backup alternator/dynamo. I’ve installed the relay and capacitor, but haven’t bought the regulator or dynamo to save the $500 for the moment. This is purely a backup device, so I don’t need it to get flying, but want to add it eventually. I drew up a full-size paper mockup of the regulator so I could locate nutplates to secure it, and installed those. Then, I installed all the wiring, and ran the lines which run to the regulator to a CPC connector mounted below where the regulator will go. When I get the regulator, I’ll put a mating CPC on it, and it’ll be a simple matter of bolt in and plug in. Also ran a loop of wire FWF and secured the excess length to the wire bundle along the upper engine mount tube, where it’ll stay until the installation of the dynamo.
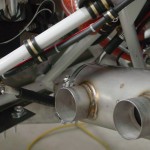
Started on the installation of exhaust mounts. Tightening down the bolts on the ball joints to the specified 2-threads caused them to become rather tight, so I may need one length longer bolts there — not sure how tight or loose it’s supposed to be, but the install guide does say that it’s important they be able to flex, and recommends lubricating them regularly. Got the right side hangers fit, and the left side marked and cut, before quitting time.
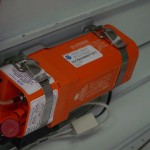
And, stuck the biennial registration sticker on the ELT.
