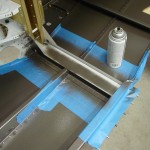
Baggage compartment
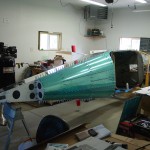
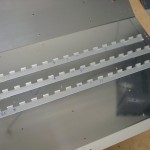
Hours: 9.1 | Posted in Upper Fuse & SkinsMemorial Day…spent most of the day in the shop after the long weekend of work. The first task was to install the baggage floors, which is done with blind rivets. Easy enough, and made easier by rotating the fuselage 90 degrees…it’s very evident why fuselage “rotisseries” have become popular. I just picked it up at the firewall and turned it on it’s side, moving blocks around to support as necessary. It became much easier to work in once on it’s side, and I will be strongly considering the creation of some apparatus or another to allow this rotation with ease.
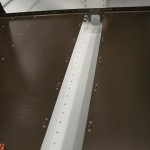
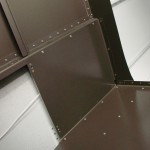
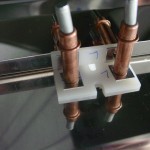
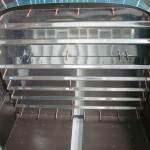
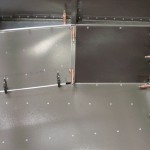
Anyway, baggage floors went in, followed by the aft baggage side covers… a bunch of nutplates were also installed along the tunnel and bottom of the baggage wall. This made way for the installation of the baggage wall itself, which is in two pieces. The bottom piece pretty much goes in as is, but the top piece requires measuring and marking of all attach holes, as well as trimming the curve at the top sides. I used my drafting compass to mark the curve, then cut with snips and finished on the disc sander. Slots are cut for the harness cables to pass through, and plastic wear blocks are fit behind those slots.
Fitting the baggage wall takes a series of install-remove actions (including the drilling and installation of 20-some nutplates), but when it is finally in, the forward baggage sides are fit; these are the pieces that cover the flap actuator arms, so they are also installed with nutplates. The pieces have one flange trimmed away at an angle, and the forward vertical flange also should be bent down a couple degrees for a nice fit against the bulkhead. Permanent installation of the nutplates on the bottom edge will come later, after primer and paint.
With the baggage area essentially completed, I set the fuselage back upright to allow removal of the aft top skins, later in the week…these will be removed and the gusset plates drilled to the longerons, then added to the pile for primer. I moved on to the aft seat pans, which need to have the seat bottom hinges fitted. After locating the hinge material, I was able to get the six pieces cut to length and ready for drilling to the pans. I think I’ll fit those hinges, pull the aft skins, and do a prep/prime day sometime this week for the parts that have been completed. Putting the seat pans in place isn’t too far off.
While working on the baggage area, I also masked off the side skins and sprayed paint on the vertical parts of the center section bulkhead, since one side is gold and the other white…paint will hide the obvious marker of a mistake-replaced part!
