15th
January
2010
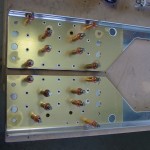
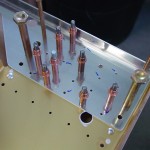
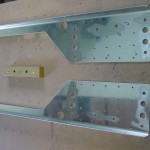
Worked on the center section fix after talking to Joe at Van’s support line. The replacement center section side pieces come raw–the holes are drilled for the -4 rivets that attach them to the center section, but not the all-important spar bolt holes. What to do about those holes, I asked…Joe saw the forest, where I was only seeing trees, and suggested that I match-drill the new ones using the old ones, once removed from the center section. Of course! Since the pieces have bends on their outboard edges, you must sacrifice the old ones to match-drill the new ones. I drilled out the 40 rivets holding them to the center section, then took to them with the hacksaw, trimming off the long upright, and the outboard bend angle, resulting in a flat “template” piece (beautifully gold-anodized, even!) that could be used for match-drilling. I took the time with this operation, stepping the holes up in size with various drill bits, to get the best chance of having them centered. The operation went without trouble.
Once the pieces had the necessary holes, and edges deburred, I clecoed them back to the center section bottoms, using the close-tolerance bolts to align them, just as I did the first time, and match-drilled. Remove for hole deburring, and they’re ready to be primed and riveted back in place. I did a test-fitting with my hardware-store bolts, which was fine, so I’m confident that the match-drilled holes will work out. If not, Van’s did say that the holes in the side pieces could be reamed on assembly if needed, as long as care was taken not to ream the portion of the hole that passes through the 3/4″ thick bars that make up the meat of the center section.
Hours: 2.3 | Posted in Center Fuselage |
11th
January
2010
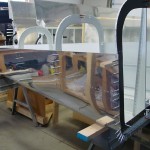
Finished riveting the tailcone assembly, easy enough. Then, started to disassemble the center section in preparation for the replacement of the right side pieces.
Hours: 2.4 | Posted in Aft Fuselage |
10th
January
2010
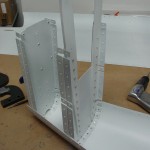
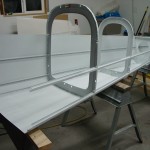
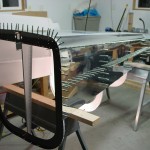
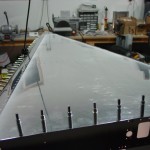
Riveted the two aft bulkheads to the tailcone skin, then clecoed the entire tailcone together. Set a rivet at each bulkhead/stringer/skin junction (so, 4 places per bulkhead) before flipping the tailcone upside down on sawhorses for riveting. Allison graciously drove all the bottom rivets I couldn’t reach solo, while I bucked from inside the tailcone. After that was done, we flipped it back right-side-up, and I continued riveting; ended the night with about half of the right side done. Should be able to finish this up tomorrow night. Space in the shop getting rather tight now with two cars, garden tractor with snowblower, mower deck, generator, wing cart, workbench, and tailcone all competing for floor space…
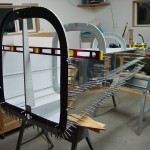
Hours: 5.5 | Posted in Aft Fuselage |
9th
January
2010
Etched and primed the stiffeners and skins of the tailcone, plus some touch-up on bulkheads where primer had been scratched during the fitting process. Now ready to reassemble and rivet.
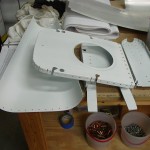
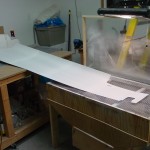
Hours: 4.2 | Posted in Aft Fuselage |
9th
January
2010
Continued drilling the center section where I’d left off, until I realized I made a big mistake. Turns out the F-904H doublers are not symmetrical — there are 17 holes on one vertical row, and 18 on another. The left one had been clamped on correctly, but the right one was reversed; guess which I drilled first. Sigh. The recovery won’t be as bad as it could be, though; Van’s sells replacement center section side pieces, so all I need to do is drill out the 40-some rivets holding those onto the main piece, and replace, then re-drill with the 904H plate oriented correctly. The only awful rivets to drill out will be those -14′s that hold the reinforcing bar in place. I’m going to order some -22′s to have on hand for those, and just cut them to length as necessary.
Hours: 0.5 | Posted in Center Fuselage |
3rd
January
2010
Continued to work on the center fuselage by fitting the 705 bulkhead and the baggage ribs, followed by the bottom skin. This requires some trimming of ribs to allow for wiring grommets. I forgot to back-drill the seat ribs where they bolt to the center section, so that will have to come later. Match-drilled the bottom skin to all the pieces, then fit the outer seat ribs and drilled them to the skin, followed by the baggage side ribs, another piece that needs trimming, plus the fabrication of little plates that connect them to the structure fore and aft. Finally, fit the forward piece of the center section and match-drilled it to the skin. Clecoed on the side plates before getting called away for the night.
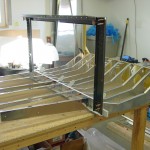
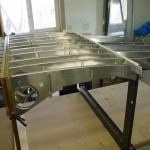
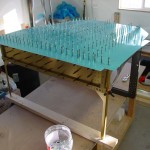
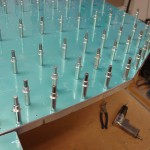
Also tonight, crossed the 600-hour mark on the project. Looks like the goal of finishing the tailcone should be easily reached before January is over.
To do list: drill bolt holes, figure out countersinking/dimpling of center section holes.
Hours: 5.2 | Posted in Center Fuselage |
2nd
January
2010
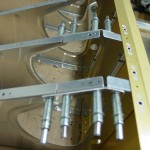
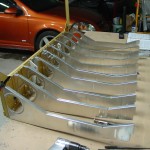
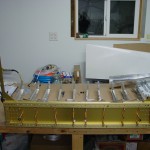
Having nowhere to go on the tailcone until more primer arrives, I went ahead and started on the assembly/fabrication tasks in the center fuselage. The first task is to fabricate a set of four spacers from 1/8″ bar stock…done. Then, you modify four of the seat ribs to allow space for the control column…done. The next item is to install nutplates; this will wait until after priming, so I went ahead and drilled out the necessary holes for snap bushings, and clecoed the seat ribs (after fluting) to the aft piece of the center section, along with the requisite trimming of the two center ribs to make room for snap bushings. Looking good…
Hours: 2.6 | Posted in Center Fuselage |
2nd
January
2010
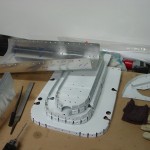
Dimpled the tailcone components; they are now ready for etch & prime, but I am essentially out of primer. Also drilled and dimpled the #8 screw hole that will eventually hold the sleeve for the rudder cable in place as it passes out of the tailcone.
Ordered more primer and etch solution from Stewart Systems, which will hopefully arrive later this week, along with a boxful of Scotchbrite pads and some other assorted items: 1″ deburring wheels and the like from Cleaveland Tool, just down the highway in Boone, IA.
Trying to decide whether to join in on the group buy for Andair boost pump/filter/mount assemblies, which could save 12% or so off regular price, though I won’t actually need those components until later…and the possibility of them having an Oshkosh pump/filter/valve deal again this summer as they did last summer?
Hours: 2.4 | Posted in Aft Fuselage |
1st
January
2010
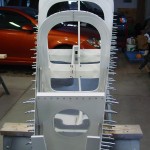
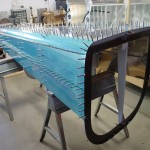
Finished drilling the J-stringers, then match-drilled the rest of the holes in the tailcone. Flipped it upside down to drill the bottom, rather than crawl on the January-cold cement. Then it was time to take it apart again, and let the deburring begin. Ran through the bulkheads, stiffeners, and skins, leaving them ready for dimpling.
Hours: 6.5 | Posted in Aft Fuselage |
31st
December
2009
Finished clecoing the tailcone together — bottom skin, side skins, bulkheads, stringers, and the aft tailcone skin. This last part is the trickiest, and required a couple fittings to get it satisfactorily in place; even then, it’s not perfect, but some of the holes that attach it to the side skins & J-stringers are slightly off as you move aft. The J-stringers are not pre-drilled, so there’s no issue there, but some of the other holes may become slightly ovalled; I’ve read of others dealing with this frustrating issue by just living with it, and/or moving up to 1/8″ rivets. Works for me; the worst holes (aft-most) are only out by a max of 1/2 diameter.
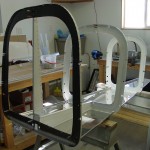
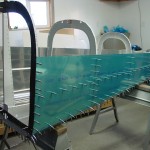
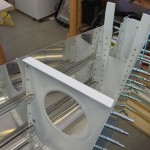
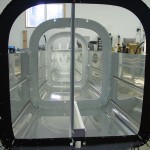
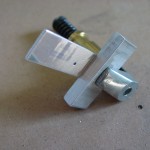
Began fitting the J-stringers to this skeleton by drilling every 4th hole and placing a cleco…will come back in the next session and do every second hole, then go back and drill the remainder. I did make a little block that made the drawing of the center line easy–one thick piece of cut-off bar stock, with a thin piece attached to it at a right angle with a cleco clamp. Drill a #55 hole (just the right size for a fine-point Sharpie) at the required distance, then slide the whole thing down the length of the stringer to be marked, holding the Sharpie point through the hole. I can’t remember where I got this idea from awhile back, but it works a charm.
Hours: 2.9 | Posted in Aft Fuselage |


