Tailcone & preliminary J-stringers
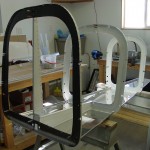
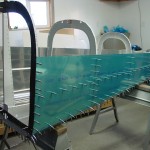
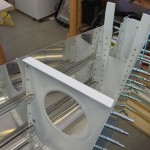
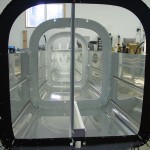
Hours: 2.9 | Posted in Aft FuselageFinished clecoing the tailcone together — bottom skin, side skins, bulkheads, stringers, and the aft tailcone skin. This last part is the trickiest, and required a couple fittings to get it satisfactorily in place; even then, it’s not perfect, but some of the holes that attach it to the side skins & J-stringers are slightly off as you move aft. The J-stringers are not pre-drilled, so there’s no issue there, but some of the other holes may become slightly ovalled; I’ve read of others dealing with this frustrating issue by just living with it, and/or moving up to 1/8″ rivets. Works for me; the worst holes (aft-most) are only out by a max of 1/2 diameter.
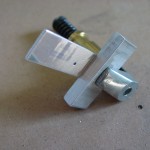
Began fitting the J-stringers to this skeleton by drilling every 4th hole and placing a cleco…will come back in the next session and do every second hole, then go back and drill the remainder. I did make a little block that made the drawing of the center line easy–one thick piece of cut-off bar stock, with a thin piece attached to it at a right angle with a cleco clamp. Drill a #55 hole (just the right size for a fine-point Sharpie) at the required distance, then slide the whole thing down the length of the stringer to be marked, holding the Sharpie point through the hole. I can’t remember where I got this idea from awhile back, but it works a charm.
