Center section fix, part 1
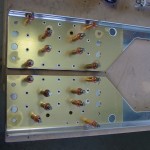
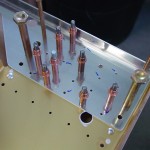
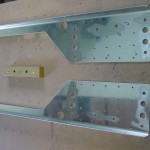
Hours: 2.3 | Posted in Center FuselageWorked on the center section fix after talking to Joe at Van’s support line. The replacement center section side pieces come raw–the holes are drilled for the -4 rivets that attach them to the center section, but not the all-important spar bolt holes. What to do about those holes, I asked…Joe saw the forest, where I was only seeing trees, and suggested that I match-drill the new ones using the old ones, once removed from the center section. Of course! Since the pieces have bends on their outboard edges, you must sacrifice the old ones to match-drill the new ones. I drilled out the 40 rivets holding them to the center section, then took to them with the hacksaw, trimming off the long upright, and the outboard bend angle, resulting in a flat “template” piece (beautifully gold-anodized, even!) that could be used for match-drilling. I took the time with this operation, stepping the holes up in size with various drill bits, to get the best chance of having them centered. The operation went without trouble.
Once the pieces had the necessary holes, and edges deburred, I clecoed them back to the center section bottoms, using the close-tolerance bolts to align them, just as I did the first time, and match-drilled. Remove for hole deburring, and they’re ready to be primed and riveted back in place. I did a test-fitting with my hardware-store bolts, which was fine, so I’m confident that the match-drilled holes will work out. If not, Van’s did say that the holes in the side pieces could be reamed on assembly if needed, as long as care was taken not to ream the portion of the hole that passes through the 3/4″ thick bars that make up the meat of the center section.


