28th
May
2012
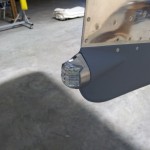
Amid the craziness of this week and next, I made it out to the hangar for a couple hours tonight. Worked on a couple of punch-list items. First, I’d brought the electrical toolbox, so I was able to extract the old sockets from the taillight molex shell, and insert the new ones. Then, install the taillight to the rudder and test both nav & strobe functions.
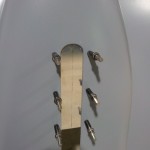
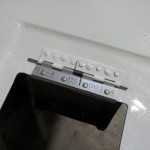
Safety-wired the pitch trim hingepin in place.
Dimpled the screw holes on the bottom fuselage skin, that overlap onto the wing; these would be impossible to dimple after the wings are installed.
Measured for and fabricated a closure plate for the forward part of the nosegear slot in the bottom cowling. I forgot to bring any scotchbrite to the hangar though, so didn’t get it primed or nutplates attached, though all the drilling/deburring/countersinking is complete.
Hours: 2.2 | Posted in Cowling & Baffles, Electrical, Endgame, Wing & Tail Joins |
19th
May
2012
Back at it today, before another night at work. Had two visitors at the airport to look at the project and talk.
- Crimped new Molex sockets on the taillight wires. Forgot the extractor, so couldn’t take the old ones out of the connector shell to replace ‘em…
- Finished installing the elevators, and connected the pushrod and center bearing.
- Installed the rudder and connected the cables. Some small tweaks to the rod ends and the aft edge of the fuselage and VS skins to eliminate some light rubbing.
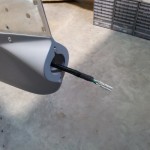
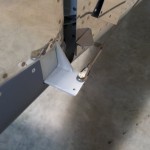
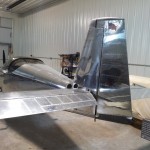
At this time, the empennage is fully installed, save for the taillight and some tweaking to the pitch trim servo connector.
Hours: 4.0 | Posted in Endgame, Wing & Tail Joins |
18th
May
2012
Popped out to the airport again tonight:
- Removed the spiral wrap from the taillight wire and replaced it with expandable sleeving, in an effort to keep the weight down in the rudder. This required removal of the Molex connector, which we be reattached tomorrow.
- Crimped a ring terminal on the taillight ground wire.
- Installed & torqued the last VS attach bolt with the adel clamp and ring terminal.
- Hung & pinned the elevators. Discovered the collection of special washers needed to install the center bolt must still be in the shop at home.
- Verified operation of the pitch trim servo.
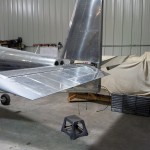
Hours: 1.2 | Posted in Endgame, Wing & Tail Joins |
17th
May
2012
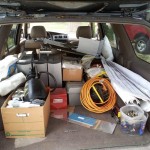
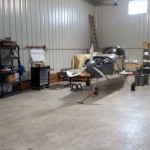
Had the day off work today, and with the list of concerts to edit temporarily down to none, it was off to the hangar. First, though, it took almost 2 hours to sort through, collect, and pack up everything that needed to move from the shop to the hangar. On the way, stopped at Menard’s a picked up a rolling toolbox and a plastic shelf thing that were on sale. After setting those up (could already use a second shelf thing), and putting things in their place, my corner of the hangar is becoming a workspace.
Popped off the top cowl in order to re-install the dehyrator plugs after baking the silica gel. Adjusted a couple of the camlocs on the top that were too tight, and installed the spring on the oil door.
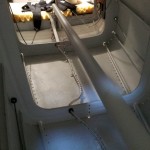
Climbed way back into the tailcone to install spiral wrap on the wire bundle that runs aft, for additional protection against chafing, should it rub against the skin between the ziptie bases. Also wrapped the taillight wire bundle as it passes through the aft bulkhead and through the rudder.
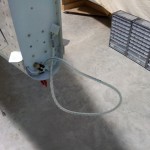
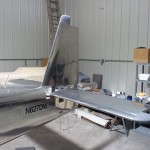
Installed the HS & VS, torqued & marked all bolts — except the one that also attaches the case ground for the taillight, since I forgot to bring the crimper & ring terminal for that wire.
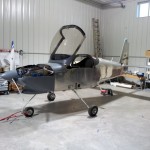
Removed the rod ends from the flaps and reinstalled with new lockwashers and blue loctite.
Hours: 7.5 | Posted in Cowling & Baffles, Endgame, Wing & Tail Joins |
15th
May
2012
Made a quick stop by the hangar to drop off some supplies. Not much work this week, busy editing CD’s every night.
Posted in Endgame |
9th
May
2012
Up early this morning, having taken the day off work, and called the towing company to confirm we’re still on. The weather looks good, so we’re set for a 10am move to the airport. Before that, I secured a videocamera inside the fuselage, mounted to the rollbar support channel, and one in the front window of the truck. Pulled the plane out into the driveway to be ready for the truck to arrive.
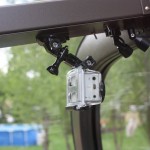
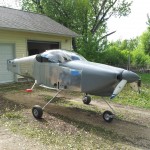
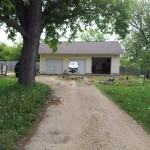
Lots of open space in the shop now…what’ll I do with that? I suspect Allison has some ideas already.
Kyle, the driver from Siewert’s Garage, a family-owned towing shop in Red Wing, showed up on time and was prepared with all sorts of straps and things that we could choose from to secure the plane to the truck. He asked lots of questions in order to understand how best to lift, maneuver, secure, etc, the plane; I appreciated that he took the time to do it right. Once the plane was loaded and secured to both our satisfactions, we traded cell numbers and set off down the highway, with me chasing in the pickup. He kept the speed under 45 the enire way; watching from behind, I was never in doubt that the plane was secure, though we did make a pre-arranged stop after several miles to check the straps.
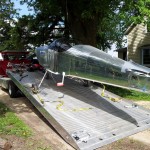
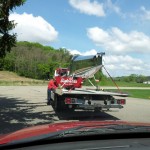
Pulling in to the airport, I led the truck to the hangar and we commenced to offloading the plane. He grabbed some pictures for the guys at the shop, I paid the bill, and he was on his way. In the 45 minutes I was on site, no fewer than three guys from the airport stopped by to check out the plane; there are several RV’s already at the airport, along with some other experimental types including a Lancair. With the plane safely tucked away in the back of the hangar, it was off to get money to pay the hangar rent, along with a visit to the Ellsworth cheese factory down the road.
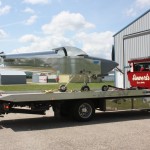
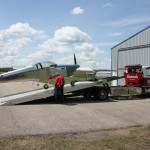
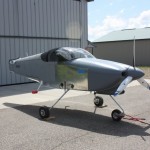
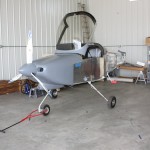
The tow truck was involved for a couple hours, and I was home in time for a late lunch. Time-compression and editing out the parts where nothing was happening mean the entire thing is under 7 minutes on video…
Hours: 3.0 | Posted in Endgame |
8th
May
2012
With the towing company on the schedule for tomorrow morning, I wanted to see how many of the little things left on the pre-airport punch list I could get done. A pretty successful, if short, session, I think…
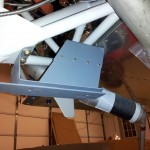
Riveted and installed the lower cowl support bracket that was fabricated on the weekend.
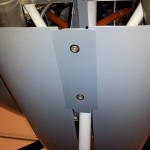
Torqued and safety-wired the propeller. Temporarily reinstalled spinner with three screws (this won’t be final installed until the engine is ready to be run; inspectors will want to see the prop bolts.)
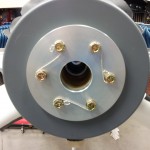
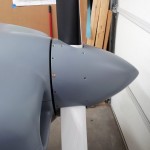
Re-checked the alternator belt tension, which is fine with a breakout force of around 130-140 in/lb on the beam torque wrench. (The desired spec is 11-12 ft/lb, aka 132-144 in/lb).
Tightened up the nosewheel axle bolt temporarily; we’ll revisit all the gear hardware at the airport again.
Cut the temporary zipties off the gear legs, and replaced them with new ones after placing a wrap of orange silicone fusion tape around the leg under each tie location.
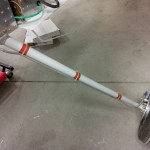
Cleaned up a wavy spot in the aft edge of the canopy on the RH side, straightening it out along a marked tape line. This gives an even gap ~1/8″+ all the way around the canopy split, which should be wide enough to prevent expansion in the heat causing the canopy to stick shut, based on what I’ve read.
Swept the shop, moved some things around, and pulled the plane in front of the garage door, so it’s ready to roll out tomorrow. Taped down things that could rattle in the wind while moving. Vacuumed the various debris out of the cabin. Took a fistful of photos.
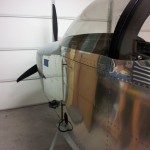
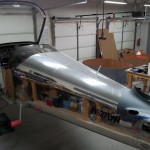
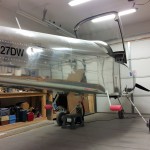
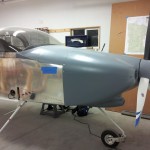
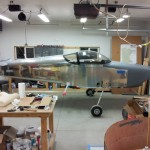
After 1751.5 shop hours, ~5.5 years after project start, she’s going to the hangar.
Hours: 2.4 | Posted in Canopy & Frame, Cowling & Baffles, Engine, Gear & Fairings |
5th
May
2012
More work at the front of the plane today — installed the prop spacer bolts with Loctite blue 242 and torqued to 45 ft/lb according to the installation instructions: three steps (15, 30, 45) plus two final passes at 45. Temporarily bolted the spinner and prop on, as well. Fit both cowlings, and cut a piece of cardboard to slip between the spinner and cowlings when installing and removing, to prevent scratching up the cowling nose. She looks pretty good.
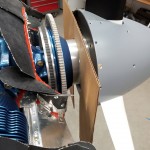
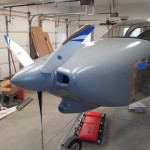
More shop visitors today, co-workers of Allison came to check out the 110 poultry that are being brooded in the garage temporarily, and they looked over the plane while there as well.
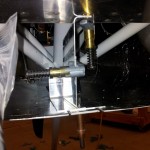
Time to deal with the last loose end on the cowling (aside from installing the oil door hinge pin, for which I’m still awaiting the replacement spring): fabrication and install of the lower outlet support bracket. This is a contraption made up of several metal strips and a few angled pieces; it bolts to the nosegear leg socket, and to the firewall flange, and provides a channel which captures the lower cowling. The bottommost piece is held on by screws, so it can be removed to allow the cowling to be removed. Anyway — worked on getting the angles right, clamping things up, drilling for the various rivets and nutplates. Finally, deburred everything, scuffed, cleaned, and sprayed with rattlecan primer. Will rivet & install next session.
Posted in Cowling & Baffles |
4th
May
2012
Drilled a 3/16″ hole in the breather tube and bent it upwards with a punch, as recommended by the Lycoming SB to create a “whistle slot”, the function of which is to relieve crankcase pressure in the event that the breather outlet should ice over in cold temperatures. The common RV FWF layout (like mine) has the end of the breather tube over the exhaust, which should prevent that from happening anyway, but it’s the belt & suspenders approach.
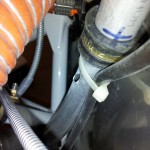
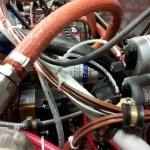
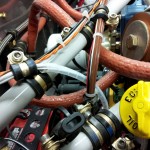
Added some spiral wrap around the oil temp, oil pressure, and fuel pressure sensor wires, to offer them more protection and support. Larger wrap was added to the bundles of wires leading to the Pmags, for protection & support.
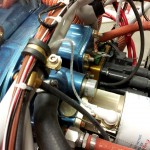
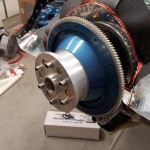
Flywheel set in place with alternator belt, and prop spacer loosely secured to it with three bolts. I want to be pretty sure I’m ready for this step before putting the bolts in for real with Loctite, so I’ll sleep on it tonight. Of course, while fitting it, I managed to knock the spacer on the concrete floor (aargh! yes, bad words were used…), causing dings on two opposite sides. I had to file the resultant bumps down flat, so the front & back surfaces were once again a level plane to seat against the flywheel & prop, and put some primer over the filed spots for protection.
If I can arrange a flatbed truck, and align it with time off work, she might move to the hangar middle of the week.
Hours: 2.0 | Posted in Engine |
2nd
May
2012
Worked tonight on finishing the odds & ends of the cowling. Installed the airseal on the bottom of the airbox inlet duct; after wrestling with the phillips screws while test-fitting this, I used some low-profile hex head screws (same as I’m using on the interior panels, actually), to hold it in place, which made the install easy.
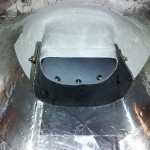
Final-drilled and countersunk the holes to attach the inlet ramp airseal, and fabricated aluminum backing strips which serve to clamp the airseal in place. I’ve left just over an inch of airseal extended; plenty enough to make a good seal on the baffle ramps, and it also folds forward well, for installing the cowl without too much difficulty. Those are #6 screws; I may be overusing the tinnerman washers (essentially, everywhere a countersunk screw bears on fiberglass), but I like the way they look.
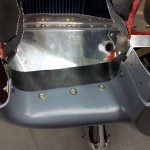
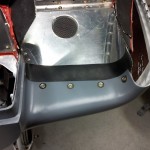
With those items in place, and a test-fit done, I affixed some 1/8″ ceramic refractory felt to the inside of the bottom cowl, in the places where the exhaust system runs closest to the fiberglass. This stuff is quite good at heat shielding (it’s used in kilns and the like), so it will hopefully protect the glass and paint from any excess heat. Taped the edges with aluminum tape. Then, applied the self-adhesive aluminum heatshield foil from Van’s to the inside cowl, over the top of the ceramic and tape. I was skeptical of this foil’s ability to stick, but it turns out it has a strong adhesive; hopefully it’ll hold up as well as it seems. I used a rubber roller and plastic squeegee to stick it down well and smooth it out.
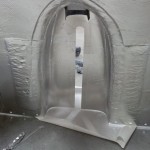
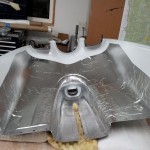
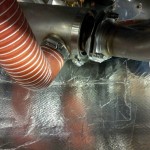
During the night’s final test fitting of the cowl, trimmed the forward outside corners of the lower camloc strips with a radius, to minimize the damage a sharp corner might inflict on the foil and fiberglass. And, with the RTV cured on the front baffle, pulled the clecoes and pulled large-head rivets to secure the airseal to the baffle.
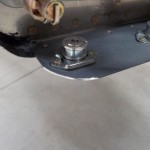
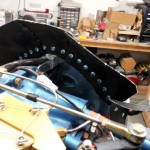
The “pre-airport” punch list is growing short…move the hangar mid next week?
Hours: 4.5 | Posted in Cowling & Baffles |


