Cowling wrapup
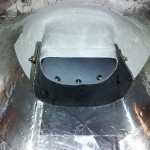
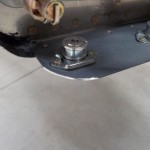
Hours: 4.5 | Posted in Cowling & BafflesWorked tonight on finishing the odds & ends of the cowling. Installed the airseal on the bottom of the airbox inlet duct; after wrestling with the phillips screws while test-fitting this, I used some low-profile hex head screws (same as I’m using on the interior panels, actually), to hold it in place, which made the install easy.
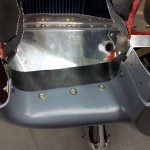
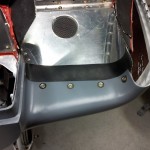
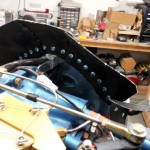
Final-drilled and countersunk the holes to attach the inlet ramp airseal, and fabricated aluminum backing strips which serve to clamp the airseal in place. I’ve left just over an inch of airseal extended; plenty enough to make a good seal on the baffle ramps, and it also folds forward well, for installing the cowl without too much difficulty. Those are #6 screws; I may be overusing the tinnerman washers (essentially, everywhere a countersunk screw bears on fiberglass), but I like the way they look.
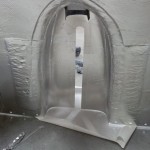
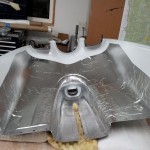
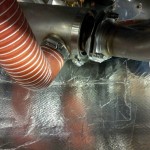
With those items in place, and a test-fit done, I affixed some 1/8″ ceramic refractory felt to the inside of the bottom cowl, in the places where the exhaust system runs closest to the fiberglass. This stuff is quite good at heat shielding (it’s used in kilns and the like), so it will hopefully protect the glass and paint from any excess heat. Taped the edges with aluminum tape. Then, applied the self-adhesive aluminum heatshield foil from Van’s to the inside cowl, over the top of the ceramic and tape. I was skeptical of this foil’s ability to stick, but it turns out it has a strong adhesive; hopefully it’ll hold up as well as it seems. I used a rubber roller and plastic squeegee to stick it down well and smooth it out.
During the night’s final test fitting of the cowl, trimmed the forward outside corners of the lower camloc strips with a radius, to minimize the damage a sharp corner might inflict on the foil and fiberglass. And, with the RTV cured on the front baffle, pulled the clecoes and pulled large-head rivets to secure the airseal to the baffle.
The “pre-airport” punch list is growing short…move the hangar mid next week?
