1st
May
2012
Fit the top cowl to the plane tonight, to check the fit and tweak the airseal at the nose inlets. Chucked up a spare piece of hinge pin that I’d cut a groove in one end, and ran it through the cowl side hinges to clear out the bits of primer & surfacer that ended up in there, and allow the real pins to slide in more easily. They still need to do some wearing in before “easy” is a word that will really apply to this task.
Also checked fit of the oil door to the cowl; searched high & low for the oil door spring last night, and my theory is that it was knocked to the floor by one of several cats who think it’s endearing to leap up and climb all over the workbench, then swept up and tossed with the rest of the floor debris; it’s a tiny spring. Ordered a new one: $5 plus $5.50 freight…
Booted up the panel to admire it; time to get this thing flying. Hoping to come home from work early tomorrow if I can finish the latest deadline project, as I have to work long days Thu, Fri, and Sun. After that, the schedule should lighten up for a couple weeks while students finish class & take finals.
Hours: 0.6 | Posted in Cowling & Baffles |
30th
April
2012
Well, the DPLF did flow out a little bit more during the last 24 hours, despite the cool temperatures in the shop…it looks better than it did last night. Not perfect or even quite ideal, mind you, but I’ll accept it for now.
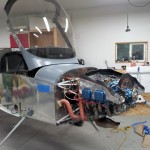
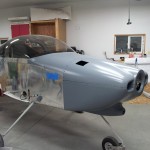
Moving forward…working around the passel of newborn kittens who decided to come into the world under a sheet of plastic, I started doing the punch list of FWF items. I’m not going to handle the cowls much for another day or two, to let the primer harden as much as possible. I carefully attached the bottom cowl to the plane, then fit & drilled the airseal strips which cover the gap between the cowl inlets and baffles. Three screws along the bottom, and one on each side to hold the curves in place. Once the cowl is removed, I’ll make up aluminum backing strips for these pieces, as well.
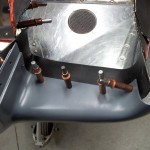
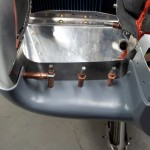
Swapped out the temporary nuts for metal locknuts on the spark plug access hole seals.
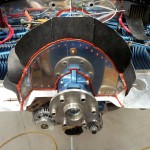
Filed the front baffles where I’d trimmed earlier, then laid a bead of RTV on the aft side and clecoed the airseal fabric on. Formed it into the approximate shape it’ll be when the cowl is on, and held with binder clips until the RTV cures; then rivets will replace the clecoes.
Hours: 3.2 | Posted in Cowling & Baffles |
29th
April
2012
After some reflection, and staring at the primer coat for awhile, I think I’ll just let it be. If it still bothers after I’m flying, I’ll pull the cowls and redo them later. Otherwise, a pro painter will sand it all down to make it pretty anyway (someday). Until then, Allison has agreed to stand guard at any fly-ins and stare daggers at people who laugh at the bumpy cowls.
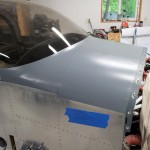
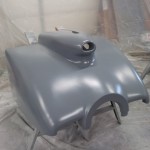
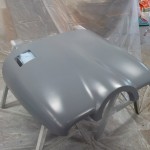
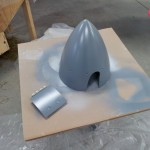
Also discovered a cosmetic scratch in the empennage fairing. Darnit.
Hours: 0.3 | Posted in Cowling & Baffles |
29th
April
2012
Tonight I discovered how easy it is to turn over a month of sanding and prepwork on the cowlings into absolute garbage in under 60 minutes. With the K36 surfacer sanded down smooth on all the parts — cowl, spinner, oil door, top skin — I mixed up a fresh batch of DPLF and set out to spray what should have been the final coat until finish paint. Instead, I ended up with a giant mess of orange peel. Still not sure what happened, since I’m using the same gun/settings/mix ratios/etc as I have for all the previous DPLF, including the emp fairings which turned out nice and smooth.
So unless some miracle happens overnight, it looks like the whole disgusting thing will need to be wet-sanded (because the DPLF isn’t designed for sanding, it gums up paper instantly…oh joy), and resprayed. Plans for moving to the airport in the next week or so are out the window, I expect the sanding will take the better part of a week of evenings. And then, hope the next try doesn’t go as poorly.
Anyone want to buy an RV-9A project? Nearly done, except for the fiberglass finishing… Bring your own sandpaper.
Hours: 2.5 | Posted in Cowling & Baffles |
28th
April
2012
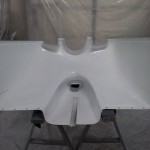
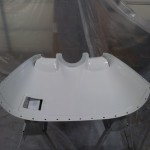
Finished sanding the exterior of the bottom cowl, and sprayed the inside of both cowls with the white single-stage urethane. PPG Omni was what the local store had for “cheap,” so that’s what I used. Having only sprayed the primers before, I was a bit surprised at how thin the paint was. Also, how much aerosol it created–the shop looked foggy until I opened the doors to purge it out. Also very sticky, much more do than the primers are. In any event the white coat should be done, and all that’s left on the cowls is to spray the DPLF sealer, hopefully tomorrow.
Hours: 2.6 | Posted in Cowling & Baffles |
27th
April
2012
Just when you think you’re done sanding…
Sanded the K36 on the top cowl and spinner, and sanded the DPLF on the top skin smooth. Bottom cowl tonight? Then spray the white inside, followed by the DPLF sealer outside (hopefully done tomorrow).
Hours: 1.6 | Posted in Cowling & Baffles |
26th
April
2012
Sprayed two layers of K36 surfacer on the cowls and spinner. Tomorrow, sanding. Hopefully my order of more DPLF will show up soon, since I’m out.
The top skin looks decent enough that I’m just going to sand the first layer of DPLF and re-spray with the final coat of DPLF sealer; thinking that this will cause the least headache for any prep work a painter will need to do in the future, while protecting the metal and covering up the ugly factor of the micro filler areas.
Hours: 1.2 | Posted in Cowling & Baffles |
25th
April
2012
Today’s goal: get the spraying started on the cowling. To do that, first I needed to finish sanding the side hinge joint gaps. Lots of on-off of the top cowl as I slowly whittled the gap open, then once it was close, used a thing sanding tool (paper glued to a thin metal strip) to create a straight, even gap.
Next up was addressing the forward baffle airseal. I’ve tried a couple iterations of this and been unhappy, so this morning I saved a bunch of pictures of different builders’ solutions — not one the same, mind you. With a concept in my head, I tried a couple things and settled on one that seems to work, matching up with the curves of the cowling and inlet ramps. I still need to file the front of the baffle where I trimmed it, rivet these in place, and stitch together a couple of the overlapping “paddles” of airseal. More on-off of the cowling as this process progressed.
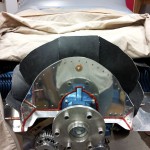
Nextly, masked off the forward top skin — aka “boot cowl” — sanded, and cleaned it in prep for primer. Took the cowls and spinner outside and gave them a thorough wash with Dawn and lots of water. Covered up the canopy with plastic and the engine with a dropcloth.
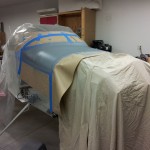
Once the cowls were dry and wiped once more with a microfiber cloth, set up the sawhorses and plastic drape, and mixed up a batch of DPLF primer. Sprayed the oil door, spinner, both cowls inside & out, top skin, and canopy fairing (again, because it had suffered several large scratches during installation). Left that to dry while I ran to town to pick up some spot putty and topcoat paint.
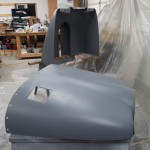
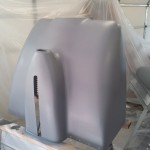
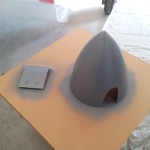
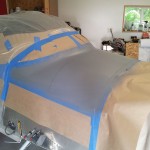
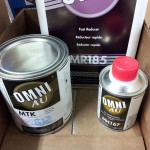
Came back and attacked the remaining pinholes with fast-setting (20 min) spot putty. Once dry, sanded off everything but the tiny bit inside the pinhole. Resprayed DPLF over the sanded areas. Tomorrow night–assuming I escape from work at a reasonable hour–the exterior of the fiberglass parts will be sprayed with K36. The inside of the cowls will be sprayed with the paint I picked up, PPG Omni acrylic urethane, single-stage two-part. This will seal up the surfaces against oil, and the white color will increase visibility under the cowl, and make leaks easy to spot.
Hours: 9.5 | Posted in Cowling & Baffles |
21st
April
2012
Sanded the micro blob that was added to the cowling nose. Started work on the side hinge lines…these are tricky, because you can’t sand them to an even gap before attaching the hinges, since the hinges are what hold them in place. But with the hinges joined, the gap is too small to get a small file, or even my thinnest sanding tool, into. I’ll have to either somehow mark the lines and file to them, or iteratively widen the gap until a file will slip in.
Hours: 0.8 | Posted in Cowling & Baffles |
14th
April
2012
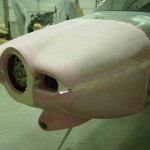
Scraped, filed, sanded the remainder of the top cowl. Cleaned up the hinges and joined the cowl halves together, then sanded the hinge lines so they’d match up. Still need to do some work to obtain an even 1/16″ gap along the sides, it’s narrow right now.
Put the cowls on the plane to check the fit of the front baffle airseal — turns out I cut it too short, and I’m not happy with the way the corners are, so I’ll order another piece of seal fabric and re-do that part.
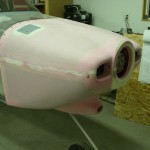
Mixed up a small batch of micro and applied to the LH nose where I sanded a flat spot (oops).
Sanded the spinner. Swept the shop.
Posted in Cowling & Baffles |


