1000 hours + 1 Big Cut
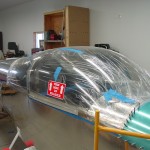
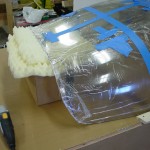
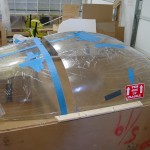
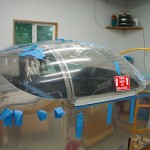
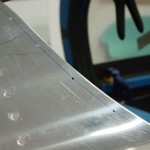
Hours: 7.8 | Posted in Canopy & FrameAfter reading a bunch of logs, forum threads, and articles on cutting the canopy, it was time to jump in with both feet. And it was rather anti-climatic; I think the last “big worry” part of the build is over. I started cutting before lunch, and by 6pm, I had trimmed the tooling marks off, trimmed the front bend in 3 iterations, and split the canopy in two. I think I got lucky with the front bend fit; it was very close on the first trim, just a few adjustments required; I wouldn’t have needed to trim the third time, except that I wanted to “creep up” on the right cut amount, and more needed to come off so that it would sit down nearer the roll bar.
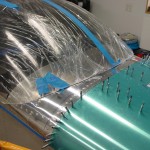
After the split, I cut the aft curve of the rear window, and drilled the screw hole pattern into the aft skin. I could have gone farther, but I need to go shop for some 1/8″ spacers to hold the plexi the correct distance from the roll bar to mark the necessary trims for the rest. The same spacers will be used to set the bead thickness for the SikaFlex, which should be arriving this week.
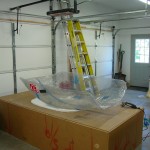
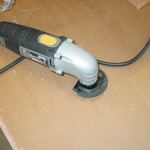
All in all, it was nothing like the to-do it’s made out to be…though it did take a couple days to get up the courage to pull out the saw. I used my quartz heater clamped to the opener track overhead, and flipped the finish kit crate upside down to use for a work stand (my bench is not wide enough to hold the canopy bubble). With the heater running, it kept the canopy nicely warm for the whole operation. I did let it sit to pre-heat the plexi for about 90 minutes before starting to cut. For cutting, I used an oscillating saw gizmo, which worked well; very controllable, even with one hand, though two is better as it does weigh a bit, and less flying debris than the cutoff wheel (though there certainly was debris, it wasn’t thrown across the shop, but pretty confined to the work area. I used the sanding pad attachment for the same tool to smooth the edges after each cutting pass, with 2 grits of sandpaper. I can heartily recommend this method/tool, with the caveat that I have not used the cutting wheel to compare.
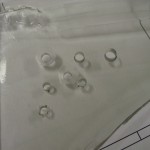
I also experimented on a piece of scrap with some drill bits and countersinks, to get a feel for drilling the plexi. Light (very light!) pressure and high speed seems to make the best holes, and I actually had better luck with a regular “used” bit than I did with one that I dulled on the scotchbrite wheel. After experimentation, I think my plan is to match-drill the holes using light pressure on a #30 bit, then countersink with the 3-flute cutter, again with light pressure, followed by opening up the holes to 5/32″ with a step drill…that made nice clean holes in my testing, now I just have to do it 30 times for real. (I will be using SikaFlex on the forward canopy and the roll bar, but having the required bead thickness on the aft part of the window would inset the window enough that it would be ugly; I will be using a bead of Sika there as a seal, but the structrual attachment will be per plans, with #6 screws.
Finally, two milestones together on one day…not only the Big Cut, but the project clock rolled to 1000 hours. I think that’s enough to safely call the project half complete.
