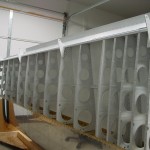
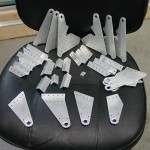
A solid full day in the shop ahead of vacation plans, which resulted in good progress on the wings. Started out by etching and priming all the flap & aileron bracket parts, plus the gap fairings…a task made interesting by the afternoon’s weather. I set the parts out on the priming table in the sun, and by the time I had loaded the gun with primer, it had begun to rain. Inside with all the parts, and start to prime in an impromptu cardboard “booth”… Soon enough, the sun was back and normal operations could resume. Primed everything and set it aside to dry, while I worked on deburring and dimpling the #40 holes in the wing skins that attach the gap fairings.
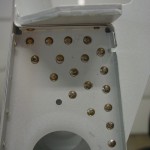
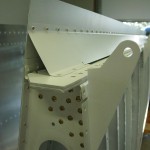
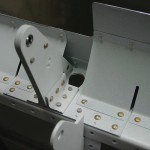
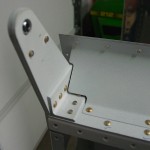
Once the gap fairings were dry, I dimpled the skin attach holes there as well, then set about assembling the aileron brackets. Had to drill out a couple rivets in two of the brackets when I realized I had misread the plans, and not countersunk for the installation of flush rivets in a few spots. Oops…not a big deal to fix, though, and the brackets were soon assembled. Installation onto the wing was relatively painless, the riveting being rather straightforward.
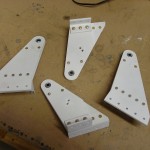
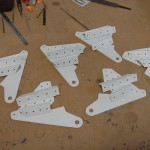
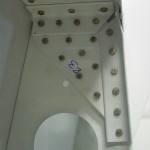
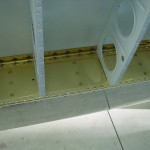
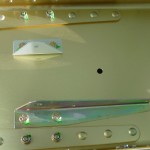
With the aileron brackets in place, I started work on the flap brackets, at which point I realized that I had never countersunk the holes where the skin dimpled nest into those pieces either. Took care of that, and spot-primed as necessary. I first installed the rivets that hold only the main piece of the flap brackets to the rib (many of which are squeezable), then went back and installed the bracket-spar angles, then the bracket-skin angles. It feels more productive to do a whole set of related tasks while a tool (gun, squeezer, air regulator, etc) is configured for a particular situation, rather than having to constantly reset the tool.
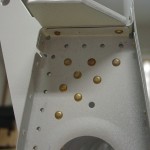
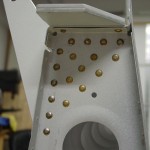
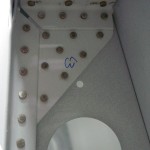
The only real problem rivet was the 470 rivet at the root end, where the flap bracket attaches, as it’s a rather long (-9) rivet, and it’s close up to the skin, requiring the use of the double-offset rivet set. A tool which I have never been satisfied with the use of. It seems as if the double-offset allows the tool to “spring” and doesn’t transfer the energy of the gun into the rivet nearly as well as the straight or single-offset sets do. After drilling the rivet out twice (I had distorted the manufactured head with the set), I had a hole that was ovaled in the top piece of metal (the rear spar doubler). I decided to address that by making that rivet a flush rivet, same as the other two rivets on that row. The countersink removed the ovalled portion of the hole, and I was able to squeeze the rivet with the 4″ no-hole yoke on the squeezer. The bugger is still not perfect, but there are many other rivets in that area. I’ll point it out to my tech counselor for his opinion on the next visit, as well. Today’s lesson? If the rivet is good enough, don’t try to drill it out (again!) in hopes of making it perfect…
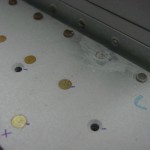
All in all, the left & right aileron brackets are installed, and the left flap brackets are in. After all that, it was a quick job to cleco on the left wing gap fairings and rivet them in place. Only 2 rivets in the gap fairings require use of the gun (where they’re too close to ribs or brackets to fit the squeezer body); the rest are squeezable. I love my pneumatic squeezer and longeron yoke!
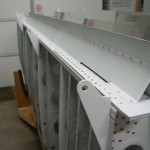
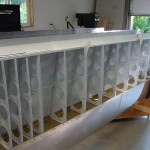
Hoping to get the right wing to the same point tomorrow, then I should be able to roll the wing cart off to the side of the shop and move the fuselage kit out of the second garage bay, so we can get both cars in and secured during our trip. Looking forward to watching the news out of Oshkosh this week, as well.
