Tank sealing, step 2
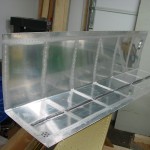
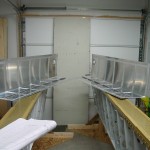
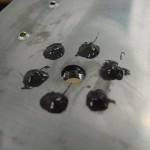
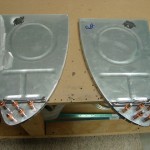
Hours: 4.8 | Posted in Fuel TanksThe sealant having cured to a generally tack-free state, it was back out to the shop with them this afternoon, for part two. Pulled the clecos from the holes, cleaned out the Proseal gobs remaining, then smeared a dab of fresh sealant in each hole with a Q-tip, followed by driving the rivet as needed–back-riveting the stiffeners, driving the filler flange with the gun, and squeezing the drain flange. I think everything turned out alright, and I did remember to attach the vent line clip!
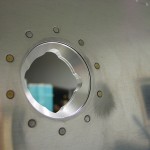
With the flanges that I’m using (the “deluxe” locking caps), the flanges are milled from a thicker piece of aluminum, with a curve to match the curve of the skin. This results in the flange being thinner in the front and rear than the center (the high point of the curve), requiring longer rivets to be used than the plans call out. (The stock Van’s flanges are, from my understanding, machined flat, and then the curves are bent into them afterwards, so the thickness is uniform.) I had seen this on other builders’ sites who used this cap, and was aware to watch for this…no problem.
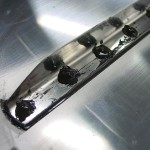
After that was over, I cleaned off the outside of the skins, cleaned up the tools, and neatened everything up before mixing up the next batch of Proseal. This time, I used a toothpick to put a dollop of sealer over the shop head of each rivet, swirling it around to ensure that it seals to both the rivet and the sheet, fully encapsulating the shop head. I’m going to try and pick up a syringe to use for this step when doing the ribs, as there are many more rivets there. On the drain flange, I made sure to leave clear space between all the rivets-head sealer blobs, to allow for water to reach the drain port.
With the leftovers from the last batch of sealer, I slathered up the nose of the two outboard tank ribs and clecoed on the reinforcement plates for later riveting.
