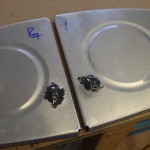
Tank sealing begins
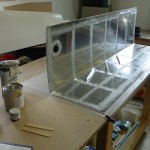
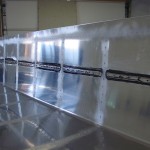
Hours: 3.1 | Posted in Fuel TanksSpent the afternoon session learning the joy of Proseal. I’m using the “fay sealing” method described by Rick Galati, which has been adopted by a number of other RV builders. Butter up the stiffener, put it in place and cleco in every hole; fillet the edges and clean up the mess. Let sit until sealant is partially cured so it’s no longer tacky (I brought the tank skins in the house where it’s warmer to help them cure). Once the sealant has cured–I expect it to be ready tomorrow–wet-install the rivets and put a dollop of sealer over the shop heads.
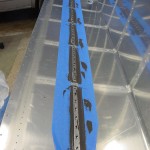
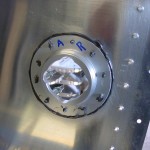
I put in the stiffeners, drain flanges, and fuel cap flanges for both tank skins. They’re sitting in the living room curing at the moment, and should be ready to rivet after church tomorrow (at dinnertime, they were on their way to being tack-free). On the second tank, I ran strips of blue tape along both sides of the row of stiffeners, which made the filleting and cleaning tasks less messy, and the final product prettier. I doubt I’ll win the gold Lindy in the “neatest fuel tank” category, but my goal is less ambitious–no leaking fuel. ![]()
Had a little sealant left at the end, so I cut a couple AN6 rivets short, and drove them in the tooling holes of the end ribs. The shop heads were far from perfect–a results, I think, of the cheapo rivet cutter slicing them off at an angle; but as their sole purpose is to plug up that hole, I believe they are serving their intended function, so I slathered them with the leftover Proseal and moved on. Also squeezed the nutplates to the tiedown bars, one of those 5-minute tasks that was left over from the replacement spar exercise. Still need to get an in-lb torque wrench to put them on.
