Tank riveting & internal details
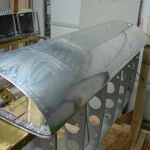
Hours: 4.6 | Posted in Fuel TanksFinished riveting the ribs of the left tank, then went through with an inspection mirror and gave all the rivets another look; found 4 more that I drilled out & replaced. Touched up any spots whose leak-free probability looked even slightly questionable with some of the leftover Proseal.
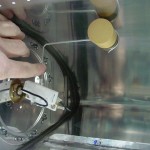
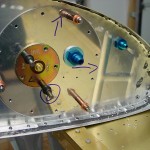
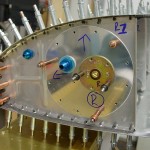
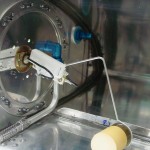
Pulled out the fuel level senders and bent up the float wires according to plan, then clecoed the access plates & senders in place for a test fit. Left was spot on, but on the right, the float hits the stiffener when installed according to plan. The float on the right tank is clearly more forward in the tank than the left tank, as Van’s instructs you to install the float onto the wire in opposite directions, and then the place where the wire comes off the sender is different left/right, as well. After puzzling for a moment, I reversed the orientation of the float on the wire, which makes both tanks look more the same, and allows the float to clear the stiffener. Quick searching online didn’t reveal other mentions of this problem, but I wasn’t able to find any pictures of a RH float install yet, either. Will triple-check the orientations & wire bends before closing this up, but I also can’t see any reason why it wouldn’t work this way. (EDIT: Smitty has a picture of his R tank install here, showing the same thing I ended up with…perhaps I misread the plans?)
Also test-fit the fuel pickups, and drilled the holes for the vent line fitting. Not as much work to the tank internals as I imagined. I will need to beg, borrow, buy, or steal a 37-degree flaring tool for the vent lines (the pre-fab pickups come flared).
Overall, met my goal for the weekend (R tank sealed, and L tank riveted). Busy week ahead (as last week, and, it seems, every week), but perhaps I can wrap up the internal details on the L tank over the available evenings, and be ready with the internals of the R.
