15th
June
2007
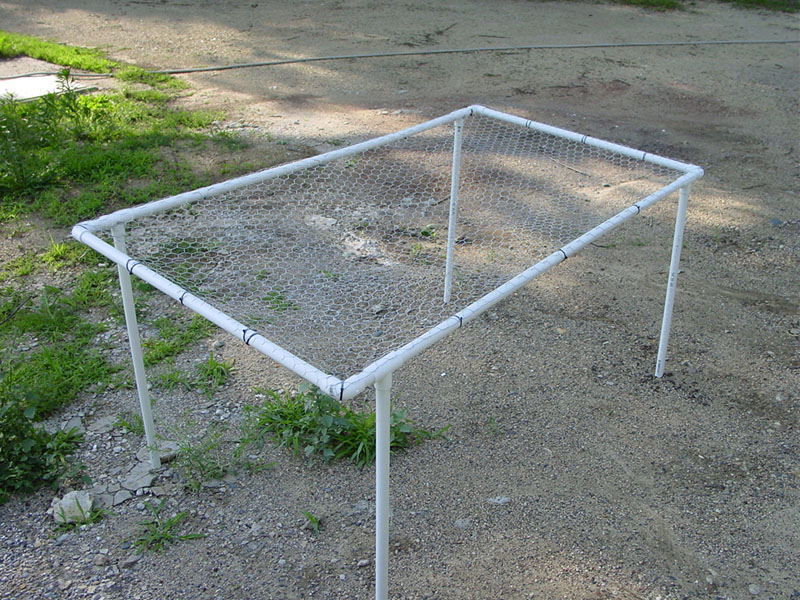
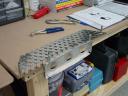
Bought parts for a priming table today: 5 sections of 3/4″ PVC and some elbows & tees, plus chicken wire (“poultry netting” in Menards-speak). Also picked up the $40 HVLP primer gun from Menards; I was dubious of its quality after the leaky filter & regulator I bought there, but it looks similar to the Harbor Freight model that gets rave reviews, and the store people say you can return it for any reason, so I figured I’d give it a shot.
I’ll be priming with the AFS system, which is a non-self-etching water-based primer/sealer. The benefits are that it has fewer environmental & health risks, and easy cleanup (pour leftovers back into the jar, cleanup with water; acetone or lacquer thinner for the dried up spots). It does require more prep than the self-etching primers (I considered the GBP-988 rattle can stuff), requiring a separate clean/etch step. I’ve read many good reviews on this product and traded emails with a couple users, and like what I have heard.
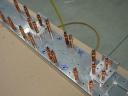
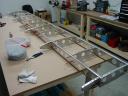
The etch process is simple: spray on the etch (cut 1:1 with water in a spray bottle), let it sit for a few minutes, then scrub with a scotchbrite pad. I did the entire HS (including skins) in under three hours tonight. I scrubbed just enough to turn the aluminum dull and remove any surface scratches. Rinse the parts in water (be careful; the wife might not be happy when she finds you in the shower with an HS skin) and check that it films evenly across the surface. All the parts are sitting in the shop drying; if the weather holds, I’ll prime tomorrow.

Hours: 3.0 | Posted in Horiz. Stabilizer |
3rd
June
2007
Deburred the remainder of the HS skins; found that a standard drill bit (large size) often works better in the #40 holes than the single-flute debur bit. I’d read of this previously in the forums; the culprit apparantly is the “nose” of the debur bit, which is nearly as large as the hole itself. I hadn’t been entirely happy with the deburring of the skin holes, so thought to try a twist drill, and it worked. So the SOP may become to use the bit for #40 holes, and the debur bit for larger.
Built the support table for the DRDT-2 dimpler, to hold the skins up at the level of the die. Turned out solid, and covered it with a towel to keep from scratching the skins. I’m noticing some scratches on the bottom side of the skins between holes from the dimpling process–I can’t see any sharp surfaces on the dimple die (I’m using the female side on the bottom), so not sure quite what’s happening here. One theory is that little bits of metal are stuck on the skin after deburring, and they catch on the die and scratch the skin as it drags over the top. Not sure; I’ll check the forums to see if this is a “known issue;” solved for the time being by supporting the skin up above the die as it’s being moved. I really like the DRDT-2 tool; easy to set up and lock into position, and easy to operate: Allison even said she was surprised at the amount of force it didn’t require. And quiet…though I’ve never used a standard C-frame, I can imagine how much less annoying this is…it borders on a good time!
So with this session, we’re ready for priming. Still haven’t ordered any primer, partly because of the cost (primer, etc, plus a gun, etc…), partly because I constantly second-guess my choices. I like the idea of Stewart Systems/AFS, but a self-etching something that can be found locally definitely would have its plusses… Trying to avoid the uber-toxic stuff, chromates & such. So now, I can either bite the bullet and decide (I suppose I could always change for the wings, as others have done, if it turns out to not be what I want), or start working on the VS. If the weather is decent, I’m trying to finish the siding on the shop, too.
Hours: 3.5 | Posted in Horiz. Stabilizer |
1st
June
2007
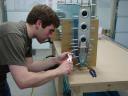
Deburring and scratch removal on the HS ribs & spars. Allison worked for a bit on the skins but her hands got tired after a bit–she finished the ribs and the inside of the left skin.  After the deburring, I dimpled the ribs and countersunk the spars to accept the dimples. I started with the cordless drill for it’s speed control, but switched to the pneumatic when my arm tired of holding the big battery…much easier with the lighter tool, even without the speed control.
Wrapped up by marking rivet callouts on the plans, and countersinking the spar doublers. I need to check and see what to do with the holes marked “leave open for empennage fairing attach”–dimple, or not? I assume these will get nutplates at a later date (or pop rivets?); they are deburred but not dimpled on the skins & ribs.
Hours: 4.0 | Posted in Horiz. Stabilizer |
26th
May
2007
Most of the day doing yardwork with the lawnmower from… well… I found it for free on the side of the road going to work one day last year. Does that tell you anything? It mows…most of the time. That’s about all I can say for it.
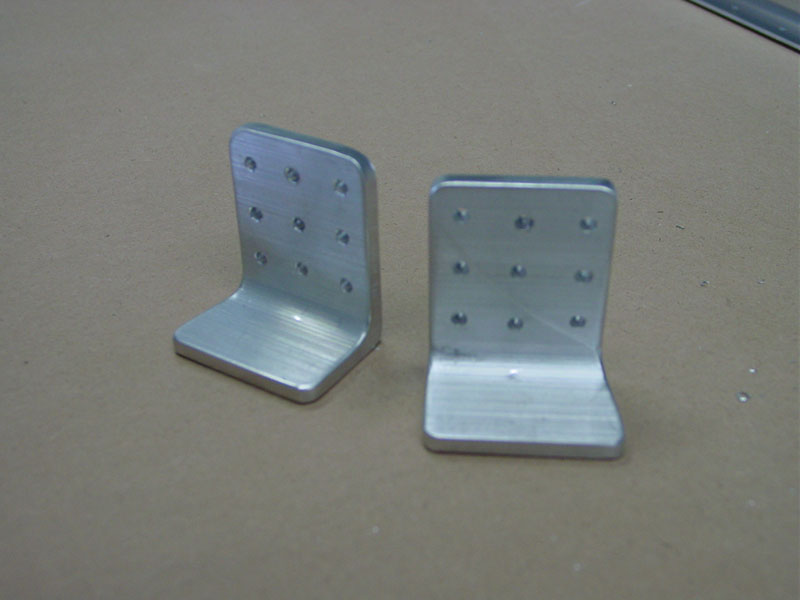
Remade the HS attach angles today, with the new angle stock that I ordered along with the practice kit. This time around, I ran the edges of the stock on the sanding disc before marking the cut lines, so I could make a nice edge without the worry of removing too much material. I also used the tilt table on the sanding disc after the hacksaw to bring the edges right to the line, and to keep everything at a consistent angle. Just like Dad always said…”make the machine the expert.” A couple passes over the Scotchbrite wheel and things were looking good. Much happier at this point than I was with the old ones.
Still plenty of time for foul play though, with my old nemesis the drill press. I carefully measured & marked the hole layout, then center-punched, but this time instead of going right to the drill press, I twisted a #40 bit by hand to enlarge the centerpunch marks. I found that this really helped get things started in the right place when I went to the drill press. The holes looked good, and I remeasured the alignment hole (top center) at each step in the process to be sure. Everything was good, so I clecoed & clamped them to the HS spar. Drilled out the holes, disassembled and deburred everything.
That seemed like a good place to stop and go knock off more of the “honey-do” list, so I cleaned up the shop and organized everything. Oh-I also put a valve on the outlet of the compressor tank yesterday; that solved the overnight leak-down problem: I suspect the culprit is the $20 Menards special “air control kit”…they’re cheaply built and (obviously) has a slow leak somewhere. Regardless, this solved the problem, and will also allow for cleaning the filter bowl without having to air down the tank.

Hours: 2.0 | Posted in Horiz. Stabilizer |
17th
May
2007
Bought a set of files the other day, so used my short time in the shop today to clean up and deburr the inside corners of the HS spar doublers, and the small holes on the rear spars.
Hours: .3 | Posted in Horiz. Stabilizer |
14th
May
2007
My flight lesson was cancelled today because of wind (20′s gusting 30-35), and the temps were in the low 90′s, so a good day to hang out in the shop.
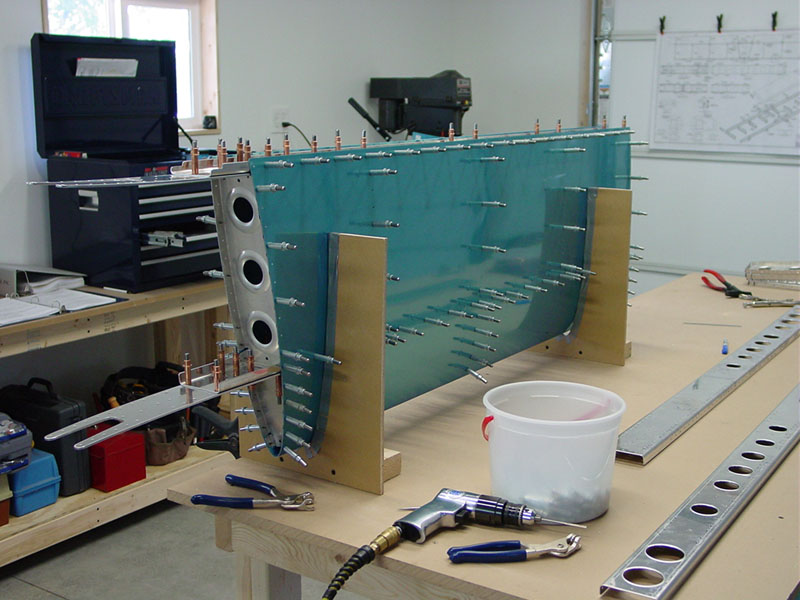
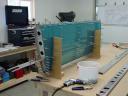
Started out doing some deburring on the spars & doublers, lightening holes, etc. Need to pick up some smaller files, curved/rounded, etc to dress out the inside radii on the doublers. Then cut & set up the HS cradle and built up the right side in the skin. The nose ribs took a few tries to get the hang of, fluting them to fit the proper curve. The rest of it went together nicely, the holes all lined up well and dropped into place. Reamed the holes to #40, then repeat for the left side. Remembered to put the spar doublers in on the first try this time…
Wrapped up the day by rounding the point off an old soldering iron and melting lines in the plastic sheeting. Deburring of all the skin holes is next, then dimpling. I need to order some primer & find a gun so I’m ready to shoot when that time comes.
Hours: 6.75 | Posted in Horiz. Stabilizer |
13th
May
2007
Not much to report today. Having a hard time remembering to write in the log at the end of every day. I suspect this will be more of a “highlights/lowlights” journal than a blow-by-blow detailed daily report–which I think is OK, as there are plenty who have gone before and done an excellent job with that. (See the builder sites link list for a handful.)
Allison’s family was here for most of the day, then we went out in the evening and disassembled the HS skeleton I’d clecoed and drilled previously. Allison worked on deburring the spars while I did some filing on the doublers.
Hours: 1.5 | Posted in Horiz. Stabilizer |
12th
May
2007
Spent the afternoon/evening making friends with my scotchbrite wheels and pads. Rib deburring was the order of the day, I made it through the pile of main ribs without too much difficulty. Biggest deal was figuring out how to get into those teeny nooks between the main flange and the little tab flange that goes inside the spar. Then I realized I had forgotten about the nose ribs, so back to the wheel I went. Not bad, really.
Fluting was less of a big deal than I thought it would be, from the reading online I had done. I used my rivet fan clecoed into the first and last holes (thanks to whoever I stole this idea from), and clecoed to the bench so the rib hung over the edge. A pinch here, and squeeze there, and the holes were straight in no time.
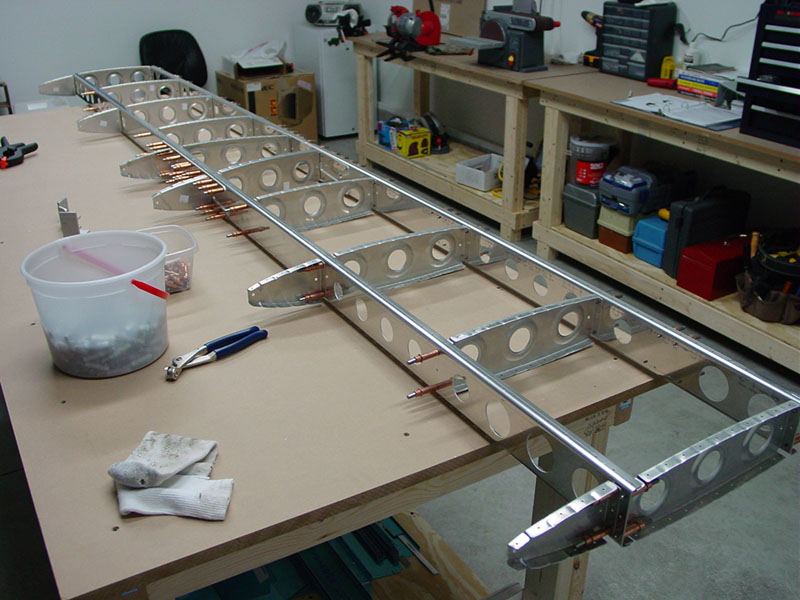
That being done, it was a short step to putting something together, so I did. The HS skeleton is assembled, and it doesn’t look half bad (if I might say so myself). I was able to make the HS-909 shims easily with the belt sander, and drilled them into place. My only worry is that the holes on the little rib tabs (the rib-to-spar-to-skin holes on the fwd spar) don’t line up quite right…they’re off by 1/3 to 1/2 hole, fairly consistently. I did some reading online and found a note on someone else’s log that once this is assembled into the skin, everything lines up better. We shall soon see.
Hours: 5 | Posted in Horiz. Stabilizer |
10th
May
2007
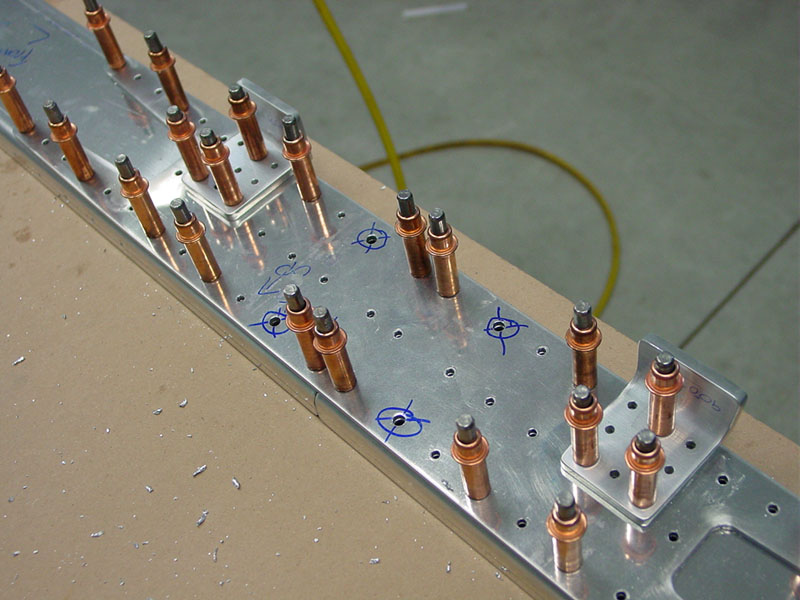
Put the rear spars & doubler together and drilled. Which is to say, reamed. I bought into the talk about reamers being better than drills for enlarging the pre-punched holes, and was able to pick up a #30 and #40 reamer with my purchase of secondhand tools. Happy with the results so far, and my cheapo air drill seems to run fairly true, which I was concerned about. Not that I don’t still lust after that Sioux 1412 3600-rpm palm drill…
Also put the hinge brackets into place and drilled them out. I was surprised how easily the steel machined. I think part of it is that I’ve been used to working with old dull bits, and this whole “sharp” thing is sort of a novelty to me.
Hours: 2 | Posted in Horiz. Stabilizer |
4th
May
2007
Back from the trip to Alaska. It’s always nice to go “home,” even if it’s only for a few days. Our flight out of ANC (nonstop to MSP) was cancelled (5 minutes after the scheduled departure time) when the fourth flight attendant called in sick, so we ended up standing in line for a couple hours to get rebooked. We ended up bouncing through Portland, and got into Minneapolis about 6 hours after we had originally planned. Making some progress on things around the house, and the siding for the shop is on order at Menard’s (estimated delivery 3 weeks…hard to believe!), so I can take a peek at the project again. Allison is afraid that once I start, I won’t stop until it’s done. Even to eat. Apparently she’s observed some of my past projects…or else she’s been talking to Mom. 
Match drilled the spars that I’d clecoed before we left, and started on the attach angles. Unfortunately, the drill press I’m using has some wobble to it, and isn’t highly precise for drilling holes, so I’m unhappy with the way the 9-hole pattern turned out. I clecoed the angles to the spar in the alignment hole, and I think they’d work fine, but I would be unhappy with them forever; they’re ugly, and I’m a perfectionist. I think I’ll order the practice kit and some ProSeal for trailing edges from Van’s, and have them throw in another piece of aluminum angle…it’s only about $6.

Hours: 1.5 | Posted in Horiz. Stabilizer |