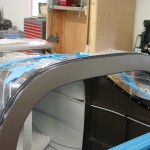
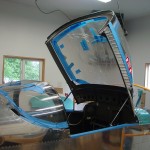
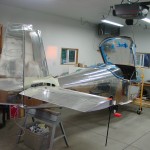
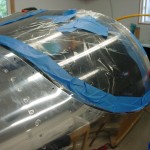
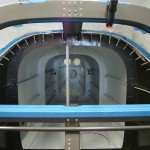
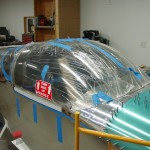
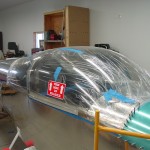
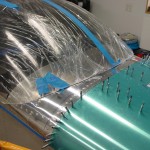
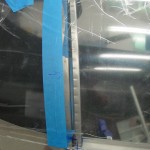
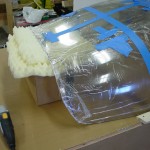
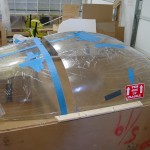
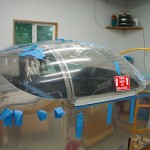
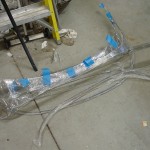
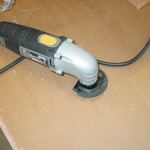
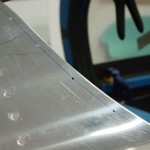
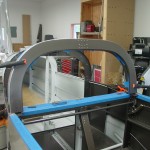
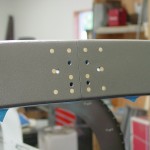
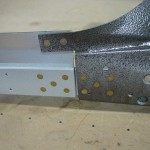
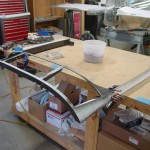
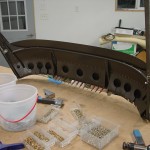
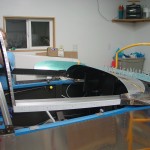
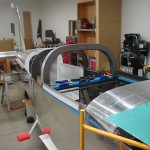
Today was the day, decided to jump in completely and glue the forward canopy. A trip to the store was required first, to pick up some 400-grit sandpaper to do the final polishing of the edges, along with more masking tape and electrical tape to set the edges of the primer and sealant. I also found some long, skinny plastic nozzles that looked like they would work for laying the bead in the tight angles at the front of the canopy. (Hint: they’re not with the caulk supplies, they were in with the concrete-anchor type stuff, apparently these “mixing nozzles” are made for epoxying anchor bolts into slabs…they come with a spiral mixing thing in them, but it pushes out readily with a nail.)
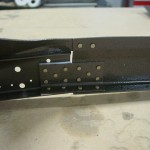
Before gluing the canopy, I decided to fit the canopy latch lugs to the frame, so that was done, and they were temporarily bolted in place. I set them so that the latches apply just a slight down-force on the canopy, which will hopefully compress the weatherstrip nicely and seal the gap between the frame and the canopy deck.
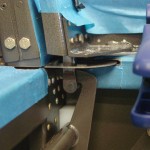
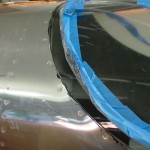
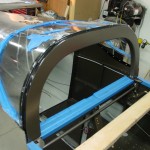
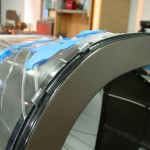
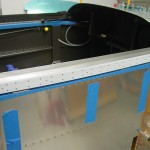
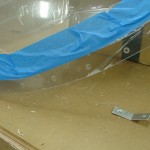
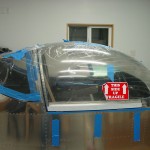
On to the gluing…First things first, sand the edges to their final smoothness. I was going to trim the aft edge of the canopy back, but since all the fitting was done the way it is now, and I’m happy with the fit, I decided to leave the edge where it is, and sand it back once both front and rear plexi are glued in place. Once the edges were smoothed (which goes faster than I expected, perhaps because I already finished them with 220-grit), I set the canopy in place and laid out the sealant lines with electrical tape: inside sides and back, as well as the outside front on both plexi and aluminum. Then the canopy was removed for taping the inside front line on the plexi and aluminum. Both surfaces were roughed up with scotchbrite and cleaned with acetone (on the aluminum; a dry paper towel sufficed for the plexi). Sika cleaner was applied according to the directions, and allowed to dry.
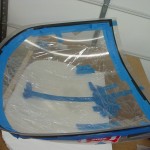
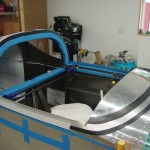
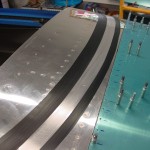
Once the Sika primer goes down, you have a 2-hour window to set the glue, so a lunch break was taken before starting that part of the job. The primer is definitely very black, and is supposed to be laid on in a single coat, without any second coating; I had read from others to be wary of brush marks, so I loaded the brush and laid on a good solid coat on both surfaces. It took a few strokes to get the feel for it, which is why I started with the inside front area…that part doesn’t show through the plexi like some of the other portions. The primer is left to dry for 20 minutes, and when it dries, it has an almost rubbery appearance and texture.
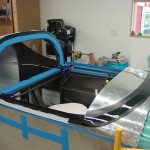
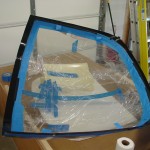
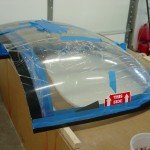
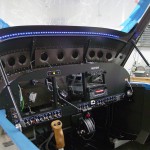
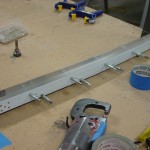
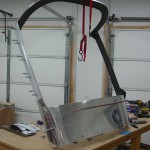
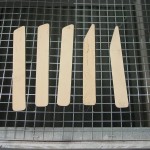
With the primer set, the canopy was lifted into place and adjusted to match the alignment marks made in 4 places during the earlier fitting (since the rear window was removed to allow entrance and exit to the cabin, the canopy can’t be aligned to that anymore…) Once things were aligned, 1/8″ spacers cut from vinyl tubing were inserted around the perimeter, and the side skirts clecoed in place to hold the canopy in alignment. The rear bow was clamped to the roll bar using the 7/8″ spacer blocks made during the fabrication process. The Sikaflex sealant comes in cartridges for a caulking gun, and the sealant was pumped into the space between plexi and canopy frame from inside; the spacers are left in place for now; later they will be removed and the gaps filled with more sealant. I had modified a stack of tongue depressors to have the radius I wanted on the sealant, so I used those to tool the joints, and had it looking quite nice.
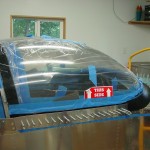
Next, I climbed out of the fuselage to lay the bead on the front outside of the canopy, which is essentially a ton of sealant squirted out and then shaped into an overly-thick fairing. Later, once it cures for a couple weeks, this will be sanded down to the needed shape and profile for the front canopy fairing, but for now, I squeegeed it into an approximate shape.
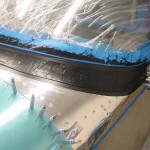
This is where the Sikaflex learning curve comes in. With all the sealant in place, I cleaned up the tools and my hands, and climbed back into the cabin (that’s an interesting task, through the rear window opening…) to pull the edge tapes. Doing so, I found to my chagrin that the sealant had already skinned, and the skin was being pulled and stretched along with the tape, the other edge of the skin remaining attached to the canopy frame. So much for my nicely-tooled joints…I smoothed the skin back down as best I could, though the front inside of the canopy I fear will be rather ugly, since it’s difficult to get good access in that area to re-tool the joint. Later, reading the documentation again, I discovered what went wrong…the 1-hour tack-free time (which I was barely within) is given at 73 degrees and 50% humidity. The sealant cures via moisture, and today was upwards of 80% humidity (not to mention over 80 degrees). Hence, the tack-free time was shortened. Alas, the only casualty was to the aesthetics of the beads, and my pride. The next plane (ha!) will be perfect, right?
