Rear window install
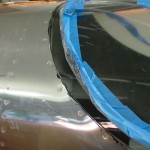
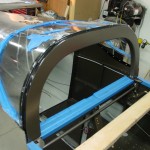
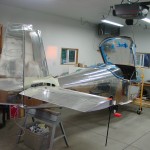
Hours: 5.1 | Posted in Canopy & FrameInstalled the rear window today; not a big deal, after the learning that happened on the forward canopy. Masked the lines, scuffed, cleaned, primed. The back of the plexi was primed where it contacts the inside of the top skin, and a thin bead of Sikaflex was laid onto the plexi between the screw holes and the mask line (which marked the skin edge). The window was lifted and slid into place, and when the screws were installed, there was squeeze-out of sealant around the line, which was the goal; this should keep water from entering via that route. The squeeze-out was tooled down and the tape line pulled, which gave a clean edge; the excess on the outside of the skin will rub off easily tomorrow.
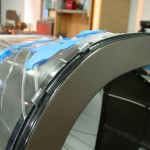
With the rear edge screws in, spacers were inserted between the roll bar and the plexi, and sealant was placed between the spacers. The spacers were inserted from the front edge, rather than from behind the roll bar, both for ease of removal, and because it allowed for filling in the entire joint on the aft side of the roll bar and tooling it smooth. This time, the tape was pulled in the tack-free time window (less than 50% humidity today, which helped), and everything turned out alright. While the sealant was out, the spacer gaps on the front canopy were filled in and tooled.
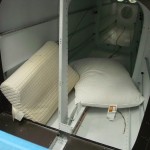
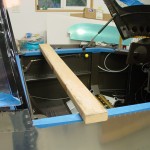
Pillows are a necessity when working inside the fuselage, especially when trying to reach odd angles, or curled up in the baggage compartment. And laying a 2×4 across the fuselage, spanning the longerons, provides a solid place to sit when working on the canopy or roll bar, and can be stood on as well, which puts the rear bow of the canopy at a good working height when it’s fully open.
After the gluing was done, I spent awhile cleaning up the shop, which had become a disaster area during the canopy work. What a difference a broom and vacuum make. Tomorrow I should be able to pull the spacers and fill the gaps on the front, and the canopy will be done, save for the skirts (and sanding the front fairing, but that’ll be later on after it’s had more time to cure hard).
