29th
March
2009
Today’s task: prep leading edges for primer. Disassembled both LE’s, deburred, scuffed rivet lines, and dimpled. Drilled the splice strip for platenuts, and also finished deburring the landing light internal pieces; all the LE components are ready to be etched & primed.
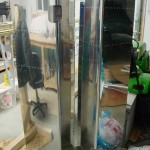
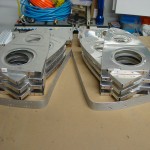
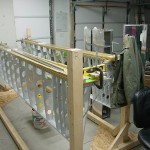
In between deburring tasks, I also bolted & torqued the tiedown brackets to the spars. Bellcrack brackets are hung loosely with their bolts, awaiting installation of the bellcranks.
Received the missing F-902-L this week, along with a replacement for the gouged up piece of bar stock.
Hours: 6.6 | Posted in Skin Panels |
7th
February
2009
Evening session…pulled the leading edge assemblies off the wings, followed by the J-stringers and skins. That’s a metric boatload of holes and pieces to be deburred, dimpled, and primed. I’ve read that the mil-spec on riveting indicates that holes which are dimpled (aka “form countersunk”) are not required to be deburred, but it seems the common practice is to deburr the holes anyway, and that’s what I’ve been doing so far. I suspect I will need to order more primer to finish this off…maybe it’s time to bite the bullet and order the gallon can instead of the quart.
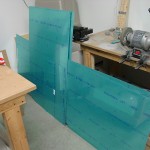
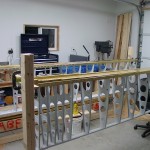
After everything was pulled apart, I deburred the holes in the spar web (LE rib-to-spar holes), and countersunk all the skin-to-spar holes to receive the dimpled skins. Lotta countersinks. Finished off by blowing the shavings out of the skeleton and giving the shop a good sweeping.
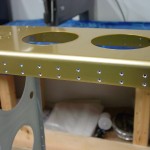
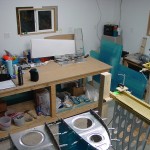
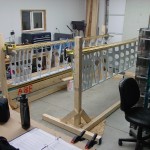
Hours: 2.5 | Posted in Skin Panels, Spars & Skeleton |
10th
January
2009
Wrapped up the leading edges in an afternoon session. Thanks to all who offered comments & suggestions on the LE fit problem; I was able to resolve it with another reassembly of the components; this time using some 24″ bar clamps to help massage the ribs into the proper place. I didn’t get any decent pictures of this procedure, but the idea came from a photo on Bret’s -9A build log (scroll down to 8/19/06; center photo). It’s easy to catch a couple clecoes in the nose area of a rib, then use a block of wood and clamps to help work it down into the skin as far as it needs to go so that clecoes will drop into the holes. The awl alignment tool is helpful also, to wiggle and coax things into place.
Dropped the re-assembled left LE onto the wing, and (to my relief) it fit correctly. Proceeded to match-drill all the LE skin-to-spar and -rib holes; lots of cleco-moving, as I had the left LE clecoed in nearly every hole. I did have to steal clecoes from the main skins, until I remembered a toolbox with a couple hundred extra clecoes inside…great! That gave me enough clecoes that I didn’t have to steal more for the fuel tanks.
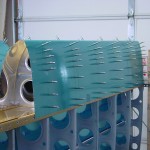
The inboard ribs and splice strips went in with relative ease, and got those drilled in place, too.
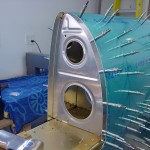
Hours: 3.5 | Posted in Skin Panels |
4th
January
2009
More work on the leading edges; I’d hoped to get them pretty much in the bag tonight, but the trouble with the fit of the left LE continues. I searched last night and wasn’t able to find anything on this particular problem (though there is much said about the fit between the LE and the fuel tank…). I’ve tried diassembling and reassembling it three times now, with identical results, so I’m thinking the problem isn’t a simple assembly issue, though I don’t know what to say it is. Between each attempt, I re-checked the ribs for flange squareness and fluting straightness. Made a couple minor tweaks here and there, but didn’t solve the problem. Also tried different methods/orders of clecoing, including the Van’s method, to no avail. After the second failed attempt, I put together the right LE to see if the problem existed there too; it didn’t. The right assembly dropped onto the spar and clecoed beautifully into place.
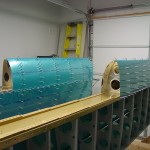
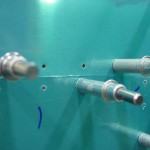
The trouble is that, when set on the spar, the wing-bottom row of skin-spar holes lines up correctly, while the row on the top side of the wing doesn’t; the skin holes are about 1/2 diameter forward (up) of the holes in the spar, and the aft edge of the skin sits up from the main wing skin, leaving a noticeable gap. The gap and hole misalignment is even down the entire length of the LE assembly.
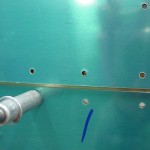
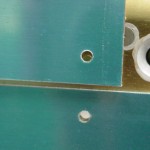
After the third attempt, I tried clecoing the LE to the spar by letting it tip up enough to close the gap, then clecoing the top side along its length in every 3rd hole. I then clecoed the bottom side, which required pulling down on the LE assembly; thinking that perhaps it would shift the ribs inside as necessary. The gap stayed closed, but the ribs didn’t shift, their aft flanges just bowed up (on the top side, where the gap was forced closed); obviously not correct.
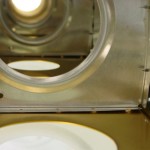
At this point, I’m not sure how to continue other than to keep taking it apart and reassembling it until it magically fits. I measured the distance between the skin edge and the aft row of holes (top and bottom) on both the left and right skins, and the figures are identical. I won’t be able to similarly measure the rib holes until I remove the assemblies and tear them down again.
Hours: 4.2 | Posted in Skin Panels |
3rd
January
2009
The day’s building got off to a later start than planned, as I went for an eye exam in the morning and came back with very wide eyes, which made reading (and by extension, I figured, precision activities like drilling) difficult for a few hours. Off to the shop, got all the top skins match-drilled to the spars, then trimmed and fit the J-stringers, which was a much simpler endeavor than I was imagining. Clecoed on the bottom skins and match drilled those as well, then removed them after marking for orientation. Lots of drilling and cleco-moving, but not a whole lot to say or show for it.
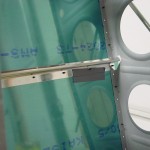
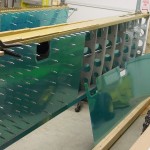
After the skins, I enlarged the cradle blocks from the HS with wing rib cutouts, and proceeded with the left leading edge. Took the #2 rib and drilled 3/8″ clearance holes to allow it to clear the spar rivets. The process of clecoing the ribs into the skin wasn’t terribly difficult–started with the #1 bottom hole, then #1 & 2 top, #3 bottom, #4 & 5 top, then zipped the bottom & top down.
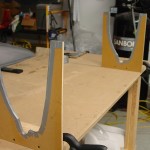
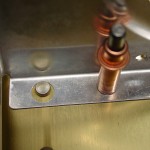
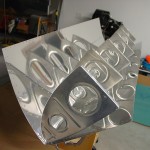
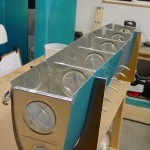
When I dropped it onto the spar, everything fit perfectly except for the top line of skin-spar rivet holes, which are shifted forward (up) by about 1/2 diameter, and there’s a decent gap between the LE skin and the top wing skin. Alignment here on the bottom side of the wing is perfect. I seem to recall reading about this problem from someone else, so tonight’s research project is to find that and find the solution. The frontmost rib-skin holes aligned pretty well, but it seemed to fall farther out of alignment as the clecoes were inserted moving aft; I suspect the solution might be to remove the ribs and double-check them for squareness of the flanges and proper fluting. I also remember ribs fitting better after dimpling on the HS, though that was obviously a smaller assembly.
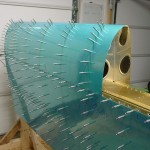

The wing appears to be going together quickly, but I know the reality–lots of time left in deburring, dimpling (wow…tons of holes!), prep, priming, etc.
Hours: 7.3 | Posted in Skin Panels |
2nd
January
2009
Started the skinning process by clecoing a fishing line to the spar, pulled tightly to show proper alignment of the row of rivet holes. I used a temporary bottle-jack-on-drywall-mud-pail system to raise the sag out, as I forgot to pick up anything to make a more permanent center stand with.
The first step to skinning the wings is to drill the wing walk doublers to the top skins on the bench. The instructions have you drill just three holes per rib, and then drill the rest on the wing. Labelled the parts as they were drilled for left/right and orientation, then proceeded to cleco those pieces to the left skeleton. The structure, which is rather wiggly with just the spars & ribs, really stiffens up with the skins attached. Attached the outboard skins as well, then moved the jack assembly to the right wing and attached the skins there as well before calling it a night.
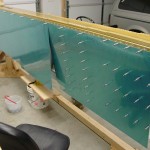
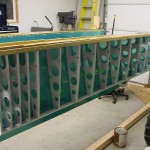
Passed 200 hours today.
Hours: 1.7 | Posted in Skin Panels |


