Drilling skins; first glimpse of the leading edge
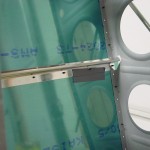
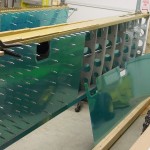
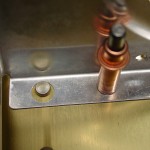
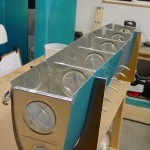
Hours: 7.3 | Posted in Skin PanelsThe day’s building got off to a later start than planned, as I went for an eye exam in the morning and came back with very wide eyes, which made reading (and by extension, I figured, precision activities like drilling) difficult for a few hours. Off to the shop, got all the top skins match-drilled to the spars, then trimmed and fit the J-stringers, which was a much simpler endeavor than I was imagining. Clecoed on the bottom skins and match drilled those as well, then removed them after marking for orientation. Lots of drilling and cleco-moving, but not a whole lot to say or show for it.
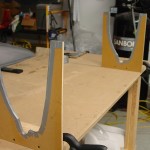
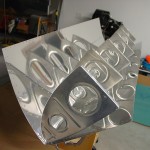
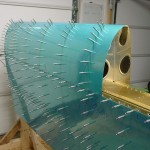
After the skins, I enlarged the cradle blocks from the HS with wing rib cutouts, and proceeded with the left leading edge. Took the #2 rib and drilled 3/8″ clearance holes to allow it to clear the spar rivets. The process of clecoing the ribs into the skin wasn’t terribly difficult–started with the #1 bottom hole, then #1 & 2 top, #3 bottom, #4 & 5 top, then zipped the bottom & top down.
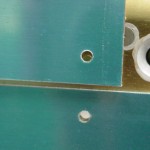
When I dropped it onto the spar, everything fit perfectly except for the top line of skin-spar rivet holes, which are shifted forward (up) by about 1/2 diameter, and there’s a decent gap between the LE skin and the top wing skin. Alignment here on the bottom side of the wing is perfect. I seem to recall reading about this problem from someone else, so tonight’s research project is to find that and find the solution. The frontmost rib-skin holes aligned pretty well, but it seemed to fall farther out of alignment as the clecoes were inserted moving aft; I suspect the solution might be to remove the ribs and double-check them for squareness of the flanges and proper fluting. I also remember ribs fitting better after dimpling on the HS, though that was obviously a smaller assembly.
The wing appears to be going together quickly, but I know the reality–lots of time left in deburring, dimpling (wow…tons of holes!), prep, priming, etc.
