Fiberglassy
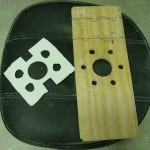
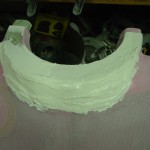
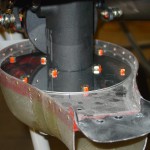
Hours: 6.5 | Posted in Canopy & Frame, Cowling & Baffles, EngineSanded and shaped the micro filler added to the cowl in the last session. Refit the cowl to the plane and made up a “tool” to sand the nose to a consistent gap behind the spinner: a piece of plywood drilled with the prop hole pattern, and some cardboard shims to adjust the spacing. By bolting this up in place of the prop/spinner, I could set the space between the plywood and the cowl nose. Adjusting the spacers so that my sanding block (long piece of 1×3 with abrasive glued to one side) would slip between the board and the cowl, and sanding until it moved freely, worked quite well. It turned out that a couple areas of the nose needed more filler, so the cowl was removed again and more micro applied. More sanding to ensue on the weekend…
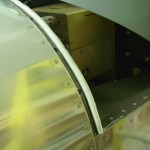
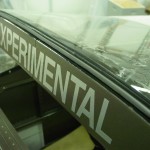
Decided to quit reinventing the canopy seal wheel, at least for now (since they’re easy to keep fussing with over the long term)…located & installed the factory canopy seals. The white P-profile foam one in the front, which looks like it will work, and the teardrop-profile one at the canopy bow. This one is made of a more slippery rubber, rather than the foam of the one I had tried earlier; that fact allows the canopy to close with much greater ease–the foam rubber one was “grippy” on the plexi as it closed. I installed this with taller part of the teardrop facing forward, so a valley is formed between the seal and the rear window plexi; the hope being that this will provide a channel to direct any water that enters the gap down to the sides.
More work on the list:
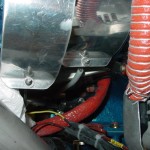
- Installed metal locknuts on the baffle tension rods.
- Torqued & marked the “squeeze bolt” on the fuel servo-airbox ring.
- Cleaned the airbox, fully assembled with bolts. Torqued & marked all the airbox bolts.
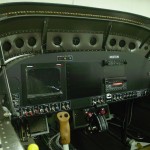
- With the canopy seal sorted for now, reinstalled the EFIS and tested.
