28th
June
2010
First things first, a plumbing tweak. I was stumbling around on VAF last night on a completely unrelated topic when I came across a thread about fuel vent routing. Those lines that I was so happy with had to be adjusted, because I ran them to the top of the bulkhead at a 90-degree angle, which would later interfere with the mouting of the subpanel. This post has a picture which illustrates the issue. Not a big deal, I just removed the adel clamps on the aft vertical run, undid the bottom fitting, bent the correct angles at the top, then trimmed the lower portion of the line and re-flared. The plumbing is really done now…I think.
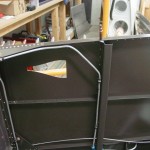
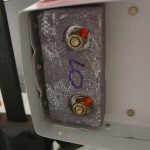
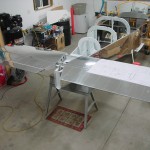
Nextly, back to work on the aft end of the plane. I finished drilling up the holes in the horizontal stab, then attached the elevators and fitted the counterweights. The right elevator is a bit nose-heavy, while the left is almost dead-on balanced. Supposedly, nose-heavy is the way you want to be before paint, since there is more surface area (thus more added paint weight) aft of the pivot point. Clamped the counterbalances to the stabilizer in preparation for fitting the pushrod.
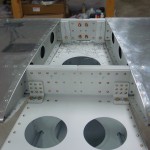
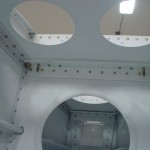
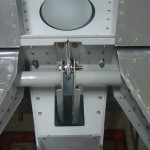
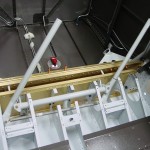
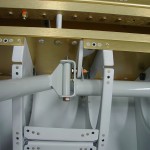
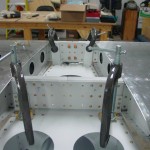
Since the pushrod needs to be fabricated and primed, I took a diversion next to install the control column. This meant attaching the pivot brackets to the spar, then building the control column on top of them. This task is complicated by all the various washers to be installed, and I had to fiddle with a few different combinations in order to get it to move smoothly. After a final test fit and adjustment (these were initially fit during assembly of the center section bulkhead), I greased up the brass bushings and bolted the sticks in place. I should be able to install the grips and wiring without removing them (crimp the pins, slide the wires down, then insert the pins in the connector), but I’m leaving the cotter pins out for now just in case….it’s s tight space and I’d rather only fiddle with cotter pins in there once.
Hours: 4.9 | Posted in Plumbing, Wing & Tail Joins |
28th
June
2010
I decided to go ahead and proceed with the rigging of the tail surfaces, in preparation for wiring the tailcone before riveting the aft skins. Tonight I pulled out the horizontal stabilizer and elevators and got to work. First, the bolt holes needed to be drilled for the center pivot bearing on the elevators…I didn’t do this when I first fit the elevators to the stabilizer, because a 1/4″ spacer is needed to serve as a drill bushing, and I didn’t have any. Now, I have lots of scrap pieces of 1/4″ tubing–which actually is a bit too large to fit the hole in the bearing, I turned it down by chucking it up in the drill press and using sandpaper. A #14 drill fits nicely in the inner diameter, so I used that to drill the bolt holes, then enlarged for the 1/4″ bolt. Next, the control horns get drilled for the attachment of the pushrod, using the plan dimensions on the aft-most horn, then match-drilling the other through a block of wood to keep the hole perpendicular. All of this required several on-off cycles of at least one elevator, so I was glad to still have my bent nail temporary bolt gizmos I made when did the initial fitting 3 years ago.
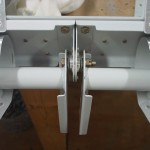
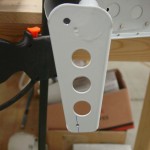
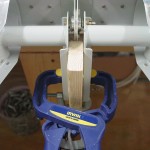
With the holes set for the elevators, off they come in order to mount the horizontal stab to the fuselage. I put the stab in place and clamped it, then checked it for square by running a steel tape forward to a consistent point (I used the vertical of the spar carrythrough; my tape wasn’t long enough to reach the firewall as suggested in the manual). I also checked left-right alignment to be sure it was on the centerline. Both measurements were very close (within less than 1/16″) on the initial “eyeballed” fit, so a little tweak and it was good to go. I clamped it to the aft deck and marked guide lines on the forward attach brackets and drilled them one hole at a time, moving clamps as required, first to #30, then to 3/16″ for the bolt. (Finally, we’ve put the last holes in these brackets, the very first parts which are made at the beginning of the build…it’s interesting to ponder how that first encounter with “fabricate” seemed scary–I re-made those brackets, as many do–and now, “fabricate” just means “oh, okay” and another trip to the bandsaw, sander, file, and scotchbrite wheel.)
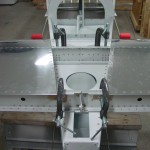
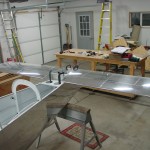
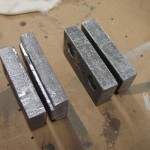
Trimmed the elevator counterweights on the bandsaw, a job that I started a few years ago and set aside because my hacksaw just couldn’t deal with cutting the lead blocks. Bandsaw made quick work of them, with an old file to deburr the edges. Finally, I cut the spacers that go under the HS attach angles and left them to cool for finishing on the next session. I also need an 11/32″ drill bit for setting the rear HS spar incidence (it’s used as a precision spacer)…the closest I have is 21/64″, so perhaps I’ll stop off at a hardware store and pick one up.
Hours: 3.9 | Posted in Wing & Tail Joins |


