Fuselage plumbing victory
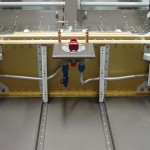
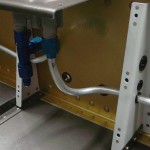
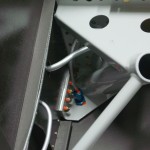
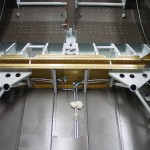
First order of business tonight was to attend to the misplaced fuel lines. It turned out okay to pull them out from the inside, then re-run them in the correct holes. Due to the differing geometry of the bends, the left line was re-usable, but the right line, when re-run and bent to mate with the selector, was too short — only about 2″ protruding from the fuselage, instead of the 4″ I was aiming for. (Notes from other builders indicate that the necessary length is around 2 5/8″.) So, out came the right one and I re-made a fresh line, using the coil of tubing I had set aside with the fuel pump output bend in it. I cut it to the approximate length I needed, using the removed line as a guide, and it looks like there will be enough tube left to complete the run to the firewall, which is good news. Crisis averted.
Next on the list was the brakes. I finished fabricating the parking brake valve bracket, drilled the holes for the valve mounting bolts, drilled for nuplates, match-drilled the firewall (nutplates will go on the forward side of the firewall so that insertion and removal of the valve won’t be a two-man job, especially should it need to be removed for service). I set this up to have the control cable go off to the left, as I liked what I saw in some panel photos today that had the parking brake control tucked under the panel and forward, along the left side of the cockpit. It makes sense to keep it off the panel, being a not-often-used control.
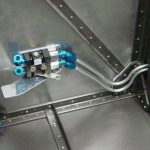
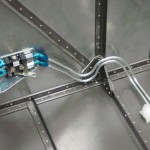
Test fit of the brake valve looked good, so I installed the appropriate fittings and went to work on the brake lines. Bending the lines around the angles at the firewall took some conjuring, but it wasn’t all that bad. Once the bottom tube (which will be the left brake) was made, the top one was essentially the same, with adjustment in the bend radii as needed so the tubes would essentially parallel each other. I bent the front half of the tube, then estimated the length for the run along the spar, cut, bent the transition, and ran the tube out to the gear tower. Repeat for the right side. Installed the bulkhead fittings in the gear towers, as well, so that end of the lines could be torqued in place. The valve end of the lines will wait until later, since the valve bracket still needs to be primed and riveted.
Hours: 4.9 | Posted in Plumbing | Comments Off
