Building the tail
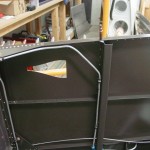
Hours: 4.9 | Posted in Plumbing, Wing & Tail JoinsFirst things first, a plumbing tweak. I was stumbling around on VAF last night on a completely unrelated topic when I came across a thread about fuel vent routing. Those lines that I was so happy with had to be adjusted, because I ran them to the top of the bulkhead at a 90-degree angle, which would later interfere with the mouting of the subpanel. This post has a picture which illustrates the issue. Not a big deal, I just removed the adel clamps on the aft vertical run, undid the bottom fitting, bent the correct angles at the top, then trimmed the lower portion of the line and re-flared. The plumbing is really done now…I think.
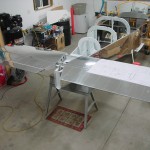
Nextly, back to work on the aft end of the plane. I finished drilling up the holes in the horizontal stab, then attached the elevators and fitted the counterweights. The right elevator is a bit nose-heavy, while the left is almost dead-on balanced. Supposedly, nose-heavy is the way you want to be before paint, since there is more surface area (thus more added paint weight) aft of the pivot point. Clamped the counterbalances to the stabilizer in preparation for fitting the pushrod.
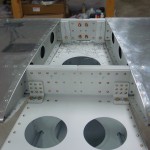
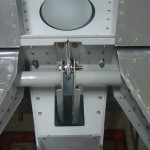
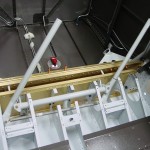
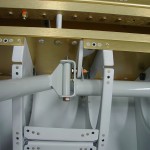
Since the pushrod needs to be fabricated and primed, I took a diversion next to install the control column. This meant attaching the pivot brackets to the spar, then building the control column on top of them. This task is complicated by all the various washers to be installed, and I had to fiddle with a few different combinations in order to get it to move smoothly. After a final test fit and adjustment (these were initially fit during assembly of the center section bulkhead), I greased up the brass bushings and bolted the sticks in place. I should be able to install the grips and wiring without removing them (crimp the pins, slide the wires down, then insert the pins in the connector), but I’m leaving the cotter pins out for now just in case….it’s s tight space and I’d rather only fiddle with cotter pins in there once.
