Rudder assembly
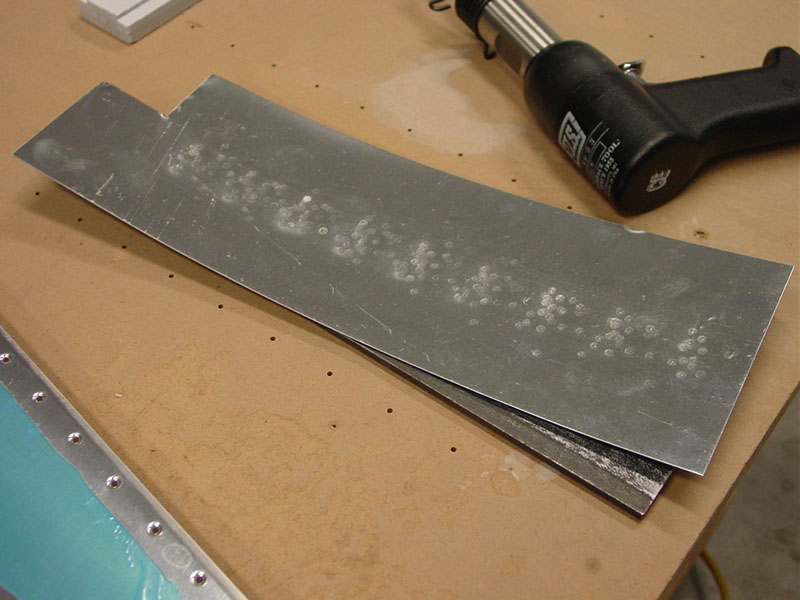
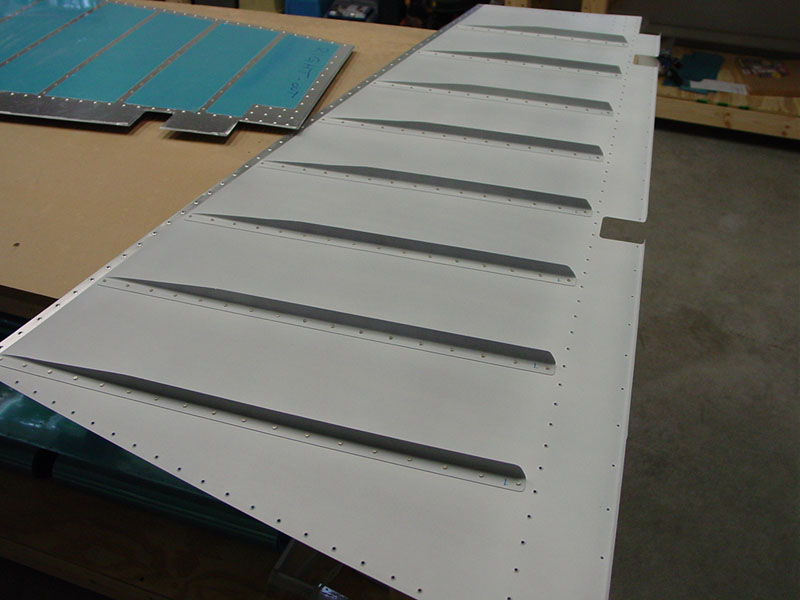
Hours: 2.0 | Posted in RudderFeeling good about progress after yesterday’s priming session, so I improvised a back rivet plate and went to work. I had purchased a hunk of steel from Menards awhile ago, 1/4 x 4 x 12 or so, but smoothing and polishing its rather rough surface proved to be a task that my belt sander wasn’t cut out for. Revisiting that slab of metal, I found a piece of aluminum from the practice kit scraps that Van sends with the empennage, that was nearly the same size. Placing this piece over the top of the steel solved the roughness problem, at least for a “temporary” solution. The aluminum piece was clearly sacrificial, as the continued riveting expanded it and caused it to take on a bowl-like curve. But it did work, and set the rudder stiffener rivets nicely.
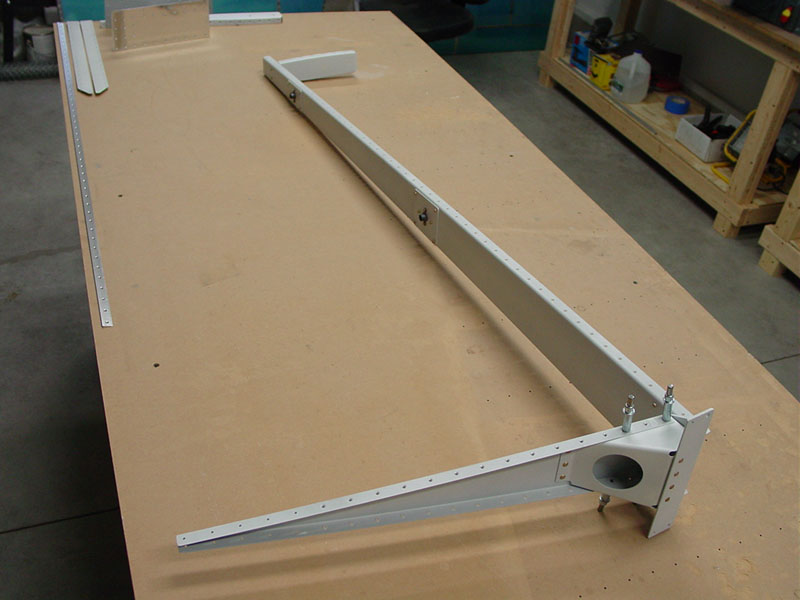
I followed that up with some work on the rudder skeleton: riveted the doubler plates to the spar, along with the nutplates, and the bottom rib/horn assembly. No need to resort to blind rivets (called out as ‘optional’ on the plans)–the longeron yoke on the pneumatic squeezer made quick work of those tough-to-reach buggers inside the rudder horn. Finished up by riveting on the lower counterbalance rib. I’m now officially at a stopping point on the rudder, as I need to finish dimpling the ribs before I can attach the skin. I read of another possible way to attack that problem today: it seems you can use a wing-nut cleco along with the pop-rivet dimple dies to get into those tight-fit locations. If we end up at Oshkosh, I’ll be looking for a solution. My plan until then is to pull out an elevator or two and see how they go together.