Top cowling
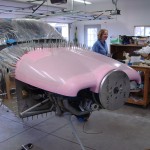
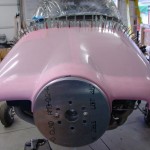
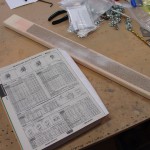
Hours: 3.0 | Posted in Cowling & BafflesMade up a long sanding block with a 2′ length of 1×3, and a piece of sanding paper cut in half lengthwise. A little drywall bead adhesive spray, and presto. Worked on the fit of the top cowl with a bunch of on-off cycles. I found that I needed to trim back the camloc strips at the lower sides, because they were hitting the thicker honeycomb-core portion of the canopy. With everything fitting correctly, and the canopy shimmed at the front with chunks of an old Mouser catalog, I carefully drilled the holes to #30 along the camloc strip, starting in the center and working down. It seems to have gone alright, the positioning looks fine, even after the catalog was removed. I intentionally left as little gap at the rear as possible, and it’s a bit uneven in spots, so ‘ll have to carefully sand it to the recommended 1/16″ paint gap. It’s surprising, actually, how solid the cowling is when it’s clecoed on all around.


