13th
August
2010
The night that the last few weeks have been building up to (no pun intended…) finally arrived. The primer and paint were dry, and canopy frame is now riveted. Not a bad job overall; before riveting, I had to back-drill the holes for the screws that hold the lift strut blocks through the skin, and dimple. The frame skeleton was riveted first, then the spacer strips attached (there are 5 keeper rivets per side). The aft bow was riveted together, after checking for fit against the roll bar and clamping to the table to hold it in position. Then the bow and the frame were joined, and the top skin added. For ease of riveting, I lifted up the aft end of the frame by suspending it from the garage door track. Once everything was together, I riveted the aft edge of the stiffeners to the skin, then clamped the frame flat to the table to cleco and rivet the forward edge of the stiffeners to the weldment.
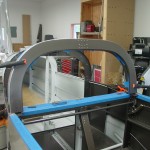
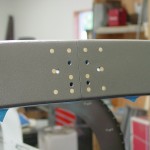
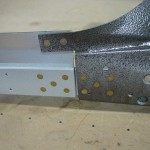
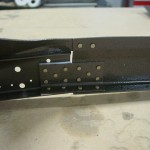
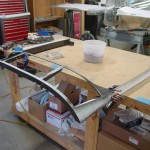
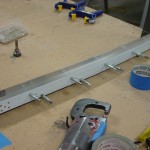
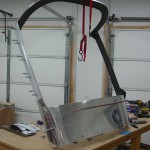
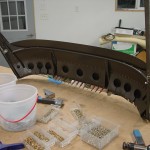
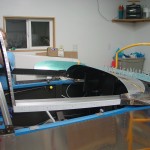
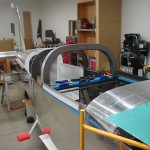
True to the tales, it shifted a little during riveting — the aft width is nearly perfect, but the front sides near the splice plates had narrowed a bit, and the skin seems to have shifted forward, as it catches the forward top skin now. A couple strategic pulls took out most of the side gap, and the forward skin can be filed down a touch. The numerous on-off cycles have broken in the hinge blocks, so the hinge goosenecks slide in easily now. I won’t worry about perfecting the fit until the next time, when I rivet the forward stop brackets and fit the struts, so I can correct for any flex added by the struts at the same time.
Punch list before fitting the bubble:
- File forward edge of canopy skin
- Fabricate and install (6) straps on stiffeners
- Install stop brackets and lift struts
- Drill hole and install bushing for wiring passage to roll bar brace…install tie-wrap bases on vertical cable path
- Run extra coax aft for GPS antenna?
- Rivet aft top skins
- Read up on fitting process and where/what to cut
Allison has discovered the joy of paint schemes, so I gave her the JetGlo color chip booklet…a side trip yesterday to a beach just a few dozen yards’ walk from an airport (KDYT [airnav]) was good inspiration, I think. Three hours in the car, just an hour by plane.
Hours: 4.6 | Posted in Canopy & Frame |
11th
August
2010
The three P’s of almost-ready-to-assemble-something. Etched the remainder of the canopy frame parts, then primed, and painted the visible surfaces.
Hours: 3.4 | Posted in Canopy & Frame |
9th
August
2010
Drilled the rivet patterns into the skirt spacers, then match-drilled to the side rails. The spacers will be riveted to the side rails with several keeper rivets along their length, then the side skirts will be fit and back-drilled from the inside. Deburred all the holes, and that is a lot of holes.
Trimmed the rudder cable exit fairings (picked up at OSH) to a curved shape, rather than a rectangular one.
Hours: 1.9 | Posted in Canopy & Frame |
8th
August
2010
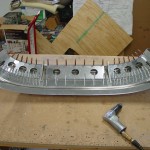
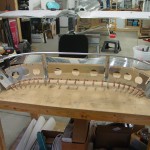
More work on the canopy frame… fitted the stiffener kit to the frame, then took everything apart for deburr/dimple/etc, and prep for primer. The plan is to rivet this thing together, and get the aft top skins on, then fit the plexi bubble. The stiffener kit wasn’t too bad to install, though it has plenty of notches to deburr; the worst part is bending the flanges around the 9 lightening holes. I broke a couple boards with notches (including an oak piece), then used a 3″ hole saw to make a giant dimple die of sorts, clamped one hole at a time, and whacked it with a 3# hammer. That seemed to do the trick. They’re not pretty like factory-formed ones, but the do stiffen up the pieces considerably, and they’re hidden behind the panel anyway (except when the canopy is open).
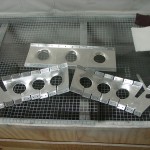
Also riveted 2/3rds of the rearmost top skin, while Allison was looking for a reason to be in the garage (since it was cooler than the house in the 95° heat.
Expecting to be out of town again for half this week, and busy some evenings, but with any luck, the frame will be complete by mid-next week, and work with the plexi might still have a shot at being done before the fall temperatures set in.
Hours: 8.1 | Posted in Canopy & Frame |
6th
August
2010
Hours: 3.5 | Posted in Canopy & Frame |
3rd
August
2010
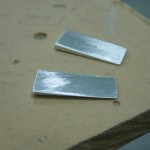
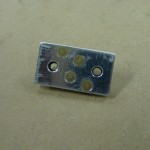
Still working on the canopy frame: today’s session involved fabricating the mounts for the lift struts. The forward mount is made from a thick block of aluminum which is drilled and tapped, and affixed to the canopy frame with screws. The aft mounts were fabricated but not installed yet; they will eventually be screwed to the canopy decks. I plan to fabricate a “nutplate plate” for fastening those blocks (as many others do), rather than fuss with washers and nuts in the tight space up behind the decks.
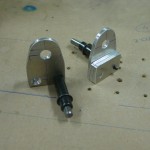
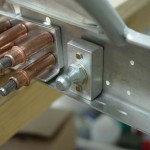
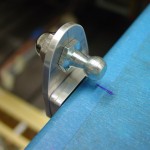
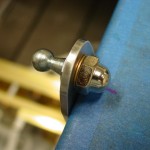
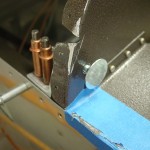
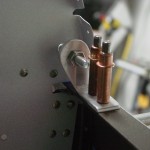
I also fabricated and installed the forward canopy stops, a modification that is gaining popularity. I found the bolts at Menards, they were called “elevator bolts” — their large diameter flat head should provide a nice bearing surface for the canopy frame to push against. The theory here is that by providing a hard point for the canopy to stop on, you eliminate some of the fit problems caused by the pressure of the lift struts pushing the frame forward in the down position. It consists of an angle, a bolt, and 2 nuts per side, a pretty simple mod which should be worth it, if it helps even a bit.
Hours: 4.2 | Posted in Canopy & Frame |
1st
August
2010
Nothing much accomplished today…cut a piece of hinge and messed around with ways to mount the flap position sensor I picked up at OSH. I will need some adel clamps to fashion a pivot point on the flap actuator to attach the sensor arm. Thought about the canopy, and electrical systems…
Hours: 1.0 | Posted in Cabin & Interior |


