28th
July
2011
Oshkosh week…I’ve been listening to LiveATC all week at my desk, with the flightline webcams running in another window.
Knocked a few more small items off the list tonight:
- Loaded the latest software update from AFS on the EFIS. The biggest new feature in this release is multi-leg flight planning, but I couldn’t play with that since the GPS isn’t connected up at the moment, so it doesn’t know where it is.
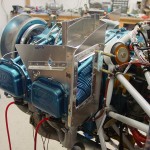
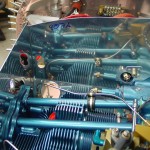
- Did an initial trim of the forward baffles to match the curve of the inlet ramps, just enough to get the cowling on. Next step here will be the paperclip trim.
- Cleaned the inside of the canopy using some stuff I got from Spruce called “210 Plastic Cleaner”. I went a little panicky after the adhesive overspray incident, and ordered too many different things for cleaning, polishing and repairing scratches…the second thing I tried took the light fog right off. (The first one, Permatex Plastic Cleaner, had a gummed up trigger and wouldn’t spray, so I wasn’t able to try it out.) With the stock I have now, I ought to be covered on canopy cleaning for awhile…
Hours: 1.5 | Posted in Canopy & Frame, Cowling & Baffles, Electrical |
3rd
July
2011
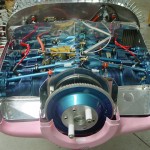
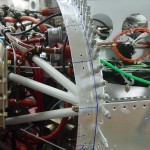
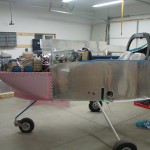
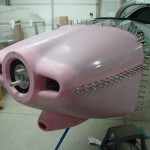
Worked on various things today, all generally related to FWF…
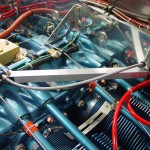
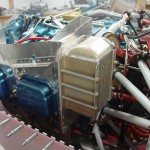
- Measured for, built, and installed an angle brace for the oil cooler. To avoid interference with injector lines, ignition wires, and purge valve cable, I tied it into the clip that was fabricated earlier for the purge valve cable. This, as promised, stiffened up the oil cooler quite well.
- Made up the tubing spacers which go between the flanges of the oil cooler to keep it from being deformed by the mounting bolts. Installed spacers and cooler, after removing/reinstalling the aft left baffle to drill the bolt hole for the brace.
- Worked through the engine control linkages FWF. Drilled the mounting brackets for bolts and installed, torqued rod ends, and replaced temp fit bolts with proper length ones, torqued and sealed all fasteners. Was going to install the fuel servo & bracket, but it seems I never ordered the proper nuts (5/16 coarse thread all-metal locknuts) to do so.
- Unbolted the purge control cable and threaded it back into the cabin in order to install the eyeball passthru in the firewall. Re-ran the cable, installed final bolts, torqued & sealed fasteners.
- Riveted the left side heater air takeoff and screen to the baffle ramp.
- Torqued and sealed the brake lines which run from the fuselage to the caliper. At this point, the brake system is completely installed (except for fluid).
- Looked at the exhaust system hanger clamps; it appeared that these could be adjusted on the pipe, but they are fixed in place with a welded pin. I don’t understand how the hangers mount and where they run to, so will need to do some research. The brackets seem to me like they’re facing the opposite direction of where they should (with the side ear facing outboard instead of in).
- Worked on refitting the top cowling, which means trimming the baffles. On this initial trim, the goal was to get them trimmed just far enough that the cowling can be fixed in place, not to get them to the final cut line. It took several initial trims, then I spaced the top cowl up by clamping some wooden shims across both cowls, setting the top-to-bottom spacing consistent all around. Then, cut a block and drilled a hole the same distance from one end as the space between the cowls. Reaching inside with a sharpie through the hole in the block, I was able to slide it around and mark the contour of the cowl on the baffles, to establish a trim line. (This method stolen from a VAF post) Removed the top cowl and trimmed to the line, then a couple more re-fits to tweak, and it’s fitting well. There will be more trimming ahead, for sure, but this was a good start.
- In order to fit the top cowling, the camloc strips were reinstalled to the firewall edge, after having excess width trimmed from them (1/2″ trim, for a 2″ total width). These are not yet drilled for the camlocs, so that 1/8″ clecoes can be used to secure the cowling to the strip. The camlocs won’t be installed until the strips are installed, which isn’t until after the top skin is installed. Chicken-and egg, yes…and there must come a point where the easy access under the top skin needs to be sacrificed in the name of getting the skin on so progress can be made, but not yet.
- Neighbor Jeff and his brother stopped in to check out the progress.
And, crossed the 1400-hour mark tonight.
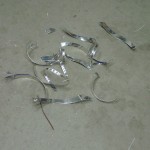
Hours: 8.2 | Posted in Cowling & Baffles, Engine, Plumbing |
21st
June
2011
Mostly baffles again today, but I think I can see the light at the end of that tunnel. Finished up the forward ramps, trimmed the inner pieces, and drilled the clips that hold the vertical segments in position. Pulled them apart to deburr and rivet. Fit those back to the engine, and pulled the aft baffles to clean up, deburr bolt holes, and install the takeoffs for Pmag blast tubes, and purge line grommet. Refit the aft baffles to the engine. Will need a grommet for the purge valve cable yet, and to figure out how to route the cord for the engine preheater. Need to pick up some screen for the second cabin heat takeoff, then that can be riveted on. Baffle metalwork is nearly done, except for all the trimming at the top.
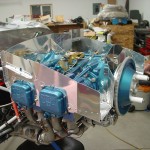
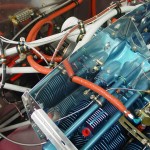
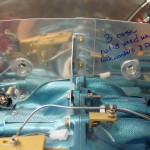
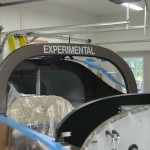
One bit of fun: installed the “EXPERIMENTAL” placard…doing little cosmetic-type things like this makes it feel like the end of the project might be attainable.
The Bill of Sale arrived today from Van’s, so I can start plugging through the registration paperwork. Also got confirmation on my prop order today, and (re)ordered the ELT from Van’s, after checking that they actually had stock–cancelled the order at Spruce, where I’ve been on the waiting list; they have no idea when more are coming. Harnesses and brake lines should arrive this week, as well. Need to order the prop spacer kit.
Hours: 3.8 | Posted in Cowling & Baffles |
19th
June
2011
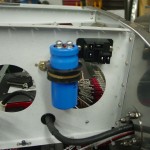
Or, more accurately, ‘n’ more baffles… I did do one non-baffle thing today, which was to mount the capacitor for the SD-8 backup alternator next to the relay, now that I have the correct size adel clamp. The only cabin-side part of that system which can’t be pre-mounted is the regulator, since it comes as a package with the alternator. There is a dimensional drawing for it, so I could install the nutplates and hope the drawing is accurate… (Trying to be cheap and not buy it until a future upgrade date.)
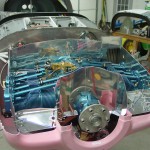
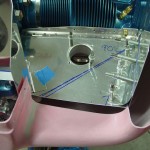
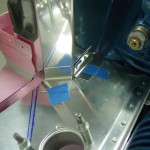
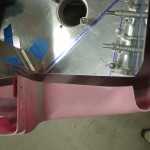
Then, back to baffles. It doesn’t look much different after a day’s work, but the inlet ramps have been bent to fit, the forward corners formed, and the conical-bend filler pieces fabricated and drilled. Trimmed the front inside corners for clearance to the flywheel and alternator belt. The ramps and stiffeners have been riveted, and holes made for the LH cabin heat take-off, and the alternator blast tube. Locations marked for the Pmag blast tubes, which will be drilled when the rear baffles come off again. The inlet ramps were trimmed to fit the cowl, with a 1/2″ gap between cowl and metal, which will be bridged by the airseal fabric.
With the inlet ramps in good shape, attention turned to the vertical pieces behind the flywheel, which took more iterative fitting to get the angles right. Made and drilled the attach clips for the right side, and cut the stock for the left before calling it a night. Need to look at my saved baffle reference links to see how the vertical piece is trimmed, as it’s not clear in the directions or included photos whether it’s trimmed back to the length of the ramps (which would make sense from a vibration standpoint) or left longer.
Hours: 6.5 | Posted in Cowling & Baffles |
16th
June
2011
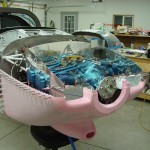
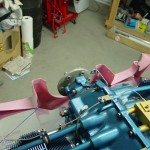
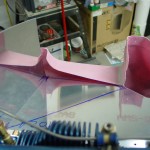
Deburred the front lower baffle pieces and finished fitting them to the engine. Then, read the next page of instructions several times and studied all the diagrams until it made sense how this is supposed to fit together at the intakes. Wrestled the lower cowl into a place where I could mark some guide lines, and made some initial trims. After a couple cycles of fitting and trimming, I have the inlet ramps trimmed to a point where the lower cowl can be put on. The ramps are still longer than the end goal, to allow for progressive trimming to get the fit right. Need to do more reading & picture studying to understand the interface between cowl, airseal fabric, and baffles.
Hours: 2.9 | Posted in Cowling & Baffles |
13th
June
2011
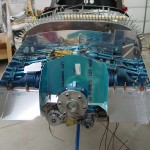
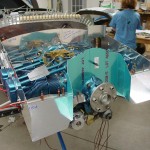
More work on baffles: finished fitting the right rear and riveted it together, including the flange that will feed the right heater box. I need to figure out where to put the flange for the left heater, too, and there will be several blast tube flanges to mount, for mags and alternator.
With the rear baffles in place, the front sides were fit–those are two easy pieces. Next step was the brackets that mount to the engine case bolts. The rear bracket required a slight tweak in the injector line for the #4 cylinder to provide clearance there, and both engine lift straps had to be removed, since all the bolts are now in use to hold something or another.
Finally, worked on initial fitting of the bottom front sections, which form the bottom of the inlet ramps. Worked out most of the kinks (again many fit-mark-remove-tweak-repeat steps) before calling it a night.
Hours: 3.1 | Posted in Cowling & Baffles |
12th
June
2011
Hours: 4.1 | Posted in Cowling & Baffles |
11th
June
2011
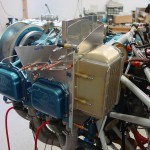
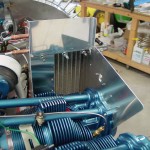
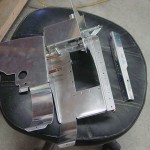
More work on baffles, fitting and drilling the rear left segment and oil cooler mount. Almost ready to rivet.
Hours: 4.4 | Posted in Cowling & Baffles |
10th
June
2011
Now that work has settled down for the summer (127 hours in the last two weeks…), I’m trying to get back into the swing of working in the shop. Took the day off work and bounced around on a few little things…
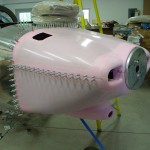
- Finished drilling the hinges to the cowling and clecoed in place; test-fit the cowl and spinner backplate.
- Fabricated a mounting tray for the AFS magnetometers, one bulkhead behind the baggage wall. Installed the D-sub connectors and tested that the EFIS was talking to the magnetometer, which it was. Clecoed everything in place for now; will need to rivet the tray in place, and pick up some brass screws for mounting the sensor itself.
- Temporarily put in the lower spark plugs and attached the plug wires, so I could see where clearance would be needed in order to…
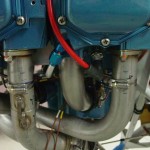
- Drilled and installed the EGT probes to the exhaust pipes. Fit the mufflers to the crossover pipes and held them up with bungees for now.
- Removed the too-short mixture cable and replaced it with the new, longer one (48″) that arrived. Fabricated a new bracket to secure the cabin ends of the control cables, and adjusted the linkages for proper throw on the quadrant and the fuel servo.
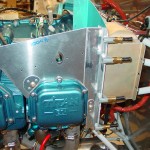
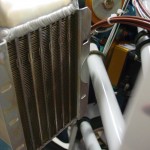
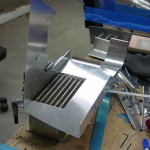
- Started work on the rear left engine baffle where the oil cooler attaches. Fabricated a reinforcing angle for the baffle corner to avert vibration cracking, and a thicker doubler plate for the cooler itself. Once the cooler was located on the baffle, trimmed away a portion of the aft flange on the cooler to provide clearance from the engine mount tube.
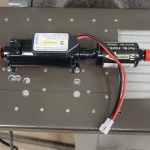
- Remade the fuel pump mount piece to accommodate the new version of the Andair fuel pump, which mounts a bit differently due to the now-integrated controller design. The new mount is actually simpler; the overall pump length appears to be the same, so no adjustment of fuel lines will be needed.
Hours: 10.4 | Posted in Cowling & Baffles, Electrical, Engine |
30th
May
2011
Finished drilling the cowling hinges to the lower cowl, and clecoed them in place. Cut the steel hinge pins and filed the insertion slot for them in the cowling. Refit the top cowl in preparation for drilling the upper hinge half.
Hours: 2.5 | Posted in Cowling & Baffles |


