31st
January
2010
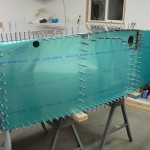
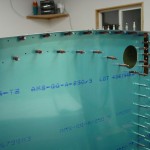
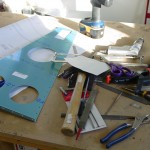
Much drilling today. Began by drilling the armrests and removing them, and trimming the 623 bottom skin corner ribs to clear the step tubes. Next, pulled the side skins to do the conical bends where they meet with the center bottom skin and tailcone, and reinstalled on the fuselage. The bending was pretty easy, and in fact, I will have to un-bend the left side just a bit later, as it’s a bit concave just above the bend. The right side turned out perfectly.
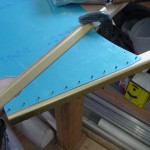
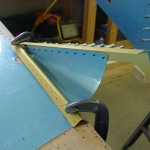
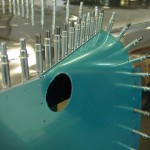
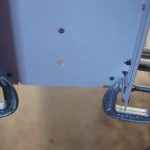
The next step is drilling the main longerons, and that is indeed a lot of holes. I worked from aft to fore with clamps and drill, doing every fifth hole on both side, then filling in with the third hole, then going back and drilling all the even-numbered holes. Now, the longerons are drilled up to the 904 bulkhead.
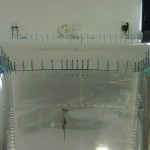
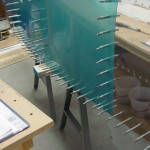
After the longerons were drilled, I drilled the bottom and side skins to the skeleton, and to each other.
Hours: 4.6 | Posted in Center Fuselage |
30th
January
2010
Started out the weekend by drilling the baggage & seat floors to the skeleton and making sure everything was clecoed solidly in place. Also, filed the slots in the tailcone bulkheads wider, so that the longeron angle would fit — the slots are too narrow as they come from the factory. Fortunately, this issue is well-documented on other builders’ sites, so it’s easy to be prepared.
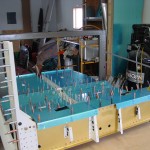
Next step is to prep the longerons for the big join: trimming the excess length from the aft ends, cutting the necessary relief into the aft end, and slotting them for the HS attach bars. Once prepared, they get placed in the tailcone and clamped in place at the appropriate location.
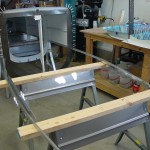
Then, it’s time to set the center fuselage in front of the tailcone, and let the two become one. The actual join can be a bit tricky, as the tabs of the baggage ribs like to get hung up on the 706 bulkhead. This is easily resolved by partially un-clecoing the baggage floors (in my case, I had only to open up the left side) enough to reach in and apply some coaxing to the tabs. Once the tabs were aligned, it slid right into place, and a row of clecoes across the bottom secured it.
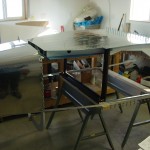
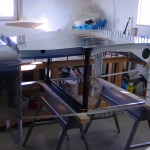
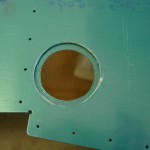
Adding the forward side skins is next, but first, the step hole must be drilled…this is where trouble strikes. Grabbing the hole saw marked for 1 1/2″, I drilled a hole. Hmm, looks a little big, I thought–turns out I had grabbed the 2″ saw, which was also marked “for 1 1/2′ pipe clearance.” Oops. Try the step–of course there’s a big gaping hole underneath…The skin is nearly $100 to replace, plus s/h, so I will inquire as to whether a suitable doubler could be employed here, since the larger hole (it’s only 1/4″ bigger all the way around) is mostly hidden by the step’s mounting flange, anyway. Any spot on the bottom where the oversize hole & doubler might be visible coule probably be filled with something later, before paint. Moving on, I drilled the other skin with the proper size saw, filed some extra off to allow the mount plate to site flat (the weld on the step increases it’s diameter), and attached both sides to the now-lengthy fuselage.
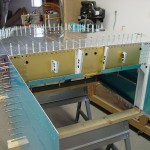
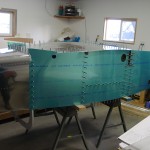
Finally, fluted the armrests and clecoed them in place.
Hours: 5.0 | Posted in Center Fuselage |
28th
January
2010
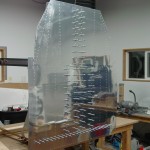
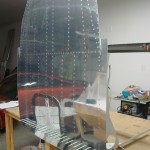
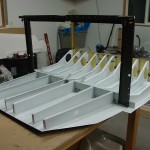
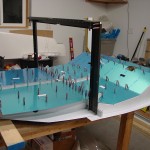
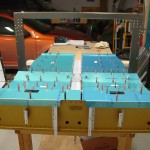
Completed riveting the bottom skin to the center fuselage with Allison’s help; easy as pie. Proceeded to flip the assembly right-side-up and attach the forward half of the 904 bulkhead, then cleco in the baggage and seat skins. The baggage skins gave me some pause, as they didn’t want to fully align with the 905 bulkhead…starting from the center and working out solved the issue; there is a curve formed at the aft edge of the center fuselage, to match the forward bulkhead in the tailcone. The bottom skin wants to pull the curve flat until the baggage skins are in place.
We should see the first iteration of the center-to-tailcone join this weekend.
Hours: 3.4 | Posted in Center Fuselage |
24th
January
2010
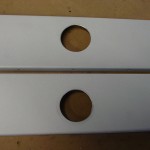
Picked up a hole saw set today, so I was able to cut the holes for the step tube, and smooth them out with a small scotchbrite wheel and some primer on a Q-tip.
Riveted together the little cutout pieces from the center seat ribs. Squeezed the nutplates on the seat pan ribs, then riveted and bolted the ribs, once at a time, onto the aft part of the 904 bulkhead. Once that was complete, added the 905 and riveted the ribs to that, adding the baggage floor ribs as appropriate. One rivet in an awkward place (905, in the center tunnel, with both a seat rib and a baggage rib) needed to be drilled out a couple times, and I ended up having to drill it up and put in an AN3 bolt. Oh well, life goes on, and it is in a place that is accessible for inspections.
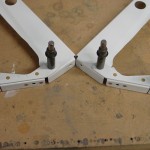
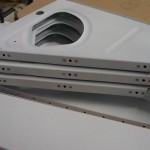
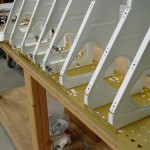
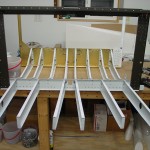
Once the skeleton was riveted together, the assembly was flipped inverted and the bottom skin added. Clecoed in every other hole, then riveted began. Completed the outermost ribs of the seat and baggage areas…I’ll have to see how far I can go before my arms grow too short and help must be called in to drive rivets.
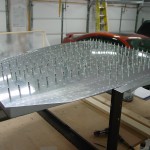
Hours: 5.2 | Posted in Center Fuselage |
23rd
January
2010
Finished dimpling the center section parts–Allison deburred & dimpled the bottom skin while I dimpled the ribs and sorted all the hardware bags into a couple new organizers I picked up awhile back. I think I’ll get two more, to cover all the various length bolts, too…it’s so handy to have everything separated out.
Once everything was ready, it was on to etching & priming all the components. The downdraft priming table continues to work well, and the quartz heater helps things move quickly, so it didn’t take as long as I expected to prime everything (though etching still kills my back). Should be able to get a start on final assembly tomorrow afternoon.
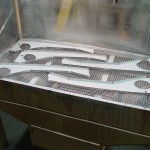
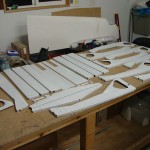
Hours: 9.6 | Posted in Center Fuselage |
22nd
January
2010
Deburred all the center fuselage parts, except for the bottom skin. Still need a hole saw to make the step holes…otherwise, ready for dimpling.
Hours: 3.7 | Posted in Center Fuselage |
17th
January
2010
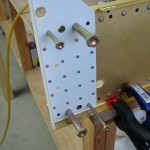
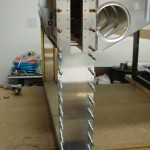
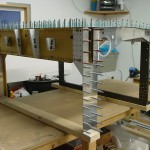
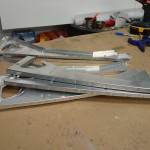
Completed the center section fix today by etching & priming the new right side pieces, then riveting to the center section bottoms. Put the center section bulkhead back into the assembly and drilled the side plates, this time double- and triple-checking for correct orientation. The primer didn’t seem to go on as well as it did on the last batch of parts (perhaps it’s time to completely pull the gun apart and solvent-clean it?), but hopefully it’ll dry harder over time.
Countersunk the forward row of holes on the bottom of the center section, then pulled the whole thing apart to begin the deburr/dimple/etch/prime process. Deburred the center section bulkhead and started on the seat ribs, before it was time for dinner.
To do list:
- countersink inside of center section bulkhead flange at outermost 5 rivets
- buy 1.5″ hole saw for step tubes
- drill to final size all holes for nutplates & screws
- determine what parts need to be painted with interior color (center section sides?)
Hours: 6.1 | Posted in Center Fuselage |
15th
January
2010
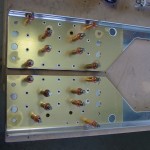
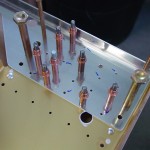
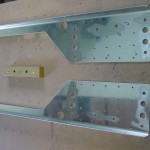
Worked on the center section fix after talking to Joe at Van’s support line. The replacement center section side pieces come raw–the holes are drilled for the -4 rivets that attach them to the center section, but not the all-important spar bolt holes. What to do about those holes, I asked…Joe saw the forest, where I was only seeing trees, and suggested that I match-drill the new ones using the old ones, once removed from the center section. Of course! Since the pieces have bends on their outboard edges, you must sacrifice the old ones to match-drill the new ones. I drilled out the 40 rivets holding them to the center section, then took to them with the hacksaw, trimming off the long upright, and the outboard bend angle, resulting in a flat “template” piece (beautifully gold-anodized, even!) that could be used for match-drilling. I took the time with this operation, stepping the holes up in size with various drill bits, to get the best chance of having them centered. The operation went without trouble.
Once the pieces had the necessary holes, and edges deburred, I clecoed them back to the center section bottoms, using the close-tolerance bolts to align them, just as I did the first time, and match-drilled. Remove for hole deburring, and they’re ready to be primed and riveted back in place. I did a test-fitting with my hardware-store bolts, which was fine, so I’m confident that the match-drilled holes will work out. If not, Van’s did say that the holes in the side pieces could be reamed on assembly if needed, as long as care was taken not to ream the portion of the hole that passes through the 3/4″ thick bars that make up the meat of the center section.
Hours: 2.3 | Posted in Center Fuselage |
9th
January
2010
Continued drilling the center section where I’d left off, until I realized I made a big mistake. Turns out the F-904H doublers are not symmetrical — there are 17 holes on one vertical row, and 18 on another. The left one had been clamped on correctly, but the right one was reversed; guess which I drilled first. Sigh. The recovery won’t be as bad as it could be, though; Van’s sells replacement center section side pieces, so all I need to do is drill out the 40-some rivets holding those onto the main piece, and replace, then re-drill with the 904H plate oriented correctly. The only awful rivets to drill out will be those -14′s that hold the reinforcing bar in place. I’m going to order some -22′s to have on hand for those, and just cut them to length as necessary.
Hours: 0.5 | Posted in Center Fuselage |
3rd
January
2010
Continued to work on the center fuselage by fitting the 705 bulkhead and the baggage ribs, followed by the bottom skin. This requires some trimming of ribs to allow for wiring grommets. I forgot to back-drill the seat ribs where they bolt to the center section, so that will have to come later. Match-drilled the bottom skin to all the pieces, then fit the outer seat ribs and drilled them to the skin, followed by the baggage side ribs, another piece that needs trimming, plus the fabrication of little plates that connect them to the structure fore and aft. Finally, fit the forward piece of the center section and match-drilled it to the skin. Clecoed on the side plates before getting called away for the night.
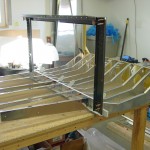
Also tonight, crossed the 600-hour mark on the project. Looks like the goal of finishing the tailcone should be easily reached before January is over.
To do list: drill bolt holes, figure out countersinking/dimpling of center section holes.
Hours: 5.2 | Posted in Center Fuselage |


