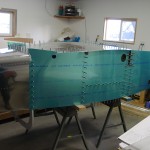
Tailcone & center fuselage married
Hours: 5.0 | Posted in Center FuselageStarted out the weekend by drilling the baggage & seat floors to the skeleton and making sure everything was clecoed solidly in place. Also, filed the slots in the tailcone bulkheads wider, so that the longeron angle would fit — the slots are too narrow as they come from the factory. Fortunately, this issue is well-documented on other builders’ sites, so it’s easy to be prepared.
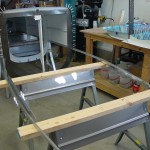
Next step is to prep the longerons for the big join: trimming the excess length from the aft ends, cutting the necessary relief into the aft end, and slotting them for the HS attach bars. Once prepared, they get placed in the tailcone and clamped in place at the appropriate location.
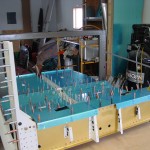
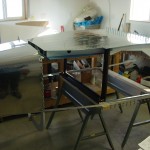
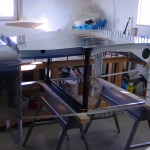
Then, it’s time to set the center fuselage in front of the tailcone, and let the two become one. The actual join can be a bit tricky, as the tabs of the baggage ribs like to get hung up on the 706 bulkhead. This is easily resolved by partially un-clecoing the baggage floors (in my case, I had only to open up the left side) enough to reach in and apply some coaxing to the tabs. Once the tabs were aligned, it slid right into place, and a row of clecoes across the bottom secured it.
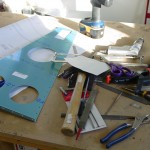
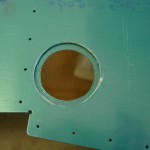
Adding the forward side skins is next, but first, the step hole must be drilled…this is where trouble strikes. Grabbing the hole saw marked for 1 1/2″, I drilled a hole. Hmm, looks a little big, I thought–turns out I had grabbed the 2″ saw, which was also marked “for 1 1/2′ pipe clearance.” Oops. Try the step–of course there’s a big gaping hole underneath…The skin is nearly $100 to replace, plus s/h, so I will inquire as to whether a suitable doubler could be employed here, since the larger hole (it’s only 1/4″ bigger all the way around) is mostly hidden by the step’s mounting flange, anyway. Any spot on the bottom where the oversize hole & doubler might be visible coule probably be filled with something later, before paint. Moving on, I drilled the other skin with the proper size saw, filed some extra off to allow the mount plate to site flat (the weld on the step increases it’s diameter), and attached both sides to the now-lengthy fuselage.
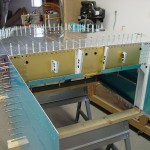
Finally, fluted the armrests and clecoed them in place.
