Right flap riveting
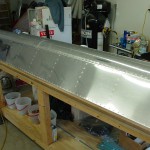
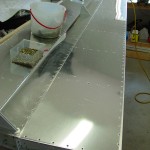
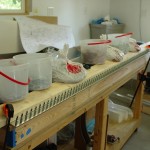
Hours: 3.6 | Posted in FlapsAlmost finished the right flap — just a portion of the trailing edge rivets remain. First, the top skin is riveted to the spar & ribs in a manner similar to the ailerons. The tungsten bar is great for this–it’s small enough to nest into the spar channel and tuck into the ribs.
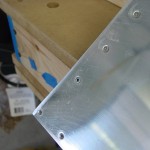
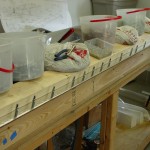
After riveting the top skin on, the flap is flipped topside-down on the table and weighted in place, then the bottom skin riveted to the spar & nose skin. This is a tight operation, squeezing inside the flap with the weights/clamps/boards in the way. Finished it up without a problem though, then the whole thing is weighted flat to the table, and the bottom skin-rib rivets inserted. These are blind rivets everywhere but the outboard end rib, which can be squeezed. I also used blind rivets at the most aft location in the top skins, same as on the elevators & rudder…those ribs are so narrow at the aft end that it’s nearly impossible to buck anything in there, and certainly not with any of the bars I have.
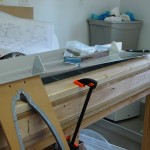
Once the skins are in place, the weights are put back in place for the trailing edge riveting, which I’m doing using the same squeezing process I’ve used on all the other control surfaces. I had to leave for work before finishing up this flap, but it’s nearly done.
