Pitot mast install
Hours: 1.4 | Posted in Accessories & ModsTaking a break from deburring flap parts, I decided to knock out one small task remaining on the wings — install of the pitot tube mount. I’m not sure yet whether or not I’ll be initially installing a heated pitot (primarily to save the extra cost of the heated tube, though provisions would be made to add it later as part of an IFR upgrade), but I came across a Gretz pitot mount for sale via RivetBangers, and bought it. This unit has a mounting bracket that installs permanently to the wing, but the mast itself is held in place via four #8 screws, so is removable for service, or simply to keep from banging shins against it. The install is really pretty easy, once you determine where it’s going to be mounted. There’s plenty of discussion on that in the forum archives–accuracy generally isn’t affected as long as the pitot is not in the propwash, so the choices come down to things like how close is it to the tie-down rings, tube routing in the wing, etc. I chose to go with a common location, and the once described in the plans — mounting to the outboard side of the rib just outboard of the aileron bellcrank access plate, on the left wing.
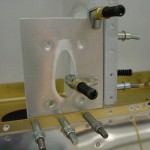
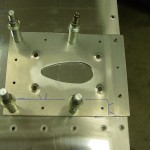
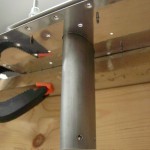
The bracket comes pre-cut, and pre-bent with a joggle to clear the main spar flange. I fabricated the reinforcement angle that runs fore-aft along the rib out of a trimmed-off piece of stiffener from some control surface or another (I keep a pile of trimmings, anything large enough to reasonably have a chance of use elsewhere for a bracket or whatever). Cleco clamps hold everything in place and square for drilling, then I drilled the bracket to the spar. Adjusted the plate to sit even with the rib by using a piece of aluminum sheet to align them, then clamped that in place and drilled the angle to the rib. On the bench, I marked and drilled the skin-to-bracket hole pattern, and drilled the angle to the bracket.
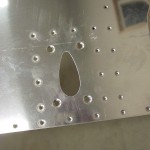
Clecoed the drilled bracket to the backside of the wing skin using the main spar rivet holes, and back-drilled the holes in the skin, then cut and filed the center mast hole to size, using the mast itself to test fit. Disassemble and deburr everything, then dimple the holes as appropriate. I’ll prime these parts along with the flaps, then rivet the bracketry to the rib; the rest will get riveted along with the bottom skin.


