All-day ailerons
Hours: 10.4 | Posted in AileronsA good long day (and a beautiful weather day, at that) with ailerons. Started off by finished up the deburring, drilling, dimpling, countersinking, and the like remaining from yesterday’s session. Followed that up with an etch-and-prime lunch, wherein I managed to tear a hole in my rubber etching glove with enthusiastic scotchbriting (luckily, on the final piece). The full sun really makes the priming go much faster, as the light coats dry quickly. Leaving them in the sun after they’ve dried to the touch also seems to provide a harder finish faster, allowing progress to move forward.
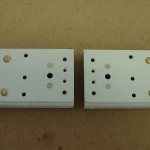
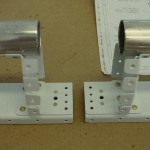
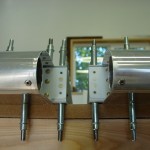
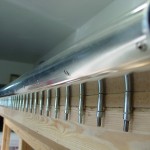
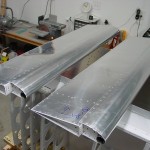
Let the assembly begin! I riveted the reinforcements plates to the spars, then added the counterbalance assembly, main ribs, then skins, following the recipe. Riveting of the skin-to-spar lines was easy enough with the ailerons clamped upright; standing on a short stepstool gave the right height, and the tungsten bar slips inside easily. Left first, then right.
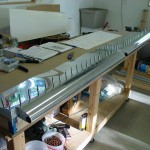
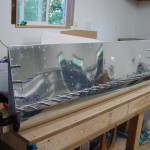
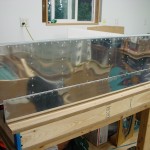
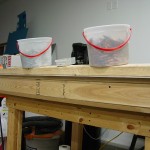
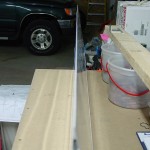
Clamped and weighted everything down to the flat table for riveting the skins to the ribs, then riveting the trailing edge closed. I used the same process I used for the empennage surfaces, where the TE rivets are squeezed entirely, not back-riveted like the manual shows. No Proseal, either. Just dropped clecoes in every hole, using a random pattern to insert them, then removed them randomly, one at a time, and squeezed a rivet in its place.
Both TE’s are straight, and the left aileron is straight, with no measurable twist. The right one might have 1/32″ or so of twist evenly across it’s length. My guess is that something got out of whack during the initial riveting process (counterbalance, perhaps?) and all the clamping & weighting couldn’t hold it true enough for the rib & TE riveting to take it out. I don’t know how big of a factor that may be, so I’ll do some reading and see if others have made notes. The manual doesn’t have a clear “x amount of twist is acceptable” like it did for the wings, but it seems like this is a small amount. It wouldn’t be difficult to build a replacement aileron at a later date, should it prove to have undesirable flying characteristics.
